
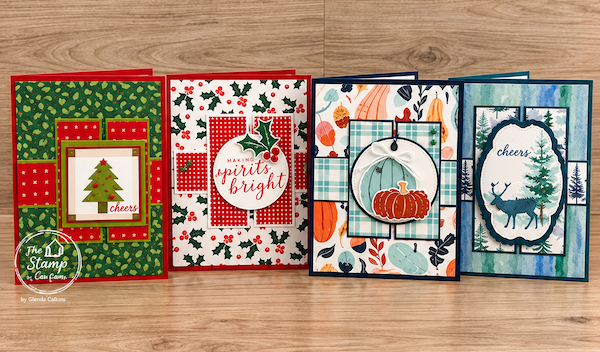
If you love card sketches that give you a starting point without limiting your creativity, I think you’re going to have fun with Card Sketch #73! This week’s sketch shows just how easy it is to take one basic layout and create completely different handmade cards simply by changing the Designer Series Paper, colors, and focal-point shape.
I created four cards from today’s sketch—three Christmas cards and one fall card. One follows the sketch exactly, while the others show you how a simple change from a square to a circle or decorative label can give the same layout an entirely different look.
Whether you’re a beginning card maker or you’ve been stamping for years, quick and easy card sketches are a great way to get your creativity flowing and, most importantly, use that beautiful Designer Series Paper you have on hand.
Card #1 – Follow the Card Sketch Exactly
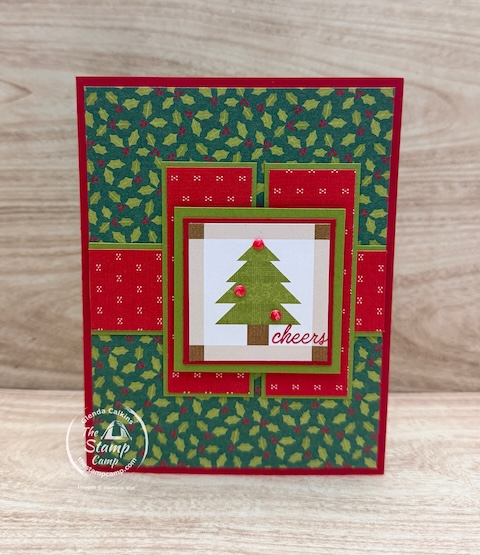
For my first card, I followed Card Sketch #73 just as it was designed.
I started with a Real Red card base and used the A Stitched Season 12″ x 12″ Designer Series Paper for the card front. The patterned paper strips are matted with Old Olive cardstock, which coordinates beautifully with the traditional Christmas colors in the paper.
For the square focal point, I cut one of the Christmas tree images directly from the Designer Series Paper and layered it onto Real Red and Old Olive cardstock before popping it up on the card front.
I wanted a little extra dimension on the Christmas tree, so I pulled out some retired pearls and colored them with my Real Red Stampin’ Blends to create the tiny red berries.
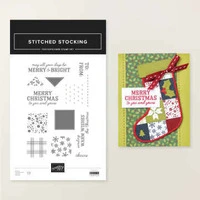
The Cheers sentiment in the lower right corner comes from the Stitch Stockings Stamp Set, part of the Stitched Season Suite.
This card is a perfect example of how you can follow a sketch exactly and let your Designer Series Paper do most of the work.
Card #2 – Change the Square to a Circle
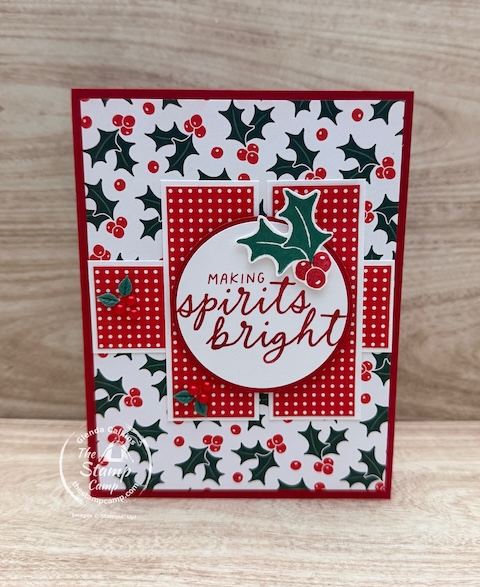
For my second card, I kept the basic layout of Card Sketch #73 but made one simple change: I replaced the square focal point with a circle.
The card base is again Real Red, while the card front features the Timeless Christmas Designer Series Paper. I used another print from the same paper pack for the strips and matted them with Basic White cardstock.
Instead of creating the square shown on the original sketch, I pulled out a couple of circle punches for my sentiment. Making Spirits Bright comes from the Scalloped Christmas Cheer Stamp Set.
I stamped the holly and berries, hand cut them, and popped them up over the sentiment for some added dimension. A few Adhesive-Backed Christmas Berries scattered around the card front were the perfect finishing touch.
This is why I love card sketches so much. You don’t have to follow every element exactly. The sketch gives you the foundation, and then you can make it your own.
Card #3 – A Fall Version with Painted Patch
Who says a card sketch has to be used for only one season?
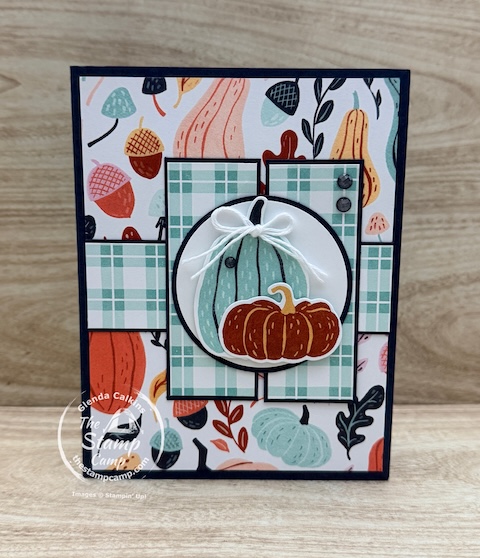
For Card #3, I turned the same layout into a fall card using the Painted Patch Designer Series Paper.
My card base is Secret Sea, and I chose another print from the Painted Patch paper for the strips, matting each one onto Secret Sea cardstock.
I used circles again for the focal point, but this time I die cut the pumpkins directly from the Painted Patch Designer Series Paper using the coordinating Painted Pumpkins Dies.
To finish the card, I added Secret Sea Radiant Gems and tied a double bow using White Essentials Twine.
You may notice that I didn’t add a sentiment—and that was intentional! Leaving the sentiment off makes this pretty fall card much more versatile. It could become a birthday card, thinking-of-you card, just-because card, or whatever you need when the occasion arises.
That’s another tip to keep in mind when you’re creating cards ahead of time: not every card needs a sentiment on the front.
Card #4 – Try a Decorative Label Shape
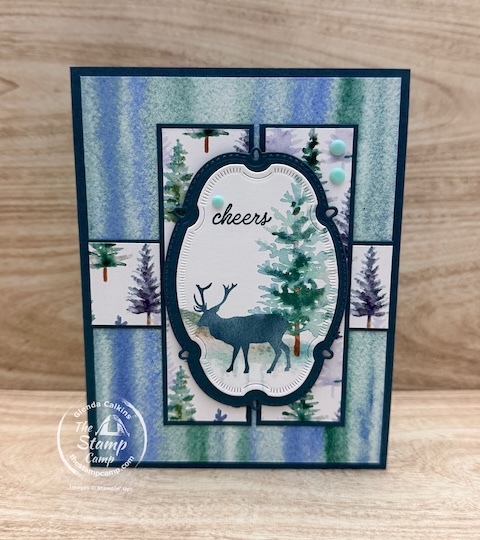
Card #4 – Try a Decorative Label Shape
My final card may look familiar because I used the beautiful Whispering Woods Designer Series Paper again. However, put this card next to last week’s card and you’ll see how changing the sketch creates a completely different design.
The card base is Pretty Peacock, with the Whispering Woods Designer Series Paper covering the front. I used another print from the collection for my strips and matted them onto Pretty Peacock cardstock.
You’ll notice that I made my strips a little longer than what is shown on Card Sketch #73 and on my other card samples. Because my focal point is larger and more elongated, I wanted the strips to extend beyond it so you could still see more of that beautiful Designer Series Paper.
It’s still the same card sketch and layout, just slightly tweaked to accommodate the larger focal-point shape. That’s another great example of how card sketches can be used as a starting point rather than a strict set of rules. You can adjust the elements to work with the products and shapes you want to use.
This time, instead of using a square or circle for the focal point, I used the Sweet Words and Labels Dies to create the decorative label shape.
I finished the card with Pool Party Painted Patch Dots, and the Cheers sentiment comes from the Stitch Stockings Stamp Set.
Whispering Woods Gives Back
There is another wonderful reason to choose the Whispering Woods 12″ x 12″ Designer Series Paper for your holiday projects. For every pack purchased, Stampin’ Up!® will donate $3 to organizations around the world to help spread a little holiday cheer.
So while you’re adding beautiful winter paper to your craft supplies, your purchase is also helping support a special cause.
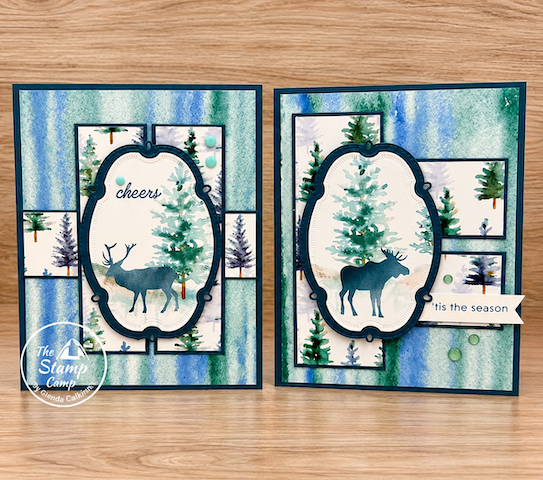
Card Sketch #73 on the left and card sketch #72 on the right, same papers, just a little bit different layout. Which is your favorite?
One Card Sketch—Endless Creative Options
Today’s Card Sketch #73 is a great example of why I create free card sketches without measurements on the sketch itself. I want you to look at the layout and let it spark your own ideas.
Follow it exactly like Card #1, or start changing things up:
- Turn the square into a circle, oval, decorative label, or even a diamond.
- Use Christmas paper, fall paper, birthday prints, florals, or whatever you have on hand.
- Add a sentiment—or leave it off so your finished card can work for multiple occasions.
- Change the colors and embellishments to coordinate with your favorite Designer Series Paper.
One sketch can give you so many possibilities without having to reinvent your card design every time you sit down to stamp.
Free Card Sketches to Download
Looking for free sketches to download? You can download the free version of Card Sketch #73 below and add it to your collection for future inspiration.
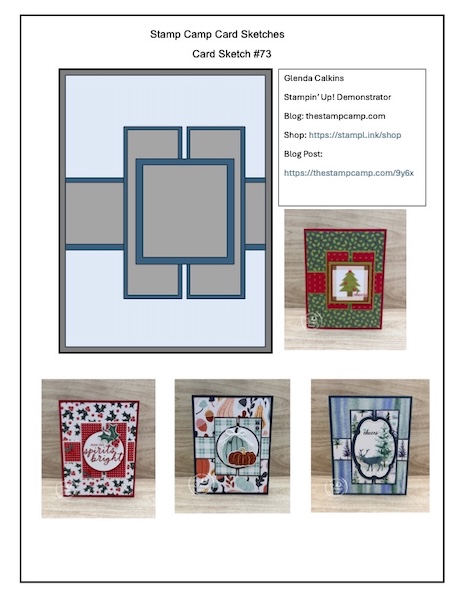
If you’d like measurements & instructions, place an order of any size in my Stampin’ Up!® online store, and I’ll send you the password to access my Customer Appreciation Album. Inside you’ll find the September sketches with measurements and step-by-step instructions, plus bonus PDF project files.
Shop Today’s Card Supplies & Get Your Free Card Sketch with Measurements and Instructions
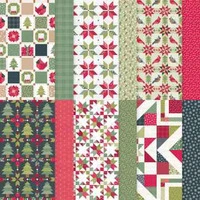











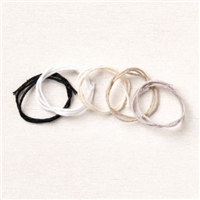
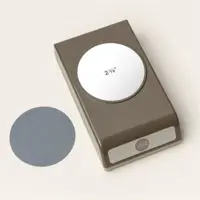

Simply choose the products you need, then use Card Sketch #73 as your starting point. Whether you copy one of my cards or create something completely different, I hope today’s creative card sketch inspires you to pull out your favorite Designer Series Paper and start creating!
Your orders truly are what make it possible for me to continue creating and sharing these free card sketches, project ideas, and inspiration each week. Whether you’re placing your first order with me or you’re one of my returning customers, I sincerely appreciate every order, large or small.
October Customer Appreciation
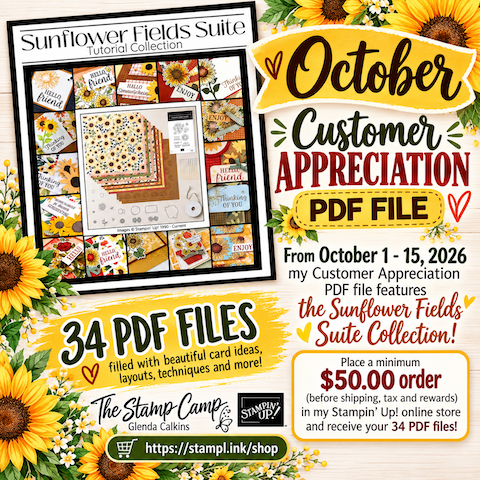
October Customer Appreciation — 34 Sunflower Fields Projects!
Love sunflowers? October 1–15, 2026 is the perfect time to add some beautiful new Stampin’ Up!® products to your craft room—and get a HUGE collection of creative inspiration from me as a thank-you!
Place a $50 Order & Receive 34 Project PDFs!
Place a minimum $50 order (after shipping, tax, and rewards) in my Stampin’ Up! online store October 1–15, 2026, and I’ll email you the password to my exclusive Sunflower Fields Album on The Stamp Camp blog.
Inside you’ll find:
• 34 beautiful card ideas featuring the Sunflower Fields Suite Collection
• 34 downloadable and printable PDF project files
• Tons of inspiration to get you creating!
Become a VIP Customer & Get Even MORE!
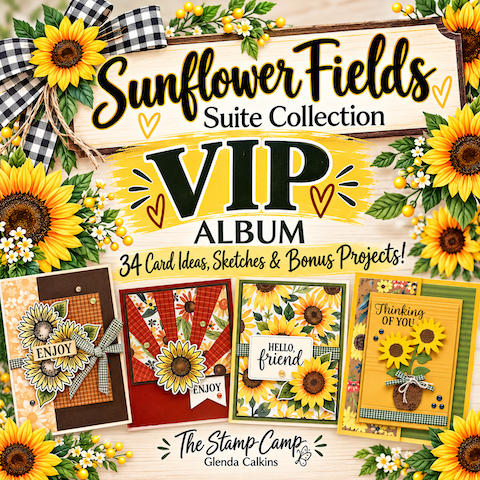
Place your qualifying minimum $50 order AND include any of the following:
Sunflower Fields Suite Collection
Radiant Sunflowers Bundle
Sunflower Fields Designer Series Paper
I’ll also send you the unlock code to my VIP Sunflower Fields Album, where you’ll find the 34 PDF files PLUS Card Sketches and Bonus PDF files!
Shop with The Stamp Camp:
https://stampl.ink/shop
Thank you so much for choosing me as your Stampin’ Up! demonstrator. I truly appreciate your orders and support!
2 thoughts on “Card Sketches That Make Designer Series Paper the Star”
I am absolutely making the two Christmas cards today and probably more. So quick and easy. Thanks!
Carla, Thanks for checking out today’s blog post and leaving me a comment. Quick and easy is always nice when you have to make a bunch of cards, Happy Stamping!