
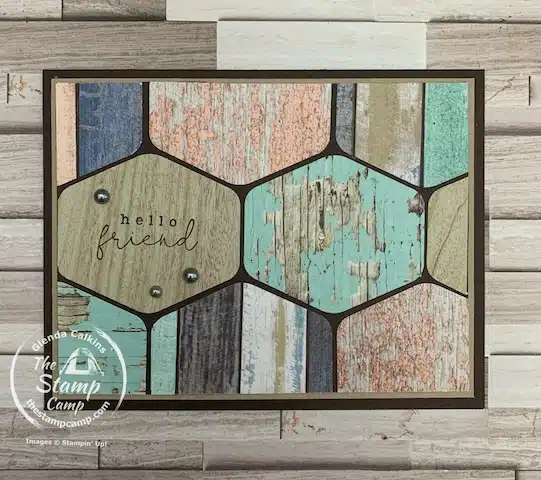
Today I’m going to show you how to make cards with punches and in particular the Heartfelt Hexagon Punch and the Country Woods Designer Series Paper. This is another card my club members will receive the PDF file for and another way to showcase some easy paper punch card ideas.
My Stamp Camp at Home Card Club Members are receiving the full 12 X 12 package of the Country Woods Designer Series Paper this month and I have plenty of ideas to share with them on how to use this paper pack. If you would like to learn more about my card club see this blog post HERE.
I’m also going to be bringing in a few more items found in the Country Woods Suite throughout this month. Club members do not need the bundles from the suite to create their cards in the club kit, but if they want their cards to be identical to mine then they will want to purchase the bundles and other items in the collection for the club cards and bonus cards.
The Country Woods Suite Collection includes:
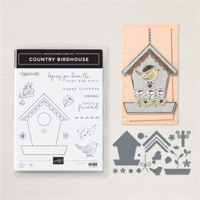
- Country Birdhouse Bundle
- Country Flowers Bundle
- Eyelet 3D Embossing Folder
- Country Woods Designer Series Paper
- Country Lace Designer Series Paper
- Petal Pink & White Trim Combo Pack
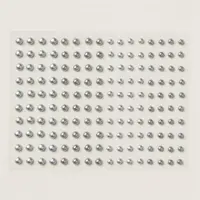
- Basci Gray & Smoky Slate PearlsProduct colors: Basic Beige, Basic Gray, Crumb Cake, Early Espresso, Gray Granite, Misty Moonlight, Pecan Pie, Petal Pink, Pool Party, Smoky Slate, Wild Wheat

Okay so now that I’ve gone over the suite, it’s time to let you in on how to make cards with punches; specifically today’s card. This card is pretty self explanatory and easy to create if you have the Heartfelt Hexagon punch. Basically you just punch your Country Woods Designer Series Paper, preferably scrap pieces using the punch and then just glue the punched pieces to another piece of coordinating cardstock. You can’t get many more easy paper punch card ideas than that.
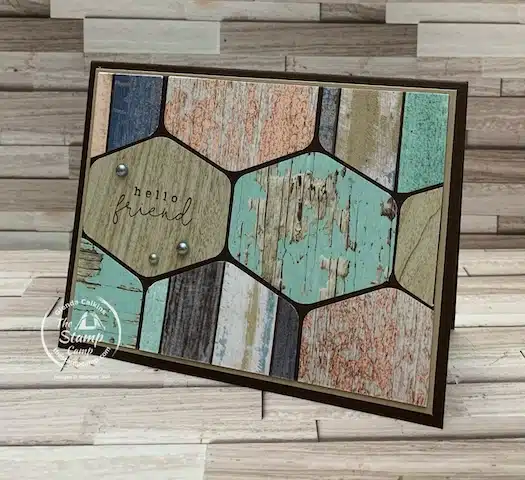
I felt the lighter woodgrain piece made a great sentiment piece and I just stamped my sentiment directly onto the punched paper piece using the Early Espresso ink. Then to accent the sentiment I added a few of the Basic Gray & Smoky Slate Pearls.
You can easily change the color scheme and bring out more of the Petal Pink or Pool Party if you want a softer more feminine look and feel to the card. Instead of attaching your punched pieces to the Early Espresso cardstock attach them to Basic Gray or Smoky Slate and then layer that onto Petal Pink or Pool Party cardstock and you can make your card base Basic White or Basic Gray. The possibilities are endless.
How To Make Cards With Punches and Designer Series Paper Shopping List:


Remember you MUST use the Host Code unless your order is over $150.00, then do NOT use the host code and you will receive the host benefits, plus my rewards.
The July Customer Appreciation:
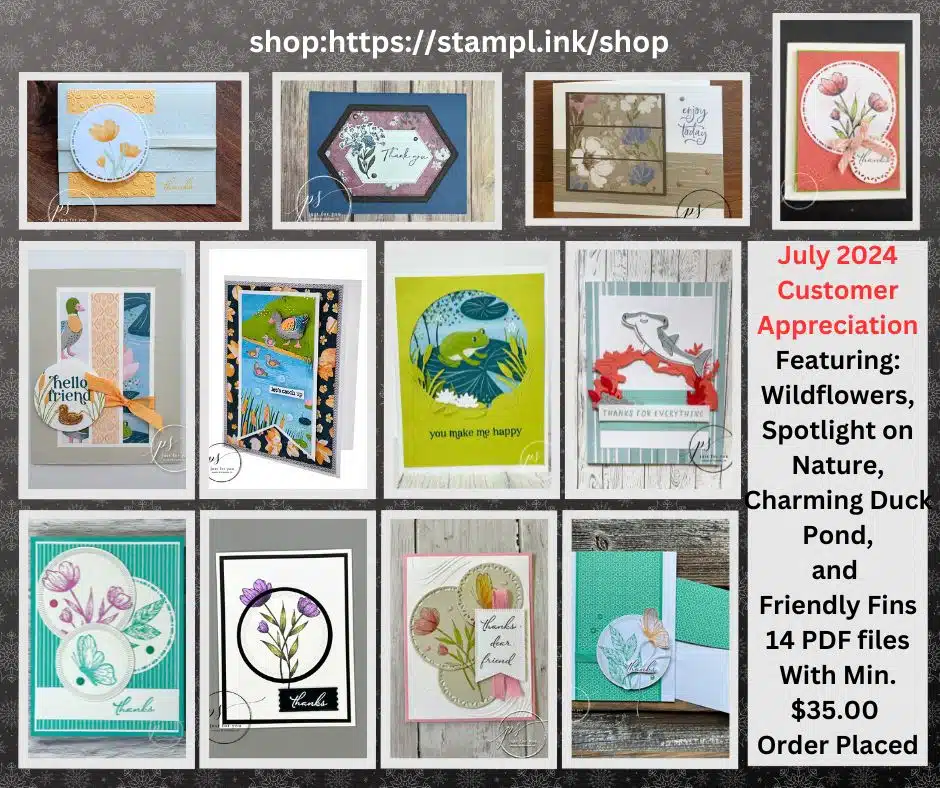
Last month these bundles were an additional 10% off, if you took advantage of that special and purchased any of these bundles you might just want to get this 14 PDF file grouping for FREE! That’s right get a jump start on ideas for those new bundles you just got. In this grouping of PDF files you will find tutorials for the Spotlight on Nature bundle, Charming Duck Pond bundle, Wildflower Designs bundle, and a sample for the Friendly Fins bundle. Get all these PDF file tutorials free with a min. $35.00 order and use of the current host code: R4C2URZK
Place your orders With The Stamp Camp Here: https://stampl.ink/shop
Click HERE to view How To Use A Host Code
Host code: R4C2URZK
In the future would you like to see more card ideas on how to make cards with punches?