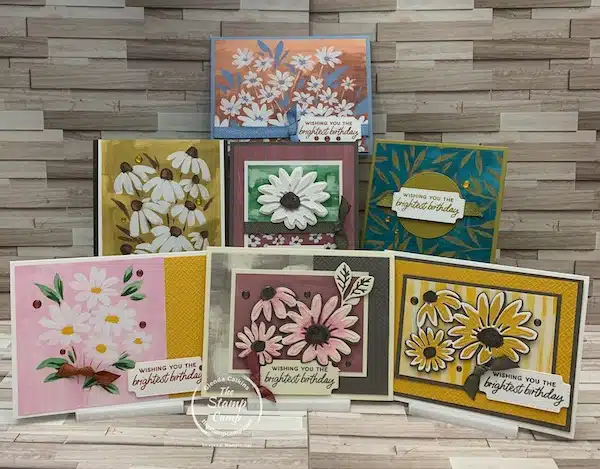
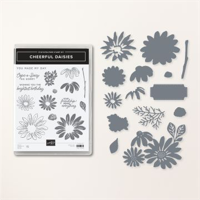
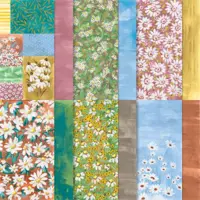
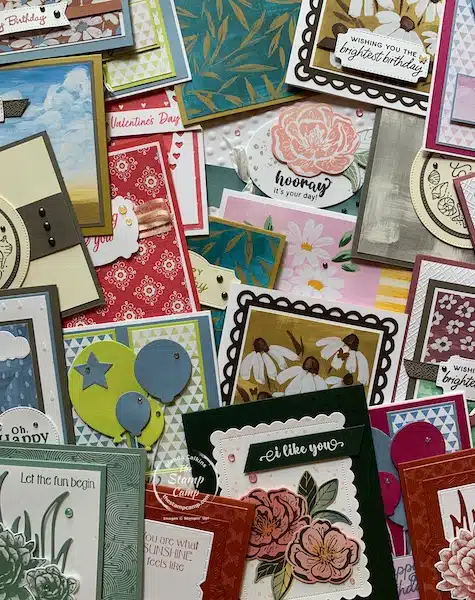
Last night’s one sheet wonder cards featured the Fresh As A Daisy Designer Series Paper and the Cheerful Daisies bundle. Yes, I’ve done one sheet wonder cards before with this print but those cards used a variety of stamp sets. For these cards I exclusively used the coordinating Cheerful Daisies Bundle. With this particular print in the pack it is super easy to create 7 or more cards in a flash. Mix and match the pieces on one card or use each section on a different card you have lots of choices.
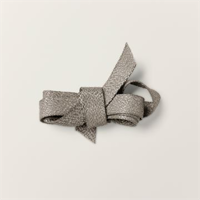
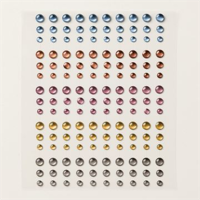
This is the paper pack I’m using in this month’s Stamp Camp At Home Card Club kits. Club members will receive a 1/2 package (6 x 12) of the Designer Series Paper, all the In Color Ribbons and the Adhesive-Backed Solid Gems. Club members also receive the PDF file, Video Tutorial and Card Kit to create 8 cards, 4 different designs, creating 2 of each card. They also receive Bonus PDF files and my Thursday night One Sheet Wonder card Patterns in the Photo Gallery here on my blog. My card club keeps giving all month long! If you would like more details regarding my Stamp Camp At Home Card Club Kits you can find all the information as well as the subscribe button in this blog post HERE.
Let’s Dive Into Each of These Cards
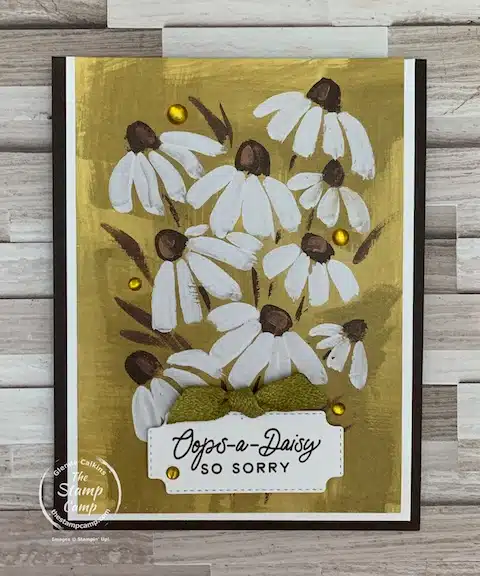
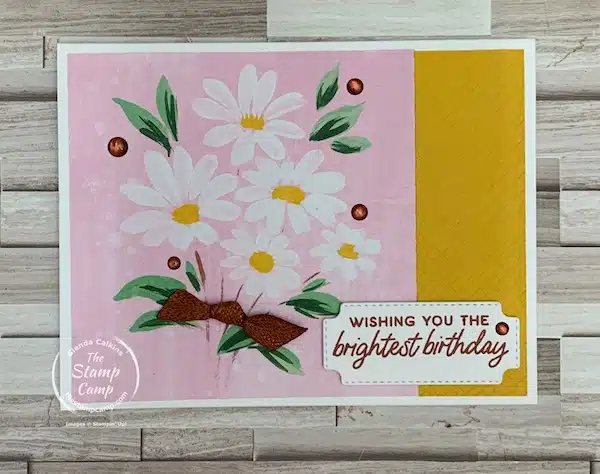
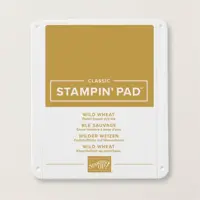
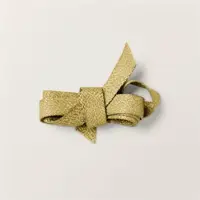
The first 4 cards are super easy to assemble as the print on the paper pieces does not need much in way of stamping or decorating. I’ve simply just added the sentiment and a little bit of the Wild Wheat Ribbon and a few Wild Wheat Gems and Called it good. I did venture off from the In Color bases with this card and used Early Espresso pulling out that color from the flower centers.
Card #2
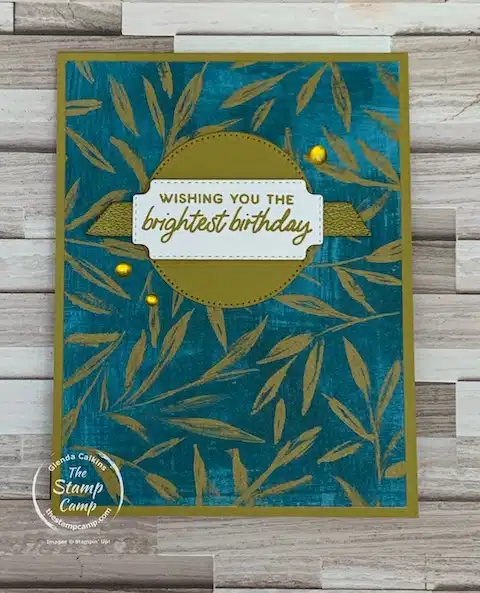
The same goes with this card. I didn’t want to take away from the print so just die cut a circle from the Wild Wheat cardstock using the Stylish Shapes dies and added a piece of Wild Wheat Ribbon with the sentiment and a few Wild Wheat gems. As I mentioned in the video you will want to use either a candle or a lighter to cauterize the ends of the ribbon to keep it from unraveling.
Card #3
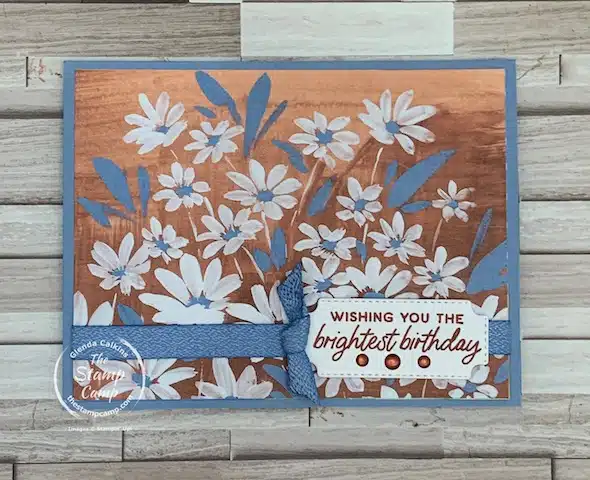
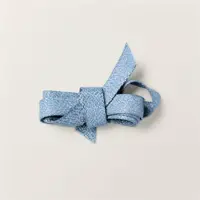
For this card basically all I did was attached the beautiful print to a Boho Blue card base. First you will need to attach the ribbon on the backside of the print and then add it to the card base. I think just stamped and die cut the sentiment and attach with dimensionals. This time I used the Copper Clay ink as is the In Color Gems on the sentiment piece. To finish it off just add a tied knot as shown using a mini glue dot.
Card #4
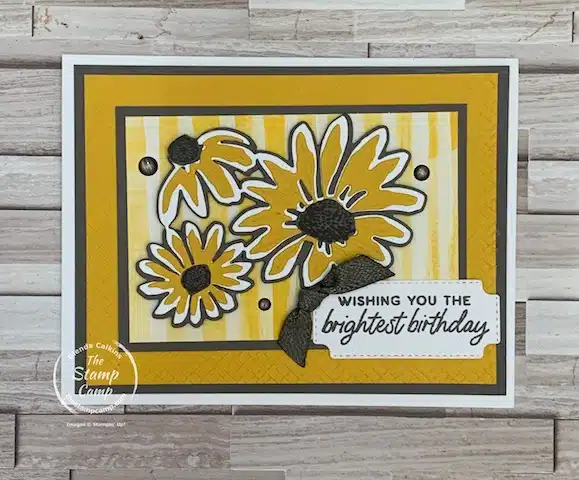
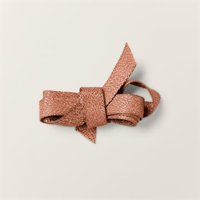
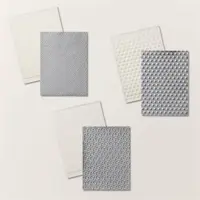
The card base on this card is Thick Basic White and I cut a strip of Crushed Curry cardstock and embossed it with the Crosshatch embossing folder from the Basics 3D embossing folders pack which is an only exclusive ONLY product. You can find all the online exclusive products HERE. I attached the strip first followed by the printed piece from the Fresh As A Daisy Designer Series Paper. I then added the sentiment piece, a few of the Copper Clay gems and finished it off with the Copper Clay bow.
Card #5
Now we are getting into the more intricate cards. These are simple as well you just have a bit of die cutting and assembling of the Daisies. The card base is the Thick Basic White cardstock and the matted pieces are Pebbled Path and Crushed Curry. I also ran the Crushed Curry through the same Crosshatch embossing folder as the last card. The daisy pieces are Pebbled Path, Basic White and Crushed Curry for the final more intricate piece on the top. It looks like I used the Brushed Brass dots on the card but they are actually the Pebbled Path gems. The ribbon is Pebbled Path as well.
Card #6
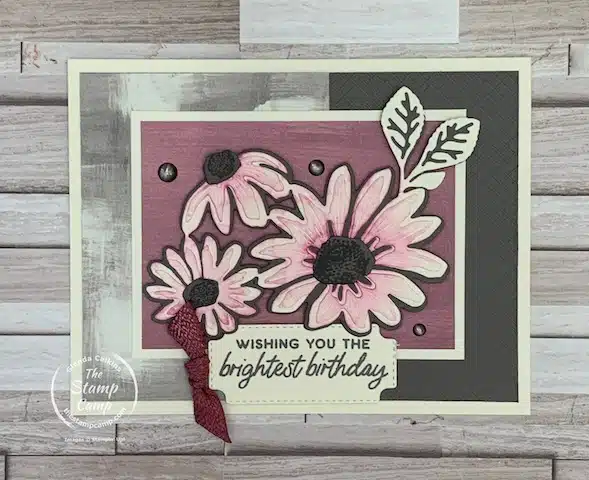
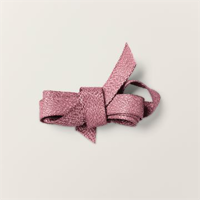
For this card I actually did a bit of sponging with the sponge dauber and the Moody Mauve ink. This time I went with the Thick Very Vanilla card base and the sentiment piece and Daisies were all die cut from Very Vanilla cardstock as well. There are 3 layers to these Daisies as well with Pebbled Path as the base layer and then 2 layers of Very Vanilla sponged with Moody Mauve ink. The Daisy centers are Pebbled Path ink stamped on Pebble Path cardstock and then die cut out. The ribbon is the Moody Mauve ribbon and the gems are Pebbled Path.
Card #7
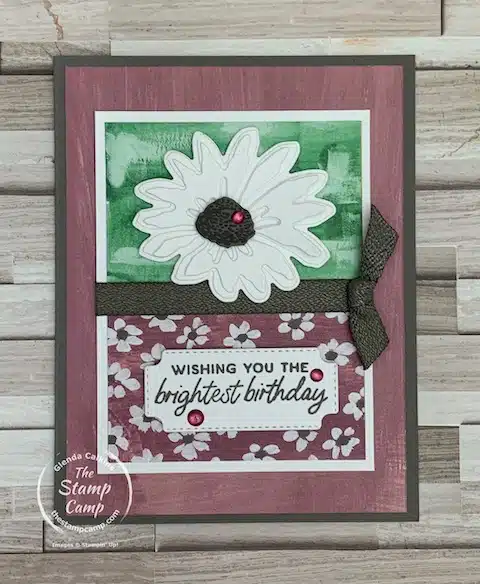
This is the final Daisy card and it is triple layers of Basic White with the top intricate layer only adhered to the other layers at the center giving this a more 3 dimension daisy. This is one of the prints in the pack that I kept intact and didn’t cut apart, instead I just ran the Pebbled Path ribbon across the front of it securing the ends down on the backside of the Basic White matted piece. The background Moody Mauve piece is actually the backside of one of the printed pieces I cut out of the one sheet wonder piece. I did this with the Moody Mauve piece on card #6 as well. No one said you had to use all the front pieces from the One Sheet Wonder cuts 🙂
This time I used the Moody Mauve gems to accent the Daisy center and the sentiment piece.
Here is your shopping list for these Seven Fresh as a Daisy Designer Series Paper One Sheet Wonder Cards:
Click on any of the supplies you wish to purchase and add them to your shopping cart. Make sure to use the Host Code unless your order is over $150.00 then you are your own host and will receive all the host benefits.
Host Code: SG6Y2GDR
Here is the Video:
August Customer Appreciation:
Place a min. $50.00 order (before shipping and tax) and you MUST Use the Host Code: SG6Y2GDR – I’ll send you a package of 10 Handmade Cards from me.
Remember you MUST use the Host Code unless your order is over $150.00, then do NOT use the host code and you will receive the host benefits, plus my rewards.
What Stamping Specials would you like to see for my customer appreciation? Do you enjoy tool caddy’s or handy items like these for your craft rooms or do you prefer gems or jewels?
Please use the host code: SG6Y2GDR
Click HERE to view How To Use A Host Code
Is the Fresh as a Daisy Designer Series Paper on your wish list? How about giving my Card Club a try? You can do a one month trial before subscribing. Click HERE for details.
Place your orders Here: https://stampl.ink/shop
