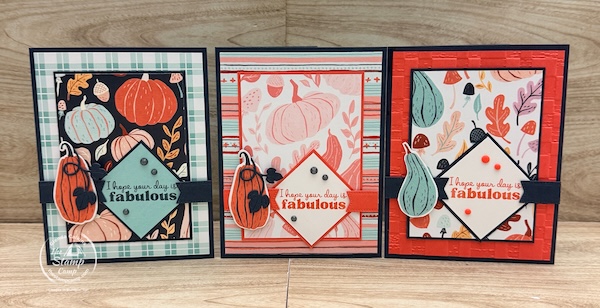
Have you ever looked at your beautiful Designer Series Paper and wondered how to turn it into a card that really stands out? That’s where DIY card sketch templates come in! Today at The Stamp Camp, I’m sharing Card Sketch #77 with a few creative twists that show how changing your paper patterns, colors, and even the placement of your sentiment can make a big difference. I’m featuring the gorgeous Painted Patch Designer Series Paper and Painted Pumpkins Bundle from Stampin’ Up!® to show you just how easy it is to create handmade cards you’ll be proud to send!
What makes today’s sketch so much fun? All three cards use the same basic layout, but I’ve changed the Designer Series Paper prints, cardstock colors, embellishments, and placement of a few elements to give each card its own unique look.
These are the kinds of beginner-friendly card sketch examples I love sharing because they show you how easy it is to take one simple design and make it your own!
Whether you’re new to rubber stamping, returning to cardmaking, or simply looking for fresh ideas for using your Designer Series Paper, I think you’ll enjoy today’s cards.
And if you love the Painted Patch products I’m featuring today, make sure to check out my October Customer Appreciation offer farther down in this post. You can receive 20 downloadable project PDFs featuring this beautiful collection!
Card Sketch #77 – A Simple Layout with a Creative Twist!
Today’s DIY card sketch template features a beautiful Designer Series Paper background, a coordinating focal panel, and a diamond-shaped sentiment framed by two narrow banners.
It’s a fun layout that works beautifully with patterned paper, especially when you have coordinating prints like those in the Painted Patch Designer Series Paper collection.
The best part? You don’t need to reinvent the wheel every time you sit down to make a handmade card. Simply change your papers, colors, or embellishments, and you have a completely different look!
Cardmaking Tip: Try combining a bold Designer Series Paper print with a softer coordinating pattern. The contrast helps your focal panel stand out without overwhelming the card.
Let’s take a closer look at the three cards I created using this week’s sketch.
Card #1 – Beautiful Fall Pumpkins with Secret Sea
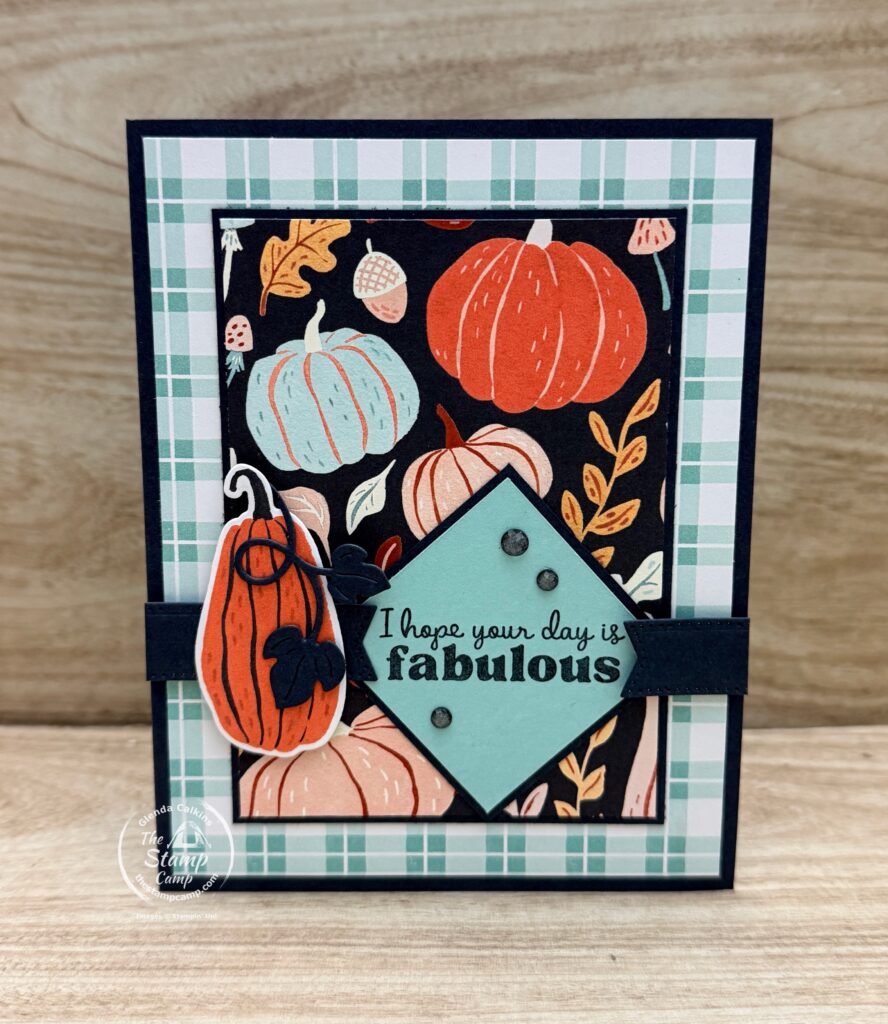
My first card follows Card Sketch #77 as shown, using the rich fall colors and beautiful pumpkin prints from the Painted Patch Designer Series Paper.
I started with a Secret Sea cardstock base and added a coordinating print from the Painted Patch Designer Series Paper to the card front.
For my focal panel, I selected a bolder print featuring pumpkins and gourds, cut it down, and matted it onto Secret Sea cardstock before centering it on the card.
Now comes the fun part!
Instead of using a traditional square for my sentiment, I turned the square diagonally to create a diamond shape. I stamped the greeting “I Hope Your Day Is Fabulous” from the Painted Pumpkins Bundle onto the square.
To frame the sentiment, I used the long, narrow banner die from the Stylish Shapes Dies to cut two Secret Sea banners. I positioned them on either side of the diamond-shaped sentiment and trimmed the ends flush with the sides of the card.
For an additional fall accent, I used the Painted Pumpkins Dies to cut a pumpkin directly from the Designer Series Paper. I also die cut the coordinating leaves and vine from Secret Sea cardstock and added them to the pumpkin.
A few Secret Sea Radiant Gems from the Sunflower Fields Suite Collection finished off the card front beautifully!
Card #2 – Same Card Sketch, a Softer Fall Color Combination
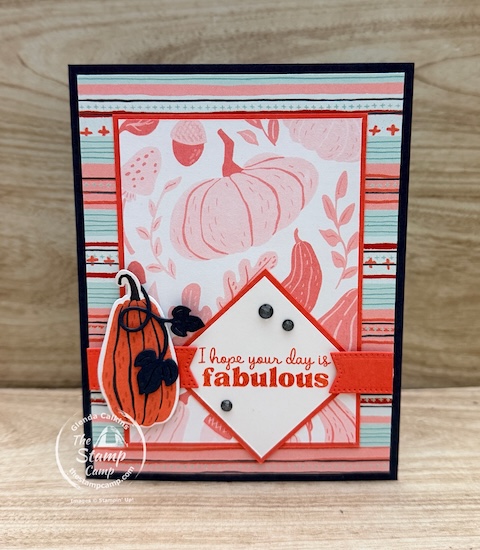
For my second card, I followed the same basic sketch but changed the Designer Series Paper prints to create a softer look.
Again, I started with a Secret Sea cardstock base and added a coordinating print from the Painted Patch Designer Series Paper collection.
This time, I chose the soft pinkish pumpkin print for my focal panel and matted it onto Calypso Coral cardstock before centering it on the card front.
I kept the same diamond-shaped sentiment but made two small changes that gave this card a slightly different appearance.
First, I moved the sentiment farther down on the card front. This allowed more of the beautiful Designer Series Paper focal panel to show above it.
Second, instead of using Secret Sea for my banner pieces, I die cut them from Calypso Coral cardstock using the Stylish Shapes Dies.
I also shortened the banners so they extended only to the edges of the Designer Series Paper background rather than all the way to the edges of the card.
These may seem like small changes, but they make a noticeable difference!
I finished the card with another pumpkin die cut from the Painted Patch Designer Series Paper, added Secret Sea leaves and vines, and embellished the front with a few Secret Sea Radiant Gems.
Same sketch, different prints, and a slightly different placement!
This is why I love using downloadable card sketches when making handmade cards. You can follow the original layout exactly or make a few simple adjustments to create something uniquely yours.
Card #3 – Add Texture with an Embossing Folder!
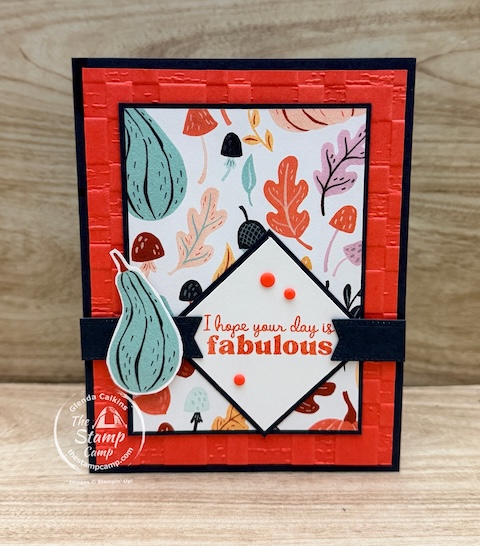
For my third card, I decided to change things up a little more while still following the same basic layout.
I started with another Secret Sea cardstock base, but this time, instead of covering the background with Designer Series Paper, I embossed a piece of Calypso Coral cardstock using the Rustic Check 3D Embossing Folder from the Painted Patch Suite Collection.
What a difference a little texture can make!
For my focal panel, I selected another print from the Painted Patch Designer Series Paper collection, matted it onto Secret Sea cardstock, and centered it on the card front.
I kept the diamond-shaped sentiment and framed it with Secret Sea banner die cuts using the Stylish Shapes Dies, just as I did on the first card.
Instead of using a die-cut pumpkin, I hand-cut one of the gourds directly from the Designer Series Paper and attached it to the card front.
To finish this card, I added a few Painted Patch embellishments from the Painted Patch Suite Collection.
By replacing the Designer Series Paper background with embossed cardstock, I was able to give this card a completely different appearance without changing the overall sketch.
Here’s a little cardmaking tip: The next time you’re using one of your favorite card sketches, try replacing a patterned paper layer with embossed cardstock. It’s an easy way to add texture and interest while using the supplies you already have!
Three Cards, One Sketch – Which Is Your Favorite?
There you have it! Three beautiful fall cards created with Card Sketch #77, the Painted Patch Designer Series Paper, and the Painted Pumpkins Bundle.
Each card follows the same basic layout, but a few simple changes give each one its own personality.
That’s what makes DIY card sketch templates such a wonderful tool for beginner and experienced stampers alike!
You don’t have to spend hours figuring out how to arrange your cardstock and Designer Series Paper. Start with a sketch, choose your favorite prints, and let your creativity take over!
Now I’d love to hear from you!
Which of today’s cards is your favorite?
- Card #1: Bold pumpkin prints with Secret Sea accents.
- Card #2: Soft pumpkin prints with Calypso Coral accents.
- Card #3: Textured background with a hand-cut gourd.
Leave me a comment below with 1, 2, or 3! I always enjoy hearing which designs you like best!
Download Your FREE Card Sketch #77!
Love today’s layout? Now it’s your turn to get creative!
If you’ve been searching for card sketches free to download, you’re in the right place!
Every Wednesday is Card Sketch Day at The Stamp Camp, and I love sharing new cardmaking ideas to help you get more creative with your Stampin’ Up! supplies.
You can download your FREE Card Sketch #77 below and add it to your collection of printable card sketch templates.
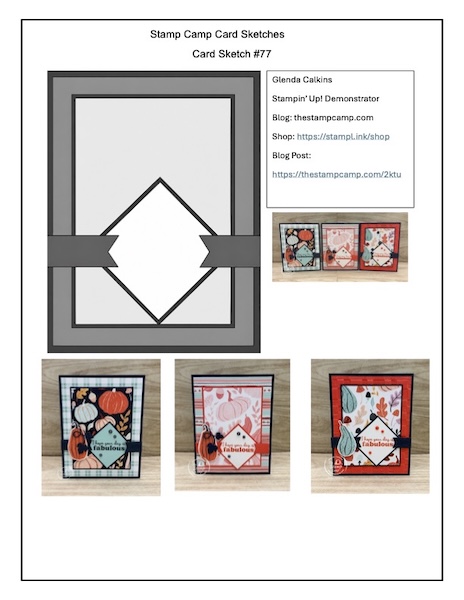
I recommend printing your sketches and keeping them in a binder. That way, whenever you need a little cardmaking inspiration, you’ll have plenty of layouts ready to go!
You can also find my previous free downloadable card sketches in the Photo Gallery under the Weekly Card Sketches Album here on my blog.
Want Card Sketch #77 with Measurements and Step-by-Step Instructions?
Love the sketch but prefer having the exact measurements and instructions?
I’ve got you covered!
When you place a minimum $50 qualifying order in my Stampin’ Up! online store during October, I’ll send you the information to access the downloadable card sketches with measurements and step-by-step instructions.
You’ll also receive access to additional creative inspiration through my October Customer Appreciation offer, which I’ll explain below!
Shop the Supplies for Today’s DIY Card Sketch Templates:
Ready to turn your favorite Designer Series Paper into beautiful handmade cards?
I’ve made shopping easy! Below you’ll find the Stampin’ Up! products I used to create today’s three cards.
Whether you’re just getting started with rubber stamping or adding a few new favorites to your craft room, these coordinating products make it easy to recreate today’s designs or put your own creative spin on Card Sketch #77.


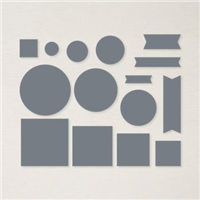

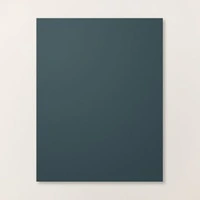
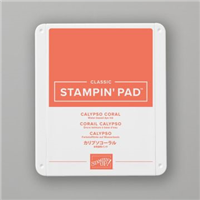
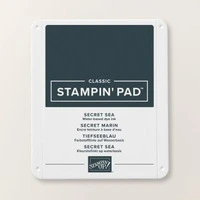


Simply choose the products you need and start creating!
And remember, when you shop with me during October, your qualifying order can earn you an exclusive collection of downloadable cardmaking projects!
SHOP WITH THE STAMP CAMP:
https://stampl.ink/shop
October Customer Appreciation – Your Choice of 20 or 34 Project PDFs!
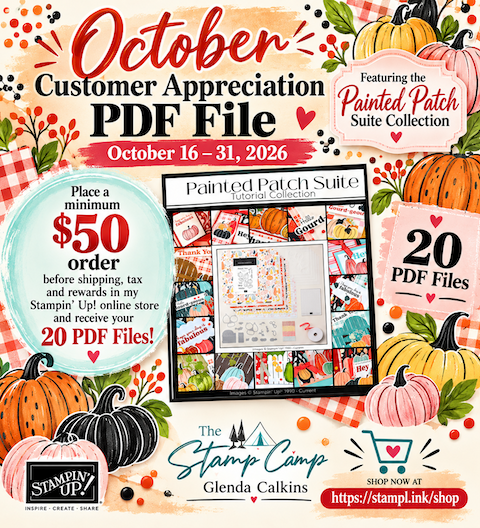
Love pumpkins, fall colors, and creating beautiful handmade cards?
Then you’re going to LOVE my October Customer Appreciation gift featuring the Painted Patch Suite Collection from Stampin’ Up!®
From October 16–31, 2026, I’m treating my customers to an exclusive collection of downloadable and printable project PDFs as my way of saying thank you for shopping with me!
And the best part? You get to choose which collection you’d like to receive!
Option #1 – Painted Patch Suite Collection: 20 Project PDFs!
If you love the Painted Patch products featured in today’s cards, this collection is for you!
You’ll receive access to my exclusive Painted Patch Album, featuring 20 handmade card projects with downloadable and printable PDF instructions.
Inside the collection, you’ll find inspiration for:
- Beautiful handmade cards featuring the Painted Patch Suite Collection.
- Fun folds with creative twists and unique designs.
- Quick and easy cards perfect for beginner stampers.
- Step-by-step PDF instructions you can download and print.
- Creative ways to use your favorite Designer Series Paper, stamps, and coordinating products.
These PDF files are yours to save, print, and refer to whenever you’re ready to create!
Option #2 – Sunflower Fields Suite Collection: 34 Project PDFs!
Prefer sunflowers over pumpkins?
No problem!
You can choose my Sunflower Fields Album instead and receive 34 beautiful handmade card projects featuring the Sunflower Fields Suite Collection.
Each project includes a downloadable and printable PDF file, giving you plenty of creative inspiration for using these gorgeous Stampin’ Up! products.
How Do You Receive Your Customer Appreciation Gift?
It’s easy!
Place a minimum $50 order in my Stampin’ Up! online store between October 16–31, 2026, and you’ll receive access to the PDF collection of your choice.
IMPORTANT: Your qualifying merchandise total must be at least $50 after any Stampin’ Rewards have been applied, but before shipping and tax.
After placing your order, simply email me with your choice of the Painted Patch or Sunflower Fields PDF Collection, and I’ll email you the password to access your selected album on The Stamp Camp blog.
Want BOTH PDF Collections? Get All 54 Projects!
Can’t decide between pumpkins and sunflowers?
Why choose when you can have BOTH?
When you place a minimum $100 qualifying order between October 16–31, 2026, I’ll send you the passwords to BOTH Customer Appreciation albums!
That’s:
20 Painted Patch Project PDFs
34 Sunflower Fields Project PDFs
A total of 54 downloadable and printable cardmaking projects!
Your merchandise total must be at least $100 after any Stampin’ Rewards have been applied, but before shipping and tax.
Just think of all the beautiful handmade cards you can create with that much inspiration!
Don’t wait! This special October Customer Appreciation offer ends October 31, 2026!
SHOP WITH THE STAMP CAMP TODAY!
Thank You for Stamping and Shopping with The Stamp Camp!
Thank you so much for stopping by and checking out this week’s Card Sketch #77!
I hope these beginner-friendly card sketch examples have inspired you to pull out your favorite Designer Series Paper and try something new.
Remember, you don’t need to follow a card sketch exactly. Sometimes moving a sentiment, changing a color, or adding a little texture is all it takes to create something completely different!
Your orders truly make it possible for me to continue creating and sharing these free card sketches, tutorials, and cardmaking inspiration each week.
Whether you’re placing your very first Stampin’ Up! order with me or you’re one of my wonderful returning customers, I sincerely appreciate every order, large or small.
Be sure to stop back next Wednesday for more DIY card sketch templates from The Stamp Camp!
Happy Stamping!
Glenda Calkins
The Stamp Camp
Your Independent Stampin’ Up! Demonstrator