
Today I’m continuing on with my series of how to color a multi-image stamp. There are several different stamping techniques that you can do when you want to multi-color a stamp before stamping. Today I’m showing you the Marker Technique. This may be an old technique for some of you but maybe a new technique for the beginner stamper.
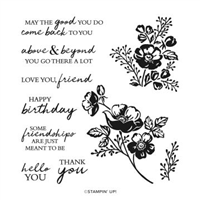
I was asked by a team member how to color or stamp an image when you have flowers and leaves on the same stamp. She wanted her stamped image to be in different colors but wasn’t sure how to accomplish that task. This got me thinking that maybe more stampers would want to know how to do this; so that’s why I am showing you a series of ways to accomplish this stamping question this week. If you have a question about stamping or maybe a technique; ask and I’ll show you how. Plus, I’ll send you a package of embellishments in the mail for asking to see a specific technique or fold or just a general stamping question.
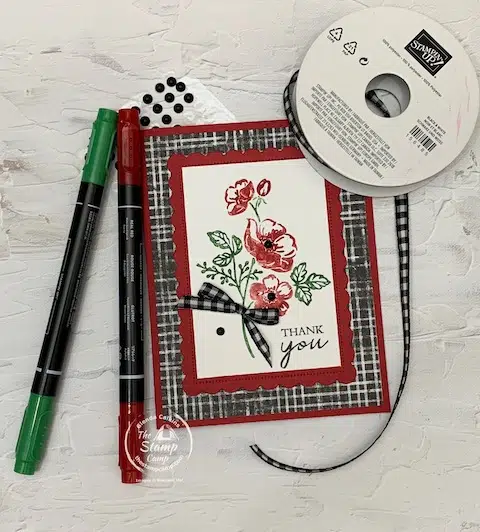
How do you do Stamping Techniques with marker’s. It’s easy but I have a few tips for you. First you will want to make sure that your stamp has been stamped and cleaned a few times; or seasoned if you will. This will ensure better ink coverage and your marker ink shouldn’t bead up so much. Next if it is a photopolymer stamp you will want to make sure that you have the foam pad underneath your cardstock that you are stamping on. If it is a red rubber stamp you will get a much nicer stamped image. The final step is to ink your image with the different marker colors that you want. Once you have inked your entire stamp with the Markers give it a good huff (breathe on your stamps with your hot breath to remoisten the ink); then stamp. When you do this Marker Technique you will get different results every time. It will never be smooth all over like an ink pad but will give your stamped image some texture and character.
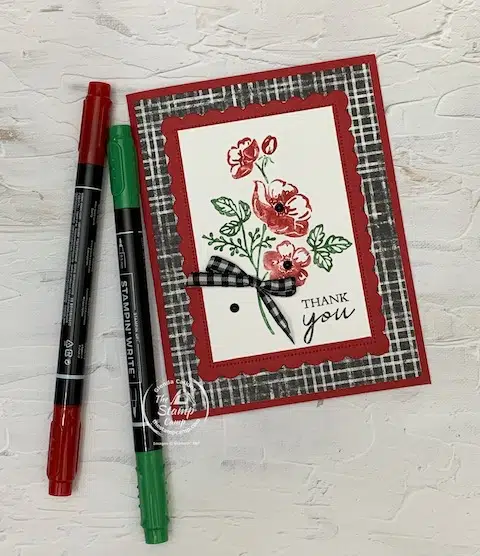
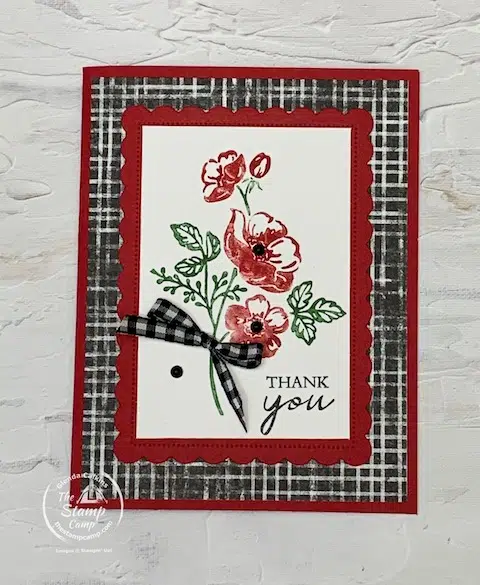
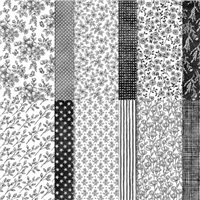
The markers that I used on today’s card are the Real Red and Garden Green. The background paper is once again the Perfectly Penciled Designer Series Paper. I used the Scalloped Contours Dies to give that nice Scalloped boarder around my stamped image.
Here is your shopping list for today’s Simple Stamping Techniques with Markers:


Click on any of the supplies you wish to purchase and add them to your shopping cart.
Remember to use the Host Code if you order is under $150.00! If your order is over $150.00 you are your own host and will receive the host benefits.
Host Code: NVV3MP7J
Join My Team in October!
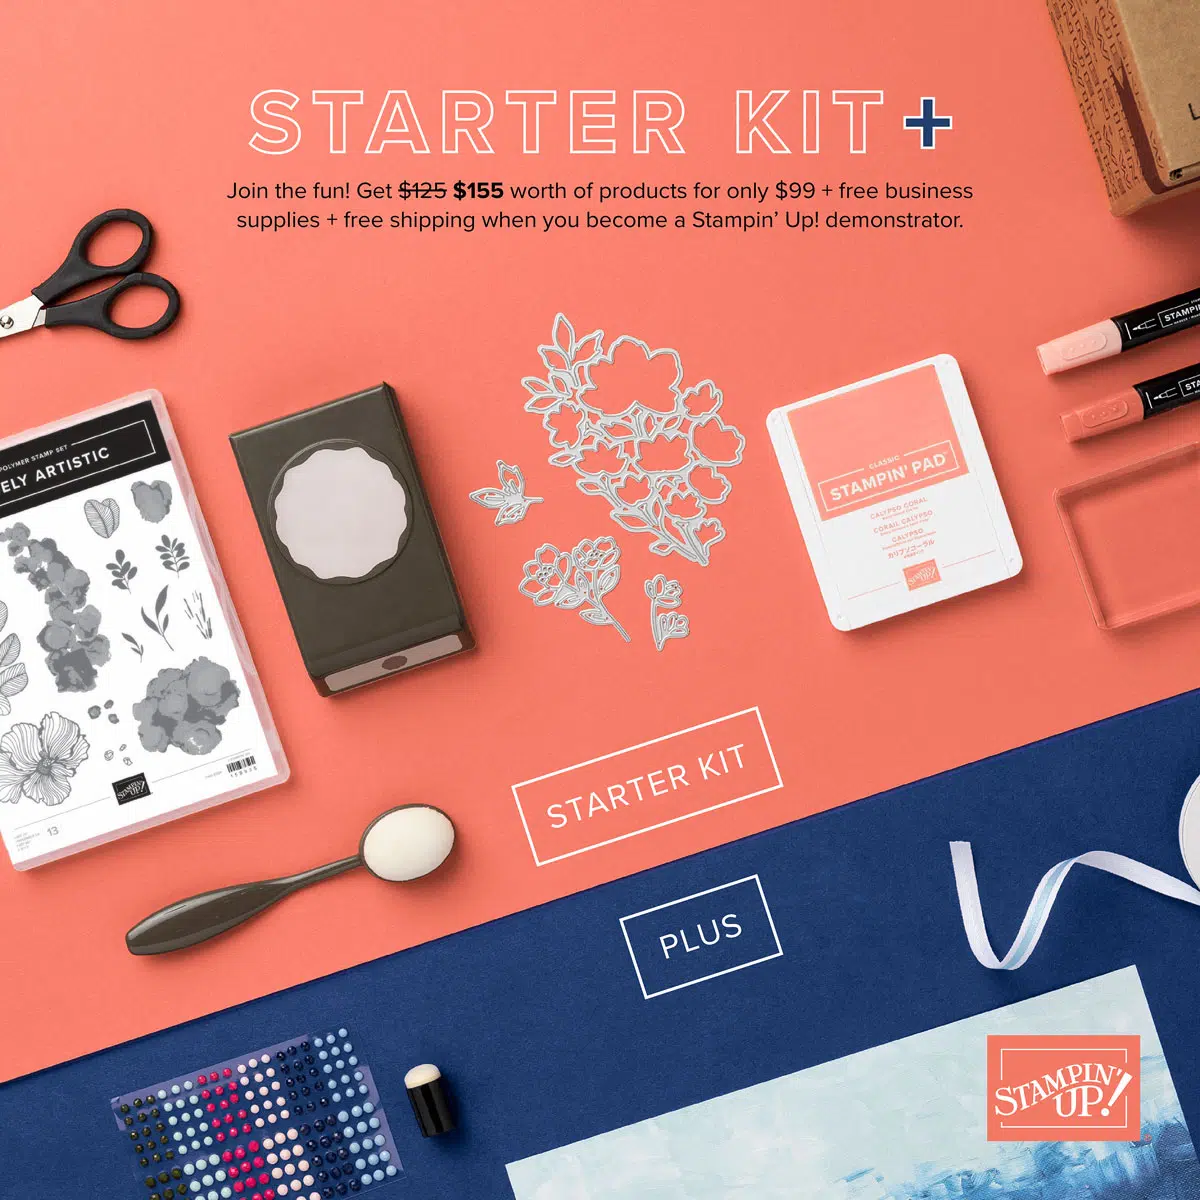
Join My Team October 4 – 31, 2022 for $99.00 and Choose $155.00 in Products of your choice PLUS Free Shipping!
- Choose $155.00 worth of products of your choice from any of the current catalogs
- FREE Shipping
- FREE Past Paper Pumpkin Kit
- Business resources like catalogs, brochures, order forms, and postcards
- When you become a Stampin’ Up! demonstrator you will get to be a part of our amazing community of crafters. Plus, you get to enjoy sharing simple and fun crafting experiences with others, early access to products, and exclusive access to training events.
- Enjoy 20% off all your crafting supplies and once you have reached sales of $1800 get 25% off all your crafting supplies.
Yes, ALL THAT FOR ONLY $99.00; no strings attached!
What I love about the Stampin’ Up! Starter Kit is YOU get to choose whatever you want in your kit! Whether you want all stamp sets, ink pads, card stock or dies the choice is yours!
Become a Stampin’ Up! demonstrator and Join my team and SAVE! Don’t let the term demonstrator scare you off. If you want to shop only for the discount you can think of yourself as a Costco or Sams Club shopper you are a member so you get a discount or consider yourself a discount shopper. You do not have to hold parties or workshops to be considered a demonstrator you can just be your own best customer.
It is super easy to join and there are no obligations to continue if you decide it isn’t right for you.
If you are a frequent buyer becoming a Stampin’ Up! Demonstrator will save you LOTS! You will get early access to catalog pre-orders, a discount on all your stamping supplies, your demonstrator discount on top of sale discounts, no parties necessary, enjoy your discount every day and on every order.
To get started To Become a Stampin’ Up! Demonstrator all you need to do is click on the Join Button below:

The next thing you need to decide is what you would like in your kit.
New Kit Collection by Stampin’ Up!
Available NOW While Supplies Last
Birthday Card Organizer Kit #161056 $25.00

Get ready for the latest addition to the Kits Collection by Stampin’ Up! The Birthday Card Organizer Kit has everything you need to plan ahead and never forget another birthday again! This makes a great Christmas Gift!
DETAILS
- Kit includes one 8″ x 10″ (20.3 x 25.4 cm) monthly planner with space to record birthdays each month as well as a pocket sleeve to hold birthday cards.
- Includes 12 full-size birthday cards, 6 of 2 designs, and 12 coordinating envelopes.
- Includes Glue Dots, Stampin’ Dimensionals, Adhesive-Backed Embellishments, and Tear & Tape Adhesive
- Includes die-cut florals and pieces ready for you to use—no prep work required!
- Includes sticker sentiments and die-cut labels in Dutch, English, French, and German
- Coordinating colors: Basic Black, Evening Evergreen, Petal Pink, Sahara Sand, and Soft Succulent
Stamp Camp Customer Appreciation for October:
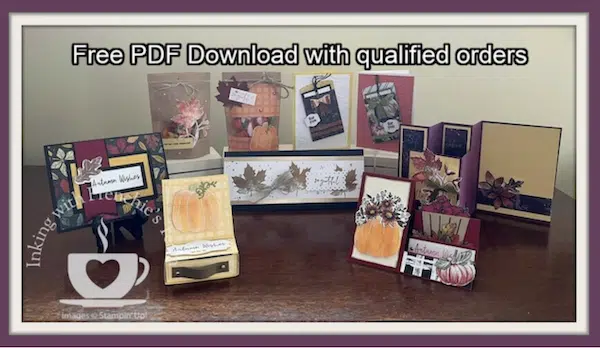
Check out this month’s Customer Appreciation PDF file! It is packed with awesome cards and projects. Did I say packed? I mean chocked full of awesome fun fold cards, like an Easel Side-Step card, a Triple Fold Card, Peek-a-boo Treat Bags, Slim-Line Card, an Easel Card with a Drawer for goodies, plus a gift card holder/card all in one! Plus, these projects have some of that gorgeous Designer Series Paper from Stampin’ Up! used on them. Mix and match what papers you have on hand; substitute where needed. It is just that simple. Now if this doesn’t get you excited for the PDF file maybe the photo below will! Just gorgeous and great Fall projects and cards!
This month’s customer appreciation PDF file was created by Susan Molloy a fellow team mate. Susan did a fabulous job creating these Colors of Autumn fun fold cards and 3D projects.
How do you get the PDF File? Place a min. $40.00 Online Order with me and you MUST use the Host Code: NVV3MP7J
If you wish to see the list of supplies you will need for this month’s Customer Appreciation PDF file Click HERE.
Also, if you haven’t already make sure to check out my Buyers Rewards Program and print off your slip and start tracking your purchases for FREE stamp set(s).

4 thoughts on “Basic Stamping Techniques For Coloring Multi-Image Stamps”
Thank you so much for the painted poppies technique. I really enjoyed it and learned a lot. I would really love if you could demonstrate how to create a slim line Christmas card.
Thank you, Sharon Smith
Hi Sharon, I will be more than happy to show you some slim line Christmas Card ideas. Stay tuned next week! Thanks so much for sending in your suggestion. I would like to send you a package of jewels; but will need your address. Email Me with your Snail Mail address. Thanks so much!
I have used this technique before and it works well. What I would like to see is after you stamp an image, how you color it in with shading. I never know where the darker and lighter colors should go. Do you have any tips for that?
Hi Maria, That is a very good question and one that I’m not so good at. This type of coloring has to do with watercoloring and using the blends and such. I will try my best and give you the tips and tools I’ve learned along the way as best I can. Look for these suggestions around the week of November 7th. I am focusing on 1 question a week with suggestions, cards, tips and techniques for the entire week. Send me your snail mail address and I will send you a package the week of your question. Thanks for the suggestion and making me work outside of my comfort zone. 🙂