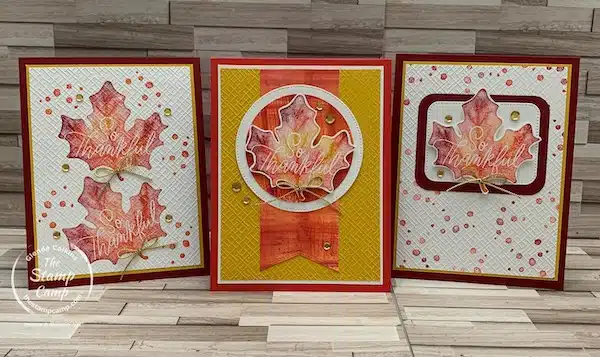
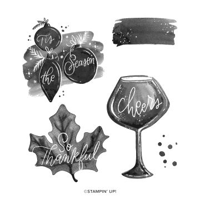
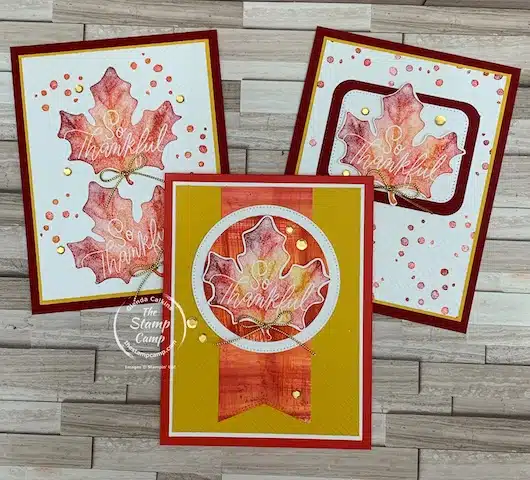
Are you ready for today’s trio of beautiful cards using the Cheers to the Season Stamp Set? On Monday I showed you a couple of cards using this set and how easy it was to create a simple card and then step it up by adding a few more layers. I also said I would be showing you different stamping techniques that you can do with this stamp set. I love a stamp set that you can take it and use it for a variety of occasions but you can also use it in different ways with different techniques.
Today’s cards all feature the Baby Wipe Technique showcasing a few different ways to use the baby wipe not only as an ink pad but to create background pieces and pieces that you can die cut to add even more elements to your cards. I’ll take each card in the trio and break it down for you on how it was done and you can decide which way or card you like best.
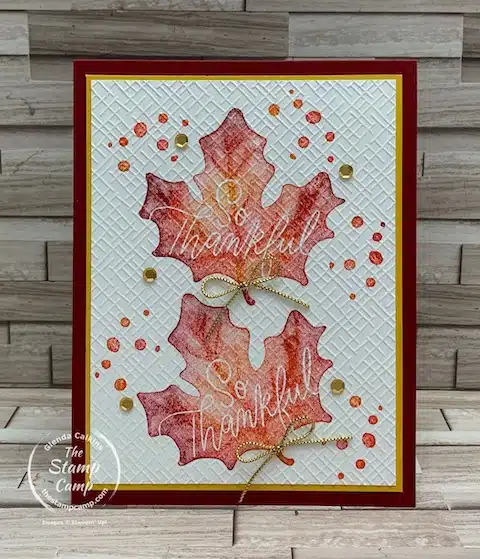
Let’s Dive into Card #1 Using the Cheers to the Season Stamp Set
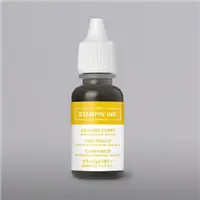
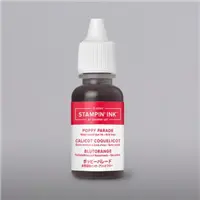
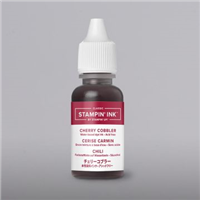
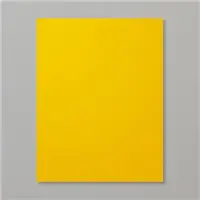
If you are new to the baby wipe technique you can find a video tutorial I made years back HERE. This stamping technique is super easy to do so let’s jump in. To begin you will need a little pile of baby wipes. I think I folded about 5 or 6 baby wipes creating a nice cushion on a paper plate. I then added Crushed Curry Ink Refill in the center, followed by Poppy Parade and then the outside edge was Cherry Cobbler. I find 2 or 3 colors is a nice mix more than that and your color can become muddy. Also, this technique works best with solid image stamps that you will find in the Cheers to the Season stamp set.
Once you have your faux ink pad you can begin by inking up your image and stamping just like any other stamp and ink; but you will find a nice marbling of colors when you stamp your image. Each stamped image will be a bit different depending on how much ink you get on your stamp and as you repeat inking the colors will combine more and more.
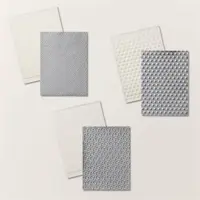
For the first card I stamped the leaf image twice and then decided to use the dotted image from the same stamp set to splatter around my leaves. I then decided to place the whole stamped image inside the Crosshatch embossing folder and emboss it. This embossing folder is part of the Basics 3D Embossing Folders pack only available ONLINE; you will not find it in any of the Stampin’ Up! publications. To view all the online exclusive products click HERE.
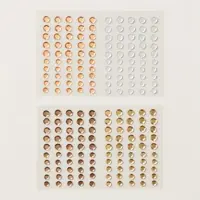
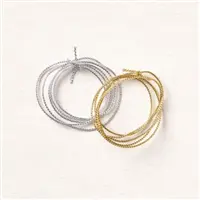
I matted the embossed piece onto a piece of Crushed Curry and the card base is Cherry Cobbler. I then added a couple of gold bows from the Simply Elegant Trim pack and finished it off with Gold Sequins from the Neutrals Adhesive-backed Sequins.
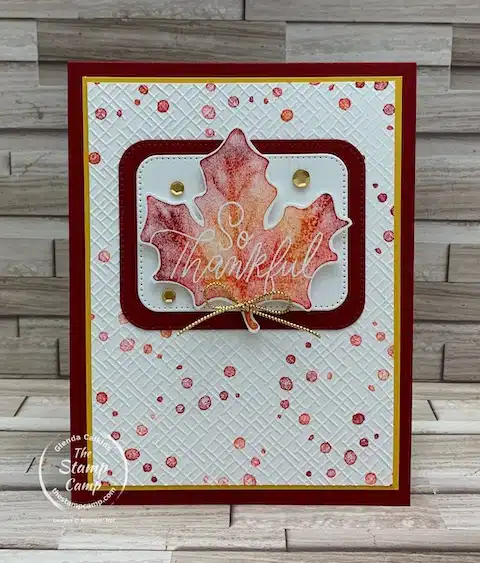
So Thankful Card #2
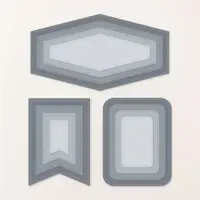
Now when I create an Ink Refill ink pad with baby wipes, I like to make sure I get a lot of images stamped; at least more than I intend on using and then to use up the remaining ink I make background prints. So, for this card I created the dotted background embossed piece with the baby wipe pad and the dotted stamp from the set. I also inked and stamped the leaf image and then hand cut it out. I popped up the leaf image using dimensionals and the die cut pieces it is attached to are from the Nested Essentials Dies. Again, I used the Gold Simply Elegant Trim and the Gold Sequins to finish off the card. I also stamped a leaf image on a piece of 4 X 5 1/4 Basic White cardstock and attached it to the inside of the cards.
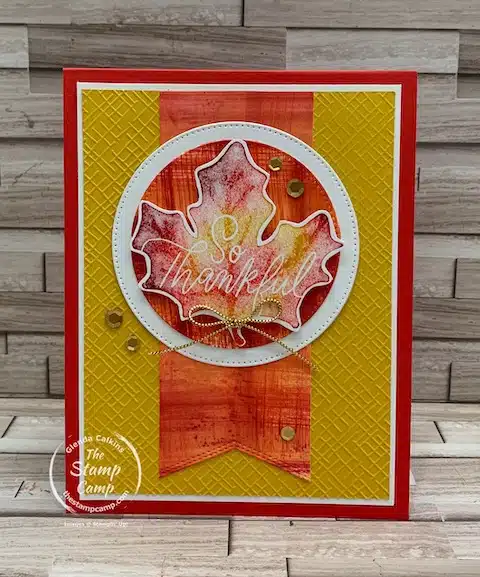
Card #3
After you have stamped all your images and it seems like your ink is running out it is time to start creating some background prints. I picked up the baby wipe “ink pad” and dragged it across a piece of Basic White cardstock creating my own Designer Series Paper; I created quite a few background pieces. After your paper has dried you can cut it in strips, die cut it or even stamp on it with Black ink and hand cut or die cut out your images.
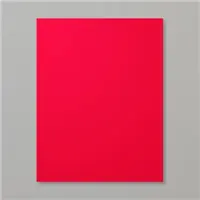
For this card I cut a strip of my handmade Designer Series Paper and used the banner from the Nested Essentials dies to create the banner piece along the bottom edge. I also used it to die cut the smaller circle using the Stylish Shapes dies circle die. Again, I embossed the Crushed Curry cardstock with the Crosshatch embossing folder and then attached it to a piece of Basic White and the card base on this one is the Poppy Parade cardstock.
Looking for the Best Seasonal Stamp Sets – Check Out My Store:
Just click on the products you wish to purchase and add them to your shopping cart.
Make sure to use the Host Code unless your order is over $150.00 then you are your own host and will receive all the host benefits.
Host Code: SVETXTY9
When it comes to spreading holiday cheer, the Cheers to the Season Stamp Set is an absolute must-have. This set is one of the best seasonal stamp sets in the New Stampin’ Up! Mini Catalog. With its festive designs and versatile options, this stamp set is sure to elevate your crafting projects to a whole new level of holiday magic. This stamp set will take you from Fall cards, Thanksgiving, Christmas and New Years all in one set! The images are beautiful and this is a set you are sure to love!
Are you ready to take your crafting projects to new heights? Look no further than the Stampin’ Up! Mini Catalog and its must-have stamp sets that will unleash your creativity like never before. From stunning designs to endless possibilities, these seasonal stamp sets are perfect for beginners and seasoned stampers alike. Get ready to impress everyone with your crafting skills as I dive into the world of these must-have stamp sets. This week we are going to be taking a look at the Cheers to the Season Stamp Set.
September Customer Appreciation:
Place a min. $50.00 order (before shipping and tax) and you MUST Use the Host Code: SVETXTY9 and I’ll send you a package of the Fine Sparkle Adhesive-Backed Gems.
Remember you MUST use the Host Code unless your order is over $150.00, then do NOT use the host code and you will receive the host benefits, plus my rewards.
Please use the host code: SVETXTY9
Click HERE to view How To Use A Host Code
Is the Cheers to the Season stamp set on your wish list yet? If not I’m hoping to sway you in that direction this week. I think this stamp set is a hidden gem and I’m hoping you will think so too! In my book this is one of the best seasonal stamp sets you will find.
Birthday Special
I have something else I would like to share with you today. September is my Birthday Month and I came across these super cute totes and thought how about creating an Adhesive Tote for anyone who would like to purchase one. These make great gifts or keep for yourself. Once your adhesives are used up the tote is perfect for toting all your crafting tools for on the go crafting or to keep them all in one place.
What adhesives will come in your tote?
Each Tote Includes full pack of:
- Foam Adhesive Sheets
- Black Stampin’ Dimensional assortment pack
- Mini Stampin’ Dimensionals
- Stampin’ Dimensionals
- Mini Glue Dots
- Multipurpose Liquid Glue
I have a limited number of these totes available each tote is $34.00, plus $8.30 shipping in a padded Priority Envelope, and includes tracking services.
Tote & Contents over a $45.00 value (Tote Colors will vary: pink, black, orange, blue)
Click Here to Order now OR Fill out the Form Below: I’ll send you a PayPal invoice once I receive your email request to purchase my Adhesive Tote.
[contact-form][contact-field label=”Name” type=”name” required=”1″][contact-field label=”Email” type=”email” required=”1″][contact-field label=”Message” type=”textarea”][/contact-form]
What can you do with your tote after your adhesive is used up?
Make it a Tool Tote of course!
Believe it or not these totes hold A LOT! Store all your crafting essential tools inside the totes for traveling or just to keep all your things together.
Place your orders Here: https://stampl.ink/shop






2 thoughts on “Cheers To The Season Stamp Set With Ink Refills”
These 3 cards are lovely. I only discovered baby-wipe creating this past weekend at a World Card-Making Day get together. I plan to try these cards for Thanksgiving. Thank you for sharing.
Hi Denise, This is an old technique but I have to remember there are new stampers every day; so, time to start bringing back the old techniques and make them new again! Thanks for watching and Happy Stamping!