
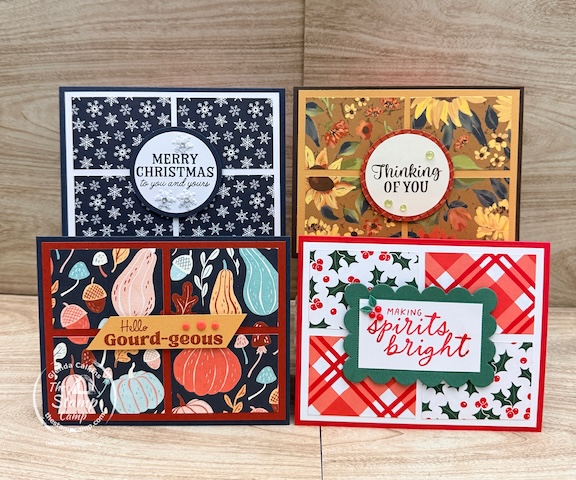
If you’re a new stamper looking for DIY card sketch templates that are easy to follow but still give you plenty of room to be creative, today’s Card Sketch #74 is a great one to add to your collection!
This week’s card sketch is all about keeping things simple. Four Designer Series Paper squares create the main portion of the card, and then you can add whatever type of sentiment or focal point works best with the supplies you have.
That’s what makes this one of my favorite beginner card sketch ideas. You can follow the sketch exactly or change it to fit your stamps, dies, punches, and Designer Series Paper.
Whether you love seasonal prints, scenic papers, florals, or bold patterns, this quick and easy card sketch can work with just about any Designer Series Paper you have on hand.
Card #1 – A Stitched Season Christmas Card
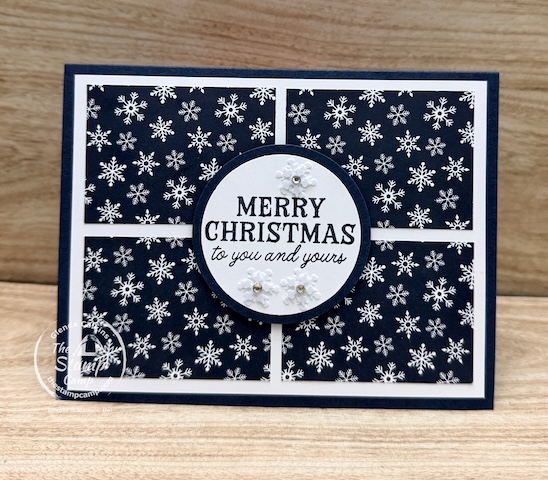
My first card follows Card Sketch #74 pretty closely.
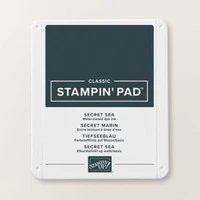
I started with a Secret Sea card base, followed by a Basic White mat. For the four squares, I chose the beautiful snowflake print from the A Stitched Season Designer Series Paper.
Rather than cutting four individual pieces from different areas of the paper, I started with one larger piece of the snowflake print and cut it into four sections. When the pieces are placed on the card front, you still get the look of the original print with that little bit of separation between each square.
For the sentiment, I used the Stitched Stockings stamp set and stamped “Merry Christmas to you and yours” on Basic White. I punched it out with a circle punch and then used a slightly larger circle punched from Secret Sea cardstock to create the mat.
The sentiment was popped up with Stampin’ Dimensionals.
I even pulled out some retired snowflake embellishments from my stash and added a clear rhinestone to the center. This is a great reminder that you don’t always have to buy something new for every card. Pull out those embellishments you already own and put them to use!
Inside the card, I added Basic White cardstock and a strip of the same Designer Series Paper to coordinate with the front.
Card #2 – Sunflower Fields
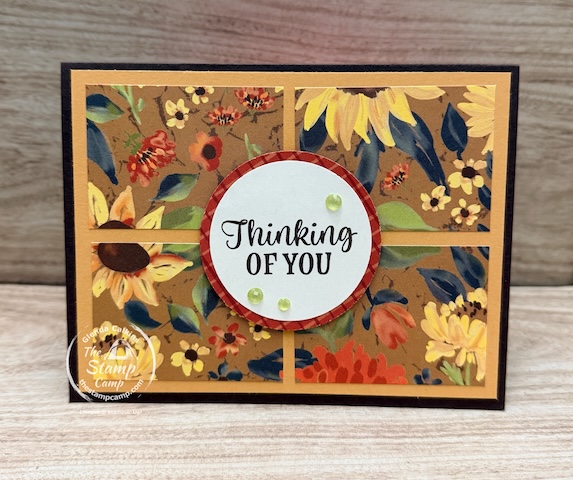
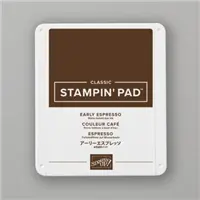
The card base is Early Espresso, followed by a Golden Glow mat and the gorgeous Sunflower Fields Designer Series Paper.
Again, I took one larger section of the Designer Series Paper, cut it into four squares, and placed those pieces across the card front.
This time, instead of using cardstock for the larger circle behind my sentiment, I punched the circle from another print in the Sunflower Fields Designer Series Paper.
I stamped my sentiment from the Radiant Sunflowers stamp set in Early Espresso ink on Very Vanilla cardstock, punched it out, and layered it over my Designer Series Paper circle.
A few Radiant Dots were the perfect finishing touch.
Inside, I added Very Vanilla cardstock with a small strip of the same Designer Series Paper.
This is such an easy way to make the inside of your handmade cards feel finished without adding a lot of extra work.
Card #3 – Painted Pumpkins
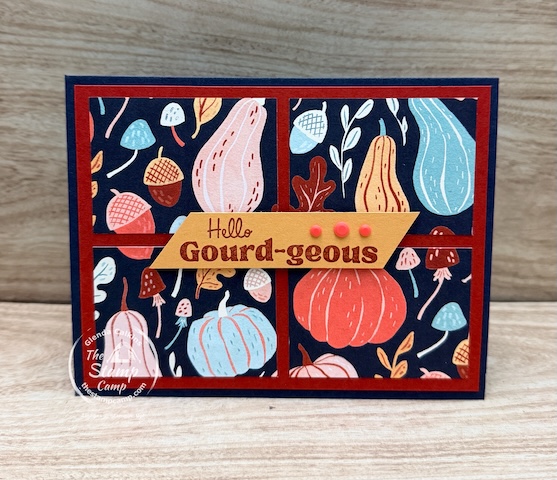
Card number three shows how easily you can start changing a sketch to make it your own.
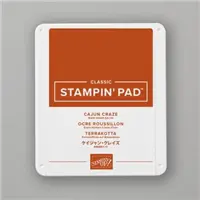
I used a Secret Sea card base, a Cajun Craze mat, and a print from the Painted Pumpkins Designer Series Paper.
I followed the sketch for the four Designer Series Paper squares, but when it came time to add the sentiment, I skipped the circle completely.
Instead, I cut a strip of Golden Glow cardstock and stamped the sentiment from the Painted Pumpkin Bundle using Cajun Craze ink.
I finished the front with the coordinating Painted Patch Dots.
The inside has Basic White cardstock and another little strip of Painted Pumpkins Designer Series Paper.
Same card sketch. Same four-square layout. Completely different look!
Card #4 – Timeless Christmas
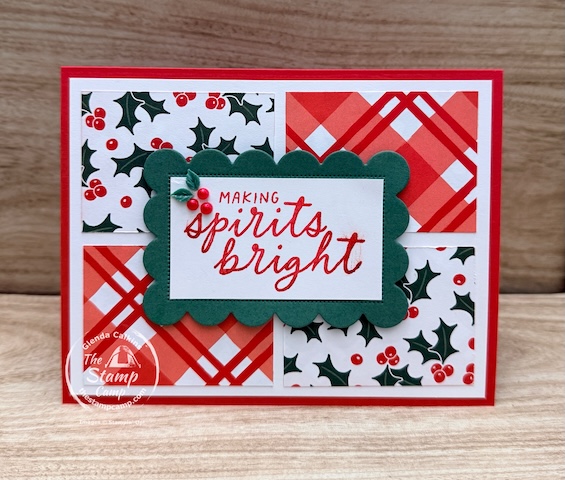
For my final card, I changed things up even more.
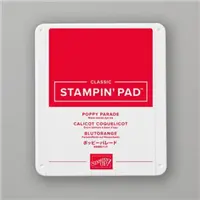
The card base is Poppy Parade, followed by a Basic White mat and pieces of Timeless Christmas Designer Series Paper.
Instead of using the same print for all four squares, I alternated two coordinating prints from the paper pack. Two squares feature one print and the other two feature a different print.
This is a fun option when you can’t decide which side of your Designer Series Paper you like best!
I also replaced the circle focal point from the original sketch with the beautiful scalloped dies from the Scalloped Christmas Bundle.
The coordinating stamp set provided my sentiment, and I finished the card with Christmas Berries embellishments.
Inside is Basic White cardstock with a strip of Timeless Christmas Designer Series Paper.
Make This DIY Card Sketch Template Your Own
I hope these four cards show you why I love using card sketches, especially if you are just getting started with card making.
A sketch is simply your starting point.
You don’t have to copy every element exactly, and you don’t even need measurements to begin creating.
For Card Sketch #74, I used:
- Circles
- A sentiment strip
- Scalloped dies
- Matching Designer Series Paper squares
- Coordinating Designer Series Paper prints
You could just as easily use a square, oval, label die, punch, or another shape you already own.
You can also use scenic Designer Series Paper for the four panels. Choose a portion of the scene you love, cut it into four pieces, and let the little spaces between the pieces create the design.
That versatility is what makes simple card sketch ideas so helpful for beginner stampers.
Beginner Card Sketch Ideas Start With the Supplies You Already Have
If you’re a new stamper, don’t feel like you need a huge collection of supplies before you can start making beautiful cards.
Choose a Designer Series Paper pack you love, coordinating cardstock, a sentiment stamp set, and a punch or set of dies. Then use DIY card sketch templates like Card Sketch #74 to help you put everything together.
The sketch gives you the basic idea, but you get to make the creative decisions.
That’s the fun part!
Download Card Sketch #74
Want to give today’s quick and easy card sketch a try?
You can download the free version of Card Sketch #74 below and use it with your favorite Stampin’ Up!® Designer Series Paper.
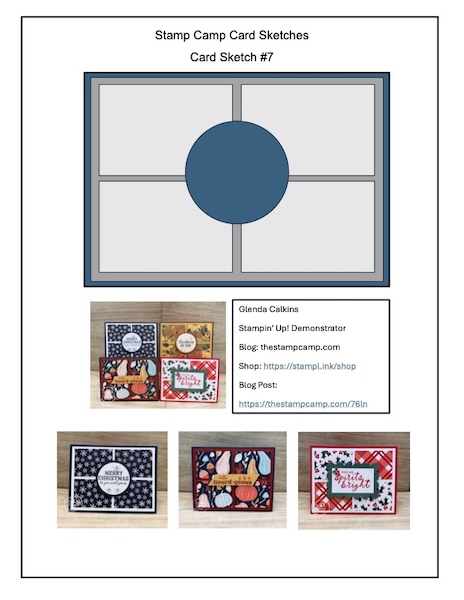
If you would like Card Sketch #74 with the measurements and step-by-step instructions, place a minimum $50 order (after shipping, tax, and rewards your cart total should be $50.00 or more) in my Stampin’ Up! online store, and I’ll send you the information to access the version with measurements and instructions.
Your order also qualifies you for my current October Customer Appreciation offer, so it’s a great time to stock up on the Stampin’ Up! supplies you’ve had your eye on while getting even more creative inspiration from The Stamp Camp.
Grab the Supplies You Need to Create Your DIY Card Sketch Templates:


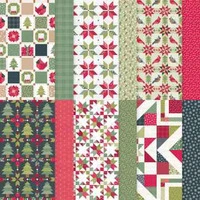


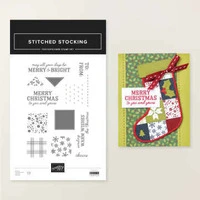


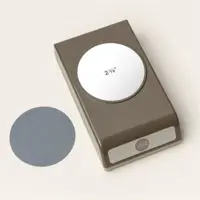



Simply choose the products you need, then use Card Sketch #74 as your starting point. Whether you copy one of my cards or create something completely different, I hope today’s creative card sketch inspires you to pull out your favorite Designer Series Paper and start creating!
Your orders truly are what make it possible for me to continue creating and sharing these free card sketches, project ideas, and inspiration each week. Whether you’re placing your first order with me or you’re one of my returning customers, I sincerely appreciate every order, large or small.
October Customer Appreciation
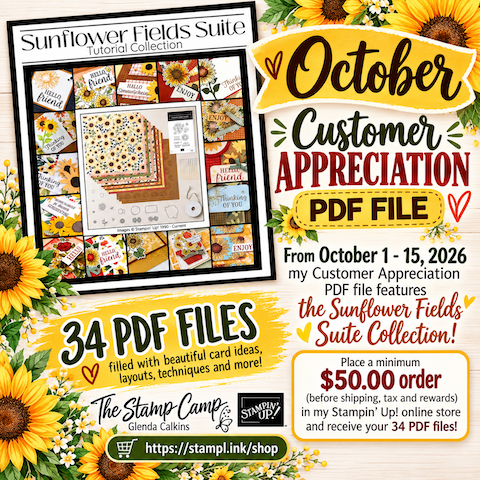
October Customer Appreciation — 34 Sunflower Fields Projects!
Love sunflowers? October 1–15, 2026 is the perfect time to add some beautiful new Stampin’ Up!® products to your craft room—and get a HUGE collection of creative inspiration from me as a thank-you!
Place a $50 Order & Receive 34 Project PDFs!
Place a minimum $50 order (after shipping, tax, and rewards) in my Stampin’ Up! online store October 1–15, 2026, and I’ll email you the password to my exclusive Sunflower Fields Album on The Stamp Camp blog.
Inside you’ll find:
• 34 beautiful card ideas featuring the Sunflower Fields Suite Collection
• 34 downloadable and printable PDF project files
• Tons of inspiration to get you creating!
Become a VIP Customer & Get Even MORE!
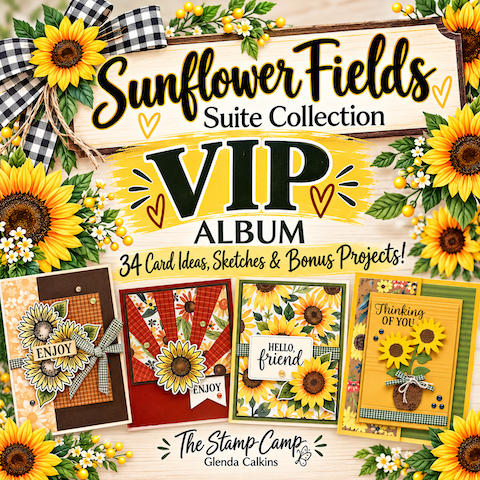
Place your qualifying minimum $50 order AND include any of the following:
Sunflower Fields Suite Collection
Radiant Sunflowers Bundle
Sunflower Fields Designer Series Paper
I’ll also send you the unlock code to my VIP Sunflower Fields Album, where you’ll find the 34 PDF files PLUS Card Sketches and Bonus PDF files!
Shop with The Stamp Camp:
https://stampl.ink/shop
Thanks so much for stopping by The Stamp Camp today! I hope Card Sketch #74 inspires you to pull out some Designer Series Paper and see how many different cards you can create from this one simple layout. Join me every Wednesday to download your next DIY card sketch templates!