
Did you get a chance to join me last night on my YouTube channel, The Stamp Camp, for this week’s Easy & Creative One Sheet Wonder Card Ideas with 12×12 Designer Series Paper? If you missed the class, no worries—you can catch everything right here in today’s blog post!
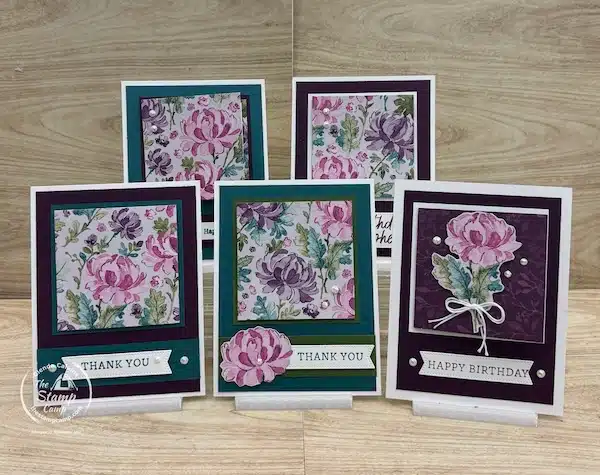
Last night, I created 5 fun fold cards using just one sheet of the beautiful Floral Charm Designer Series Paper. In the video, I walk you step-by-step through the cutting process and show you exactly how to create each of the five cards from start to finish.
If you’d like the downloadable project sheet, all you need to do is simply fill out the Contact Me form with your name and email address, and let me know which One Sheet Wonder project sheet you would like to purchase.
For this set, please specify:
“March 26, 2026 – Five Gorgeous Floral Charm One Sheet Wonder Fun Fold Cards
The cost for the downloadable project sheet is $9.95.
Or join my One Sheet Wonder Club—it’s the perfect way to keep these layouts handy and craft along with me anytime. To join the One Sheet Wonder Club for $24.95/month, subscribe HERE.
Now, let’s take a closer look at each of the cards!
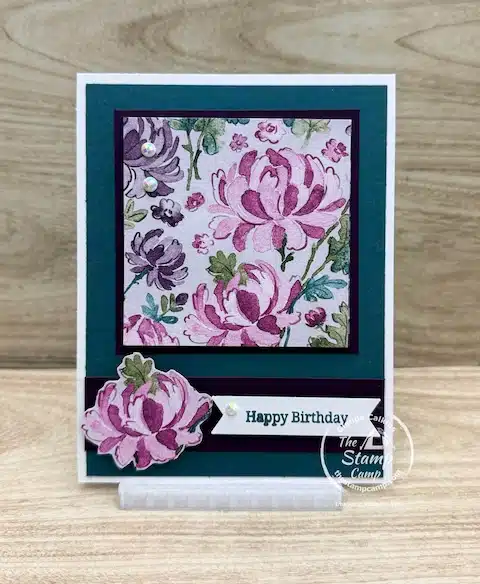
For all of the cards, I used Thick Basic White cardstock for the card bases and then mixed and matched the layers to coordinate with each design. I chose a rich color combination of Pretty Peacock, Blackberry Bliss, and Mossy Meadow, which pair beautifully with the prints from the Floral Charm Designer Series Paper.
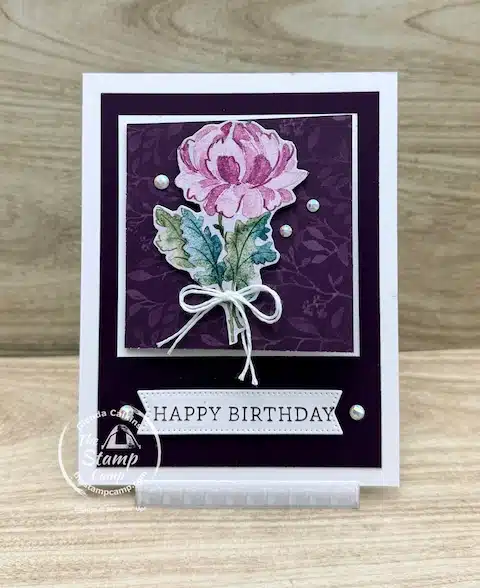
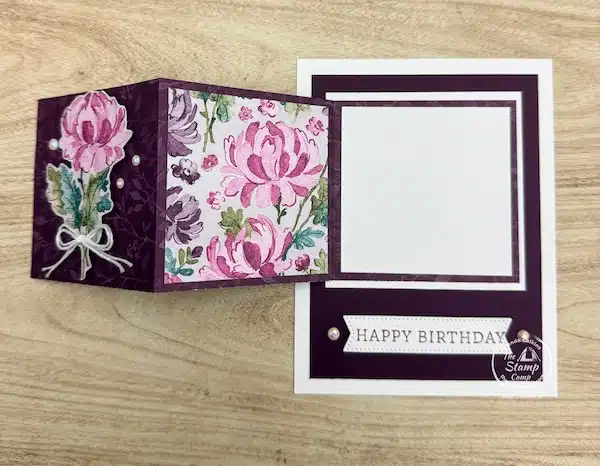
Each mini card featured on the front opens up and expands to reveal a special greeting or message on the inside, making these fun fold cards even more interactive and unique.
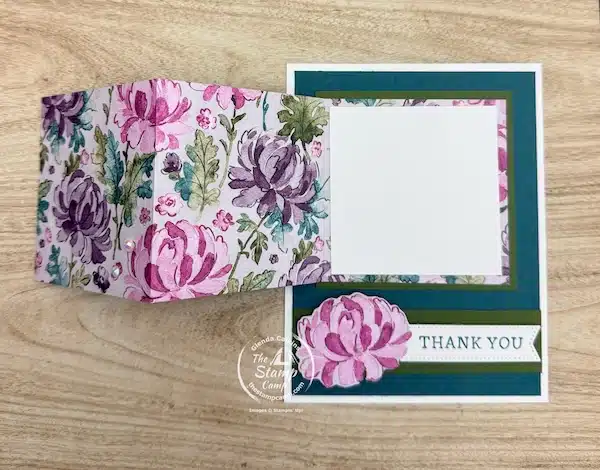
Each card expands out to reveal a piece of Basic White cardstock on the inside, giving you the perfect space to stamp or write your personal message. This makes each fun fold card not only beautiful on the inside and outside but also functional and ready for any occasion.
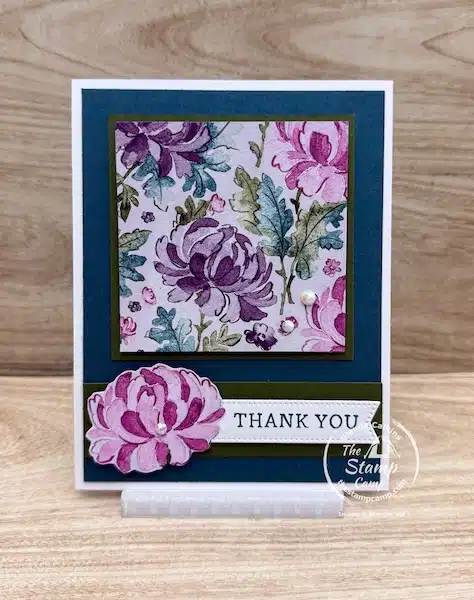
For the sentiment on this card, I used the Simply Said stamp set along with the Stylish Shapes Dies to create the focal greeting. To add a special touch, I hand-cut a flower from another piece of the Floral Charm Designer Series Paper, bringing in extra detail and perfectly coordinating with the overall design.
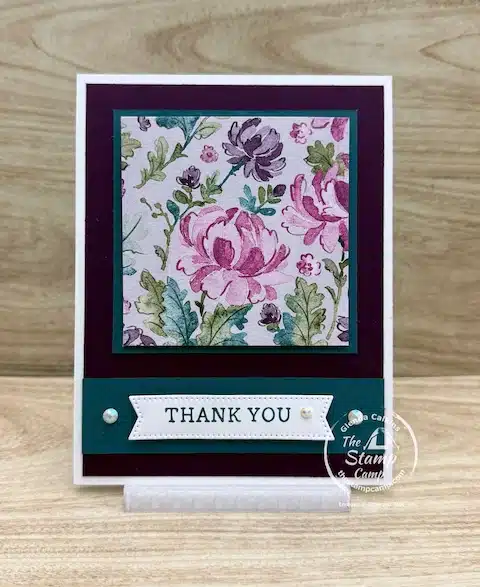
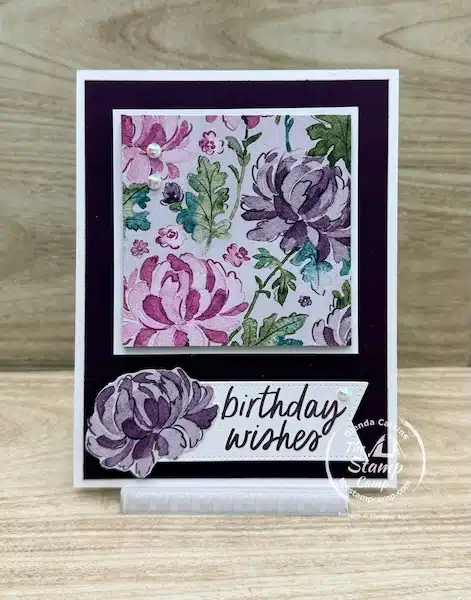
Card #2 features a Blackberry Bliss mat, adding a rich pop of color that really complements the designer paper. This time, I kept the embellishing simple by adding a few of the Pearlized Faceted Circles for just the right amount of sparkle.
For the sentiment, I again used the Simply Said stamp set along with the Stylish Shapes Dies to create a clean and polished focal point.
Here is the supply list for these Easy & Creative One Sheet Wonder Card Ideas:


Click on any of the supplies you will need and add them to your shopping cart. Thanks SO much for your order, it is greatly appreciated!
Here is this week’s Easy & Creative One Sheet Wonder Card Ideas with One 12 X 12 Sheet of Designer Series Paper:
The Stamp Camp Customer Appreciation for March 2026:
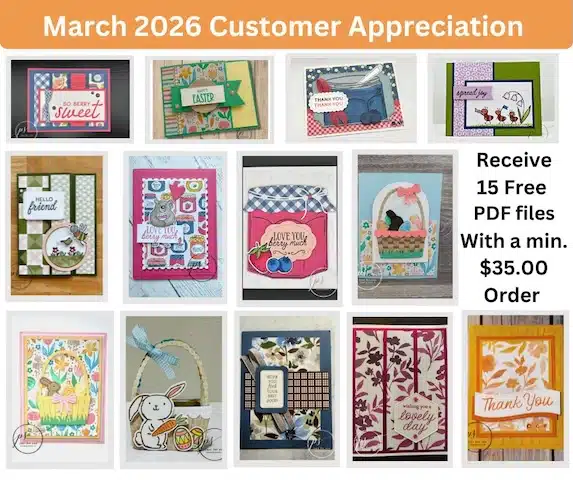
I love spoiling my customers, and March is no exception!
Place a minimum $35.00 order (before shipping and tax) with me during the month of March 2026, and you’ll receive the exclusive password to my March Customer Appreciation Album.
Inside the album, you’ll find:
- At least 15 PDF tutorials (More Have Been Added there are now 24 PDF files)
- Projects featuring some of the NEW Online Exclusive Products releasing March 3, 2026
- Beautiful Easter Joy PDF tutorials perfect for your upcoming Easter celebrations
- A darling 3D Easter Basket project — perfect as a sweet little treat holder for your Easter table
These downloadable PDFs are packed with inspiration, measurements, and step-by-step instructions to help you create even more beautiful cards and projects beyond your Stamp Camp kit.
It’s my way of saying thank you for choosing me as your demonstrator and supporting my small business.
Ready to earn your access? Simply place your qualifying order in March and I’ll send you the private album password!
One Sheet Wonder cards will soon be in my Customer Appreciation gifts.
Check back every Friday for more Easy & Creative One Sheet Wonder Card Ideas from the Stamp Camp.
Place your orders Here: https://stampl.ink/shop