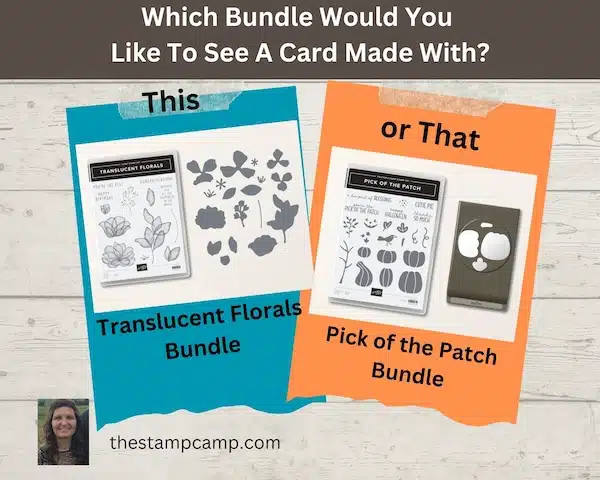
Yesterday on my Facebook page I posted this photo asking for a vote on what bundle to use for today’s post. I asked which bundle you would like to see a card made with; This or That. The two options were the Translucent Floral or the Pick of the Patch bundle. I also said that I would post it on my blog today. I must say it was a tight race but the That bundle won out by only one vote. I also said for voting that you would find the PDF file for the winning bundle down below in this article. I so appreciate the voting and helping me to decide what you would like to see. I guess by the way the voting went you would like to see both bundles; so, I will be showing you a creation with the Translucent Florals bundle soon.
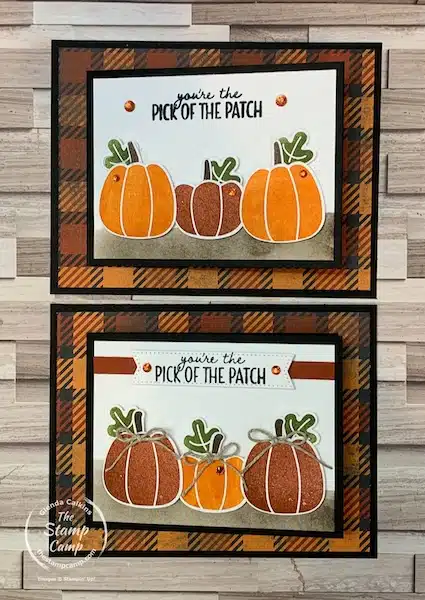
If you read the title for today, then you already know that the Pick of the Patch bundle was the winner today! So, I have 2 cards to show you today with this bundle. They are the same only the first one is pretty simple and basic and the second one is stepped up just a bit with some added accessories. You decide which you like best. I know some like to keep things simple and some like to go all out and add as many accessories as they can. My mom was the go all out and put as much accessories as. you can on and make sure that every inch was stamped. This used to bug me because I do like accessories, but I also like a bit of clean and simple. My sister came across a shoebox filled with my mom’s handmade cards after she passed, and she kept them. They are a treasure now when we look at them; it was her style, and she signed the backside, so we also now have hand signed cards from Mom. So, no matter what your style is or how your cards look, just know they are or will be a treasure to others. I kind of went off there on a different path so let’s get back to today’s This or That pick.
Version #1 Fun Fold Card:
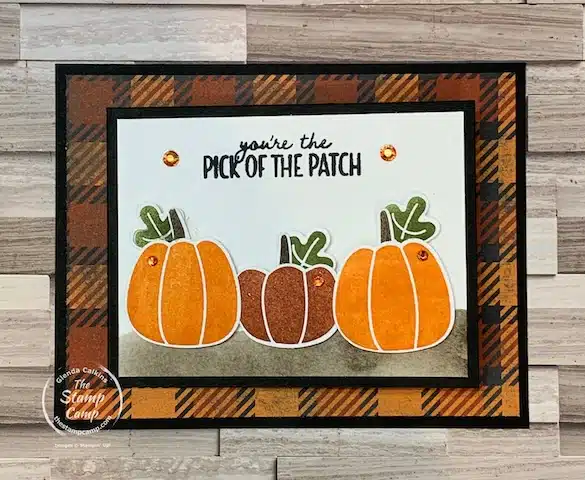
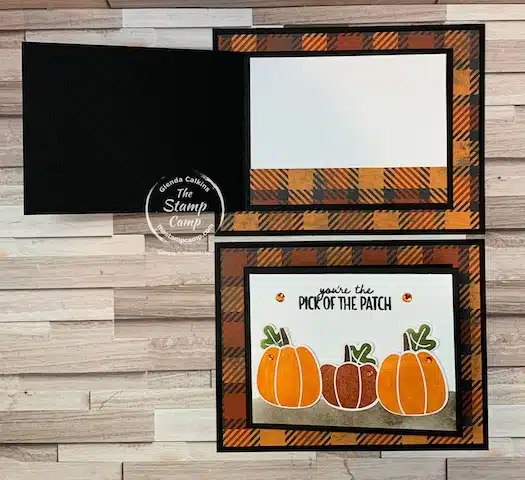
This is the simpler card of the two versions and they both have the same layout and are both a bit of a fun fold card. They are not your typical full-size card opening even though that’s how they appear. The only portion that opens in the center panel on this card front. Just a sweet fall card that you could give to someone to tell them how you feel about them or maybe a sweet birthday card or just because card.
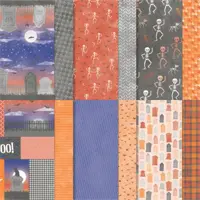
You might be wondering where the plaid background paper came from? Well, if you were thinking or guessing the Them Bones Designer Series Paper than you are correct. On the other side of this print are some tombstones, which if you wanted a sweet Halloween card you could easily attach this pumpkin scene to the tombstone side and use it for a Halloween card. I might sponge the whole piece before adding the row of pumpkins for a spookier nighttime feel. If you did that you would most definitely want to stamp your sentiment on a separate piece and pop it up like I did in version #2 below. So, with that let’s move on.
Stepped Up Version #2:
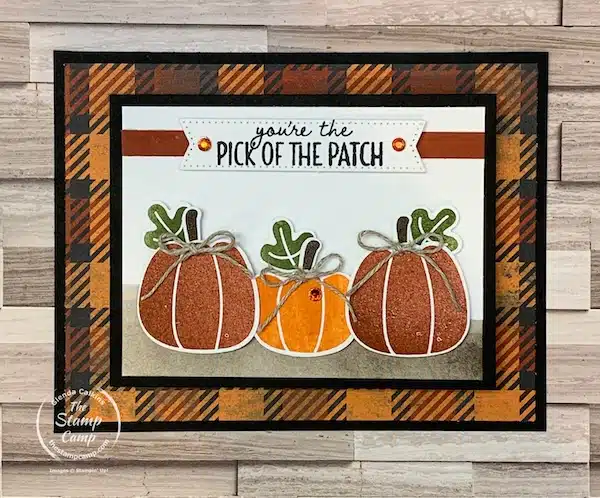
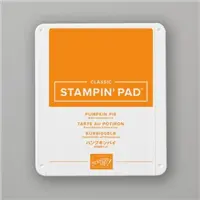
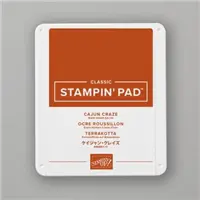
Yes, it looks like the first one, but I added the little linen thread bows to each pumpkin, I added the Cajun Craze strip under the sentiment which was die cut out and popped up like the pumpkins. Just a few subtle changes can make a big difference. I also changed the color combination from the larger pumpkins in Pumpkin Pie to them being in Cajun Craze on this one and the little pumpkin is Pumpkin Pie. I think the two larger pumpkins in Pumpkin Pie make the card brighter looking, but again this is your choice your style. Maybe I should say this or that? Which of these two cards is more your taste and style? Maybe you are a combination of the two? In which case you might say both as did some of the voters.
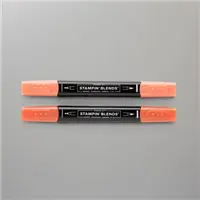
Where did those orange Rhinestones come from? Well, they are actually Cajun Craze, and I just colored the Rhinestones with my Cajun Craze Dark Blend. A simple way to add just the right color embellishment to your cards.
See how I was telling you that just the little card on the front is what opens up; even though the base is a full-sized card base the only portion that opens up is the little card on the front; with just enough space to add a little message. I used a little strip of the Them Bones designer series paper across the bottom of the inside as well to tie it all together.
Maybe you do not like this type of fun fold card. Maybe you would rather have it been a full card that opens; that is surely easy enough to do. All you would do is cut your card base 5 1/2″ X 8 1/2″ scored at 4 1/4″ and instead of making the front piece a card that opens you would cut your Basic Black cardstock 3 1/4″ X 4 1/4″. I would either pop it up or adhere it directly to the front. You could do this to both versions either the simple or stepped-up card or do them both and see which you prefer. Creating cards isn’t hard or doesn’t have to be hard; be creative and do your own thing. When I did in person classes I would say I am not here to teach you my style of stamping but to teach you how to use the products. Take what I have taught you and make it your own style and taste.
Which version are you? Are you a simple stamper or do you like to add those embellishments and really dress things up like my mom did? Whether you are a new stamper, or a seasoned stamper always remember that your cards are not just cards but a work of art that someday may be treasured by your recipients you left behind.
Click on the photo or click HERE for the PDF file.
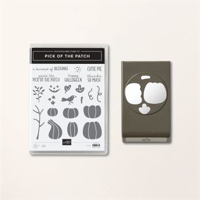
Here is your shopping list for Today’s This Or That Pick:
Click on any of the items you wish to purchase and add them to your shopping cart.
Don’t forget to use the Host Code unless your order is over $150.00 then do NOT use the code as you are your own host.
Host Code: UVSEVMDA.
Click HERE to download the PDF file.
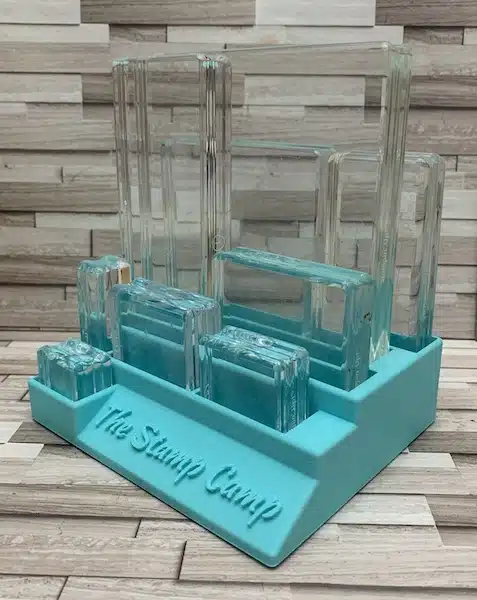
October Customer Appreciation Clear Block Holder:
Would you like to keep your clear blocks organized and right at your fingertips? Then you are going to love this clear block holder. This holder will hold all 9 of the Stampin’ Up! Clear Blocks (clear blocks are NOT included). Each clear block has its own space in the holder and with its open concept it makes it easy to grab the block size you need. The holder comes in 3 different colors, mint green, baby blue and purple. If you have a color choice please email me and let me know which color you would like.
How do you get one of these Clear Block Holders?
Place a min. $75.00 order (before tax shipping is FREE) with me and you MUST Use the Host Code: UVSEVMDA.
Once your order has gone through I’ll send you an email asking if you would like the Clear Block Holder, if you respond yes, I’ll send you a PayPal invoice for $5.00 to cover the cost of shipping.
Another awesome gift idea for Christmas – purchase the 9 clear blocks A,B,C,D,E,F,G,H,I and get the holder for FREE (just pay $5.00 shipping for clear block holder). That’s what I call a twofer clear blocks and a holder what an awesome gift! Even if the recipient already has the clear blocks a second set would be much appreciated I’m sure.
Remember you MUST use the Host Code unless your order is over $150.00, then do NOT use the host code and you will receive the host benefits, plus my clear block holder (I’ll send you an email regarding shipping of the clear block holder).
Please use the host code: UVSEVMDA
Click HERE to view How To Use A Host Code
Place your orders Here: https://stampl.ink/shop
Did you enjoy the This or That challenge? If you would like to see more let me know.
