
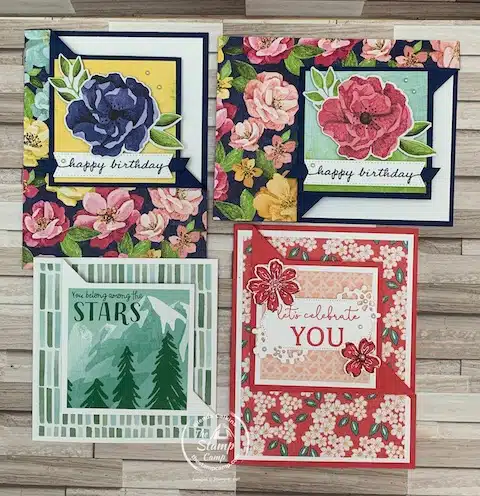
Looking for a fun and creative way to make a card? Learn how to make a corner fold card with my easy-to-follow fun fold card videos. You might have already created a corner flip card like today but did you know about the 4 different ways you could create them? Have you seen them created these 4 different ways before? If not check out the video I’ve got lots of flip card examples to show you today!
I’ve chosen a variety of Designer Series Papers, Stamp Sets and Bundles to create my cards for you today; so you can see how to use these cards for a variety of different occasions. I’ve got you covered for graduation cards, Birthday Cards, Wedding Cards, Thinking of you or even a Sympathy card. I’m hoping these different cards will inspire you to grab your Designer Series Papers and some cardstock and get started.
Vertical Corner Fold Card:
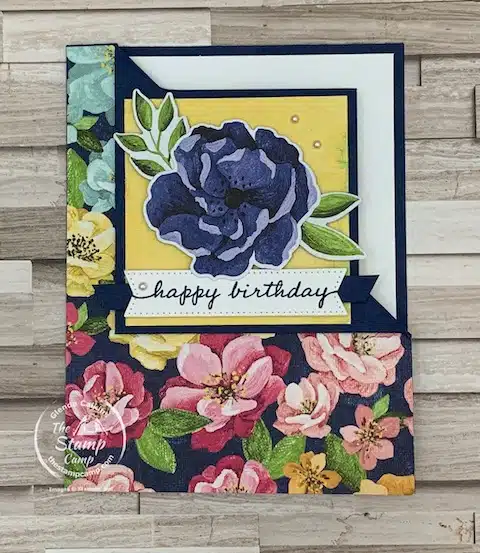
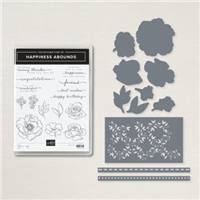
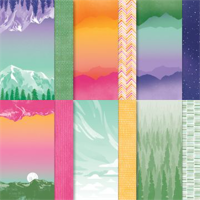
First up is the Hues of Happiness Designer Series Paper with the Happiness Abounds Stamp Set and Coordinating Die Set. I’m surely going to miss this paper pack; it was my very favorite designer paper. It is on the retiring list but is still available to purchase so make sure to grab a pack or two! I’ve said it before and I’ll say it again; you can’t create an ugly card with this paper pack; the prints just are too gorgeous!
Horizontal Corner Fold Card:

I created the horizontal version the exact same way as the vertical except I just turned it on its side and decorated it in the horizontal direction. I could have changed up the prints of the paper and used something totally different but I thought this way you get a visual on just how easy it is to create this type of fun fold card and by changing the direction you can decide if you want your card to be vertical or horizontal. Also, if you have a directionally challenged print and cut it in the wrong direction no worries just turn your card and continue on.
Square Corner Fold Card:
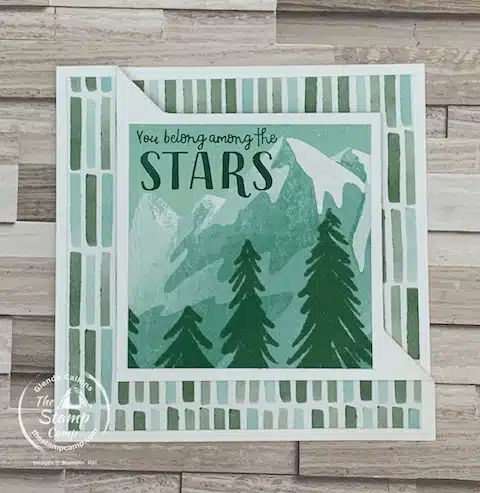
Now let’s change things up a bit and create a Square Corner Flip Card. It is created the exact same way the only difference is you cut your card base at 4 1/4″ X 8 1/2″ instead of the 5 1/2″ X 8 1/2″. The measurements are the same regardless of the card base size. You will find the step by step directions below in this blog post as well as the video, so not only do you get the instructions but you can visually see them done as well.
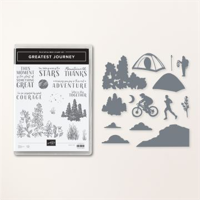
I chose to use the Enjoy the Journey Designer Series Paper and the Greatest Journey Bundle for this Corner Flip Card and make it a graduation card. The season is approaching quickly and what a fun and different twist on a graduation card don’t you think? Both of these items I used are on the retired list and are still available to purchase except for the Greatest Journey Dies; they are no longer available.
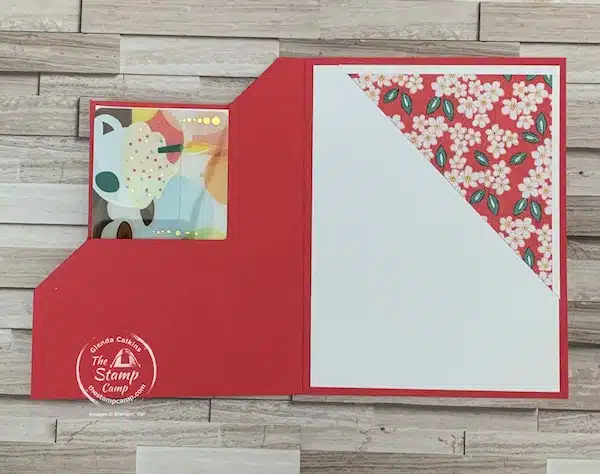
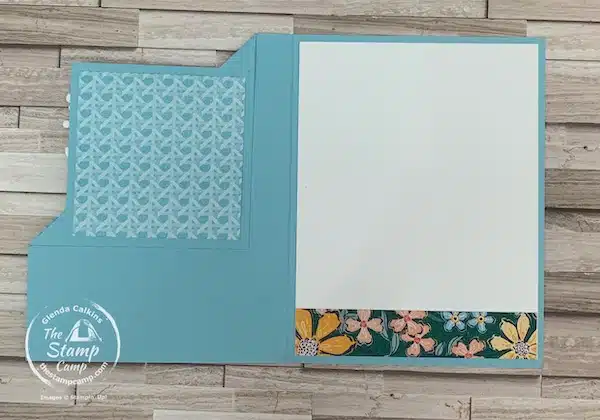
Gift Card Holder Corner Fold Card:
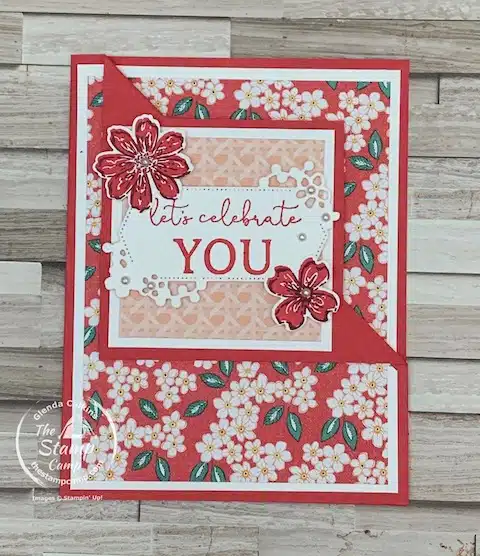
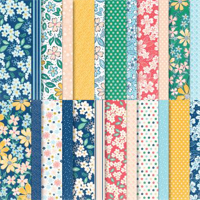
I created this card with the Regency Park Designer Series Paper which is part of my Stamp Camp At Home Card Club Kit this month. If you missed the details about my Card Club Kit you can find it HERE. You have until April 22 to subscribe and receive the Regency Park Paper Pack, a full pack of dots, all the cut cardstock to create 8 cards, 4 different designs you will make 2 of each design, you also receive the video tutorial, step by step instructions, plus bonus PDF files, videos and one sheet wonder patterns and download each month. If you subscribe in April you will be grandfathered in at the $40.00 club fee; if you wait until May the club fee is $42.00. Join today!
Measurements:
The measurements for this card are slightly different then the first 3 cards I showed you. I got this idea and the measurements from my friend France. This is a unique and fun way to give a gift card to someone; use the Enjoy the Journey paper and make it a graduation card. You could use the Regency Park paper and make it a Wedding card too; I chose to make it a birthday card since I give lots of gift cards for birthday’s.
If you’re tired of the same old greeting cards, why not try making a corner flip card? This unique and creative design adds a fun twist to traditional cards and is easy to make with just a few simple steps. Follow this tutorial to learn how to make your own corner fold card and impress your friends and family with your crafting skills.
To start making your corner flip card, you will need to cut a piece of cardstock to your desired size, either 5 1/2″ X 8 1/2″ or the 4 1/4″ X 8 1/4″. You will then make a mark at 3″ along the side of your card and at the top of your card in the upper right-hand corner. You will measure in to the center of your card at 3″ and make a mark. You will then make a mark 5/8″ at the 3″ mark down from the top and in from the side. Now cut from 5/8″ down to 3″ from the top and do the same at the side. You will now flip this section out and down pressing the top and side on an angle, use your bone folder to get a nice crease.
For the Gift Card Holder Corner Flip Card I made a mark at 3″ along the side of the card and at the top of the card in the upper right-hand corner. I measured in to the center of the card at 3″ and made a mark. Then I made a mark at 7/8″ at the 3″ mark down from the top and in from the side. I then cut from 7/8″ down to 3″ mark from the top and the same from the side.
For the Designer Series Paper you can cut it a couple of different sizes. For the first 2 cards I cut it 4 1/4″ X 5 1/2″ and then cut out the 3″ square from the upper right-hand corner. For the square corner flip card I cut the designer series paper 4″ X 4″ and cut out the 3″ square from the upper right-hand corner, this left me a 1/8″ card base border.
For the Gift Card Holder Corner Fold Card I cut the basic white 4″ X 5 1/4″ and the Regency Park Designer Series Paper 3 3/4″ X 5″ and then made a mark in the upper left-hand corner at 1/2″ and the bottom right-hand corner at 1 1/2″ and then cut from mark to mark so it would fit under the corner flip portion of my card front.
Your mats for all the different types of cards is the same. You will have a mat of 2 3/4″ X 2 3/4″ either of cardstock or designer paper and if you make a 3rd mat it would measure 2 1/2″ X 2 1/2″.
Now for my Whoops Card:
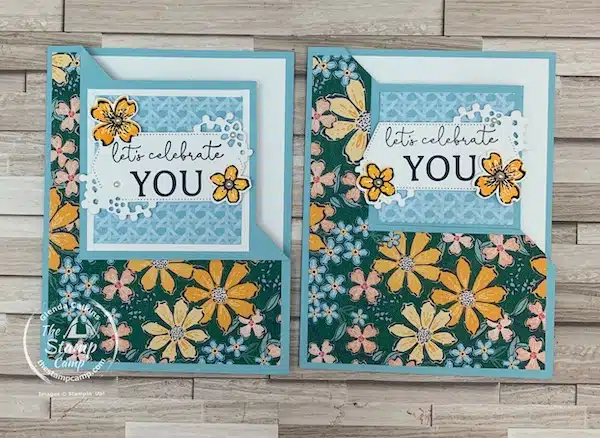
You might be thinking what’s the whoops card? Well if you look at these two closely you may spot the difference or if you watched the video I told you about my whoops and how it came about. The card on the right-hand side is the whoops card. I must say I was a bit rusty at the corner flip card and I flipped it to the inside instead to the outside after my cuts. So I guess you could say I have 5 different corner flip cards to show you. See on the left-hand side how the flip is and here is the inside of the whoops card:
See have the fold on the inside of my whoops card is like the fold on the left-hand card on the front. Either way looks great and you wouldn’t know it was a whoops if you weren’t used to creating these types of cards. I guess there really is no right way; make it your own way!
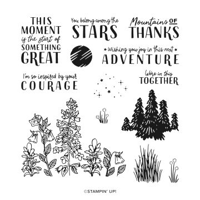
Here is your shopping list for the 4 different Flip Card Examples:
Sale: $9.60
Price: $12.00


Click on any of the supplies you wish to purchase and add them to your shopping cart. Make sure to use the Host Code unless your order is over $150.00 then you are your own host and will receive all the host benefits and my PDF File.
Don’t forget to use the Host Code: T2B6TVNN
Here is the video tutorial in case you missed the live:
Customer Appreciation:
Two Options:
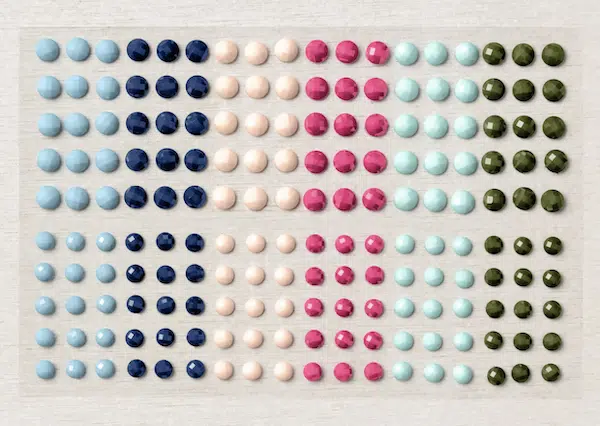
Place a minimum $25.00 order (before shipping and tax) and you MUST use the Host Code T2B6TVNN – I’ll send you a Package of the Solid Faceted Gems, colors are Balmy Blue, Night of Navy, Petal Pink, Melon Mambo, Pool Party and Mossy Meadow.
Option 2:
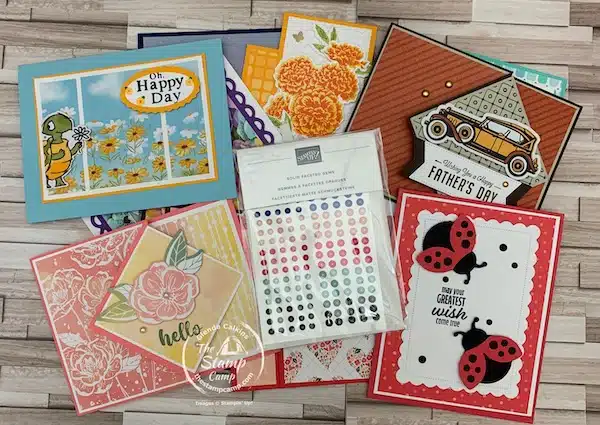
Place a min. $50.00 order (before shipping and tax) and you MUST Use the Host Code: T2B6TVNN – I’ll send you the Solid Faceted Gems PLUS a package of 10 Handmade Cards from me.
Remember you MUST use the Host Code unless your order is over $150.00!
Please use the host code: T2B6TVNN
Click HERE to view How To Use A Host Code
Place your orders Here: https://stampl.ink/shop
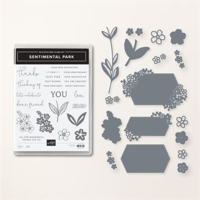
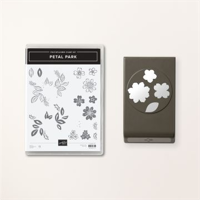
Have you ordered the Petal Park Bundle or Sentiment Park Bundles yet remember to save 10% you need to place your order before May 2nd. After May 2nd they will be sold separately. How about that gorgeous Regency Park Paper? Are you going to try the Corner Fold Card? Which Flip Card Examples were your most favorite? Do you enjoy fun fold card videos? Let me hear from you!