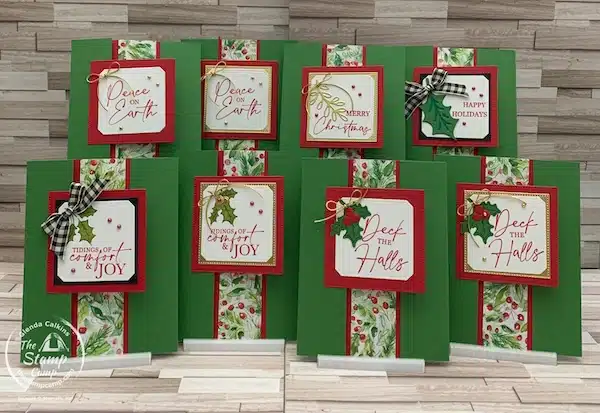
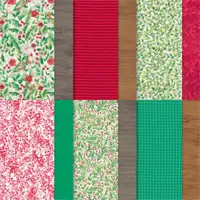
One Sheet Wonder Cards are my jam and last night during my class I showed how to get 16 fun fold cards from just one sheet of the Joy of Christmas Designer Series Paper. If you missed it, no worries you’ll find the video in this article. Now the photo only shows 8 cards that’s because it is hard to get 16 cards in the photo; but I created 2 of each design in the video. The layout for all the cards is the exact same layout but I changed the sentiment piece on each of the cards so you can see just by changing up the sentiment pieces you can get a whole new look. You will find each of the cards below in this article so you can see them up close and decide which you like best.
The Joy of Christmas Designer Series Paper is part of my Stamp Camp At Home Card Club this month so you will be seeing the prints in this pack for a couple of week’s during my One Sheet Wonder class. Join me every Thursday night at 8:00PM EST on my YouTube Channel The Stamp Camp for the weekly One Sheet Wonder cards. My Stamp Camp At Home Card Club members receive the pattern, video and instruction sheets with measurements as a perk for being in my club. If you would like to know more about my club, you can find all the details here.
Let’s take a look at these 16 Christmas Cards:
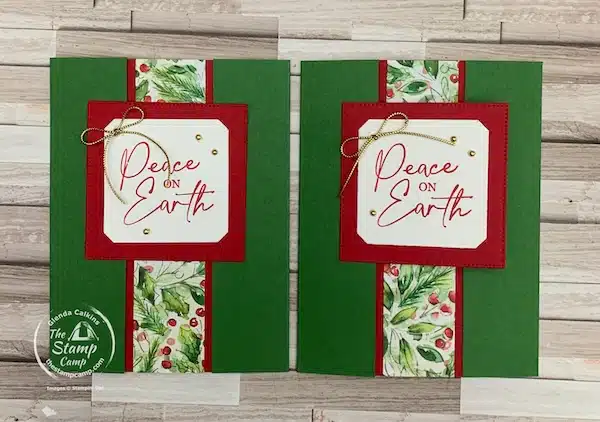
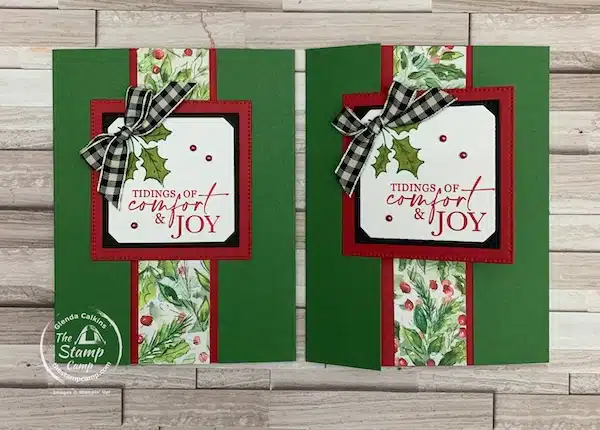
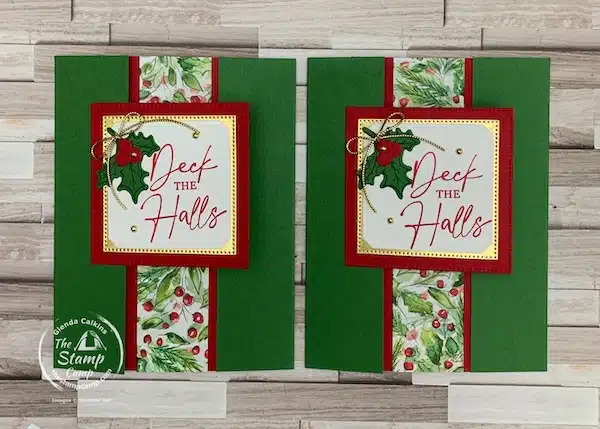
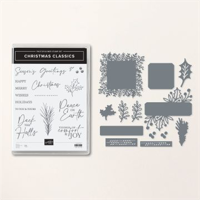
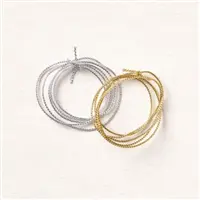
These were cards #1. Super simple and basic but still very pretty cards. The sentiments on all the cards are from the Christmas Classics Bundle. To create a different sentiment piece for all the cards I used the stamps and dies from the bundle and I also brought in the Stylish Shapes dies. To accent the sentiment pieces on these two, I just added a gold bow from the Simply Elegant Trim and added some Gold Festive Pearls.
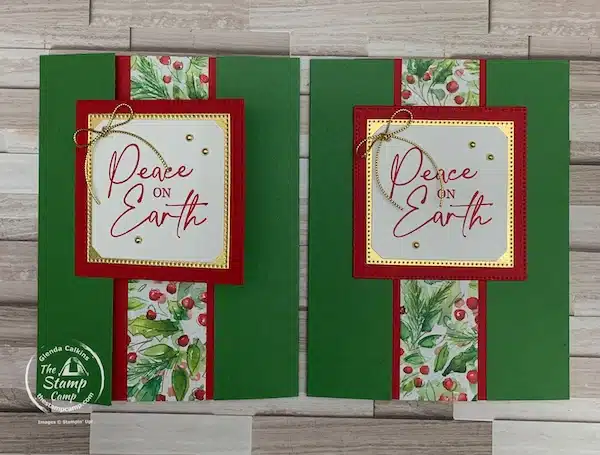
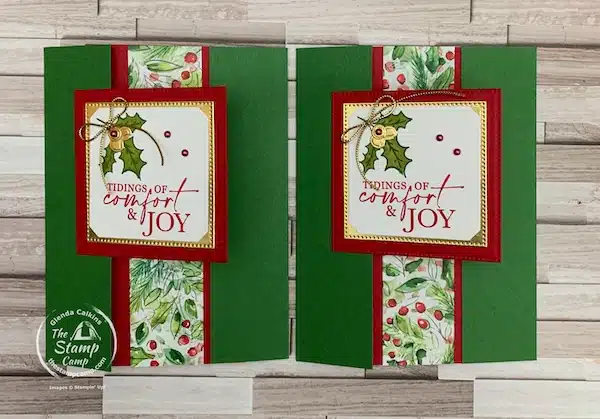
For these two cards I just stepped them up a bit from the first two by just adding a simple Gold foil square underneath the sentiment piece. Just a tip for the Gold foil you don’t want to waste that gorgeous foil so die cut out the center before adding the sentiment piece over the top. Everything else on these two cards is just like the first cards.
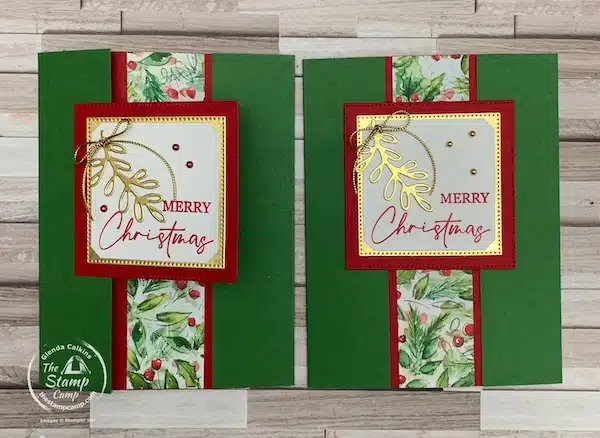
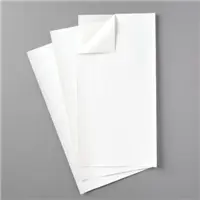
So, for these two cards I used the gold foil die cut pieces as an accent with the Merry Christmas sentiment. Also, I added a piece of Adhesive Sheet to the backside of the Gold foil before I die cut it out and I die cut the square and the sprig image at the same time. One the card on the left I added the Red Festive Pearls and the card on the right has the Gold Festive Pearls. Which do you like best?
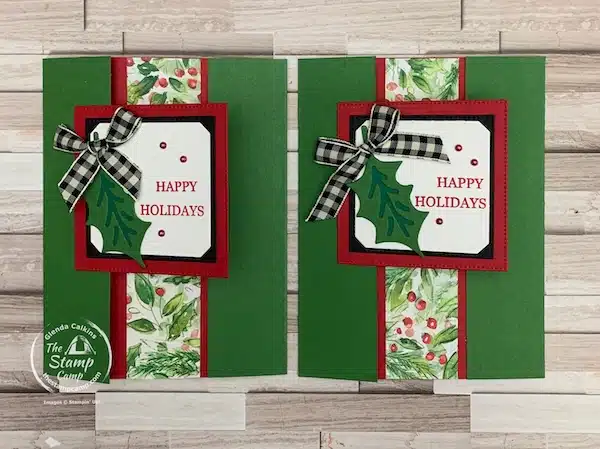
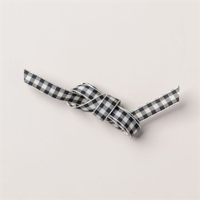
For this set of cards, I added a Basic Black square behind the sentiment piece and I added the Black & Vanilla Large Check Ribbon with the Holly leave. To get the two-toned look on the Holly leaf, I first die cut the Garden Green cardstock and before die cutting I added a piece of adhesive sheet on the backside. Once it was die cut I peeled off the adhesive back and stuck it to a piece of Shaded Spruce cardstock and then hand cut it out.
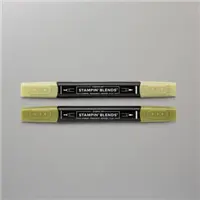
For these two cards I stamped the Holly image and the sentiment directly onto the Basic White die cut piece and colored them in with the Old Olive Blend. I then added the ribbon and pearls.
These two were done the same way as the previous two cards except I used the Gold Foil for my square behind the sentiment piece and added the berries in gold to the Holly leaves that I stamped and colored in with the Old Olive Blend. So, they were created the exact same just changed from Black to Gold accents; which do you prefer?
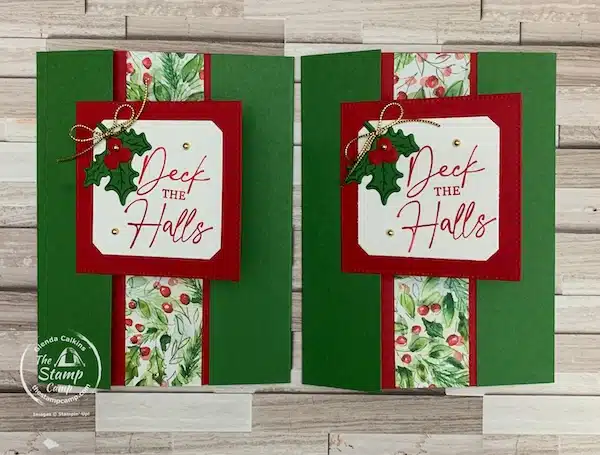
For these two cards instead of stamping and coloring them in, I stamped the Holly leaves onto the Garden Green cardstock with Garden Green ink and then die cut them out. The Real Red berries on these cards were die cut and again I added the adhesive sheet to the backside before die cutting.
Here are the final two cards. I must confess these are my favorite if I had to pick. These were done the same way as the last two except again I added that Gold Foil square behind the sentiment piece. Maybe it is that gold foil that makes these my favorite; they just seem so elegant.
There you have it 16 Fun Fold Christmas Cards, 8 different looks, 2 of each. What do you think? Will you go with the simpler sentiment piece or step them up as I have; to be more elegant and have a bit more pizzazz? Are you ready to get creating?
Can you see why One Sheet Wonder cards are my jam? Do you enjoy a good simple card that you can mass produce in no time and that uses up the entire piece of Designer Series Paper? I know cutting it up is hard to do as sometimes, because we can’t decide which side, we like best, and we don’t want to waste any of it. With these fun techniques and layouts that I demonstrator every Thursday night I’m sure you will find a layout and fun fold that appeals to your stamping style. Give the different folds and layouts a try with any designer series paper you have on hand; I’m sure you’ll be delighted with the results. Don’t get set on these cards as only being done with Christmas paper you can easily create these same layouts for birthdays or any event by just changing up your paper prints and colors you use.
Here is your shopping list for these fun One Sheet Wonder Cards:
Click on any of the supplies that you wish to purchase and add them to your shopping cart.
Remember to use the Host Code: QSQSSMMM
Do NOT use the host code if your order is over $150.00 you are your own host and receive the host benefits at checkout.
Here is the 16 One Sheet Wonder Cards Video:
My Customer Appreciation for November:
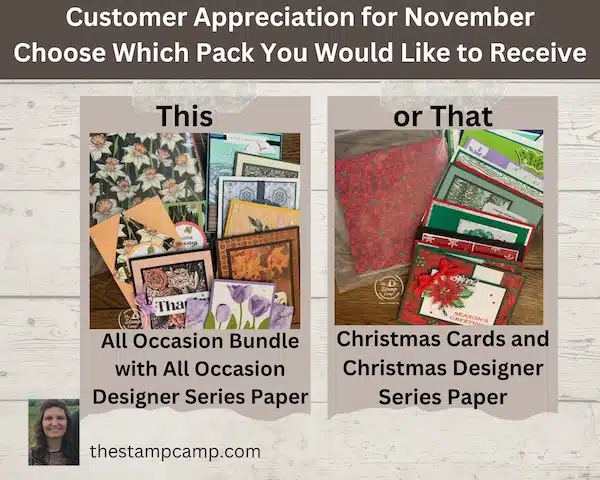
This month’s customer appreciation features handmade cards and a pack of designer series paper. You choose which pack you would like to receive all occasion or all Christmas cards. Which will you choose?
As you probably already know every Thursday night on my YouTube Channel “The Stamp Camp” I go live with a One Sheet Wonder class. Now sometimes it is just 1 card and other times it is piles of cards. Doing this every week sure builds up a supply of cards in no time at all; so, what to do with them is always a concern. I’ve donated piles of cards to local organizations, and I still have piles left. Not to mention my piles of designer series paper. I pretty much purchase all the different paper packs because I do love a good one sheet wonder but that also leaves me with piles of designer paper as well.
So with that being said, this month is a twofer. What is that? It means not only will you receive a package of 10 cards from me but also a 6 x 6 package of designer series paper. The Christmas Card bundle will have 12 cards in the pack as it is a slightly smaller pack of designer paper.
How do you get this package of Handmade Cards & Designer Series Paper Bundle?
All you need to do is place a min. $60.00 order with me and you must use the host code: QSQSSMMM
Remember you MUST use the Host Code unless your order is over $150.00, then do NOT use the host code and you will receive the host benefits, plus a package. (I’ll send you an email regarding shipping of the package).
Place your orders Here: https://stampl.ink/shop
Once you have placed your order with me, I will email you and ask which type of bundle you would like to receive All Occasion or All Christmas cards. I will then send you a PayPal invoice for $5.00 to cover the cost of shipping. The 6 x 6 paper packs of All Occasion have approximately 1/2″ – 3/4″ thick of designer papers and the Christmas packs are approximately 1/2″ thick of designer papers, but I’ve also included 2 more cards in the pack for 12 Christmas cards.




2 thoughts on “Let’s Create 16 One Sheet Wonder Cards For A Pile Of Christmas Cards”
I just saw your 16 Christmas cards from one sheet of paper and I love it.
How do I get the sizes of the cardstock for these cards?
Thank you so much.
Carolo
Hi Carol, You should be able to get all the measurements from the video and in the comments. The PDF file and One Sheet wonder pattern is only available to my Stamp
Camp at Home Card Club members. That is part of the perk for being a club member; they receive all the bonus PDF files and patterns. You can find out all the details regarding the December club here: https://wp.me/p59VWq-gfl
Thanks and have a great day!