
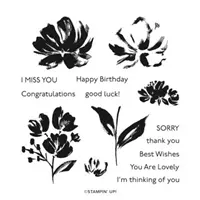
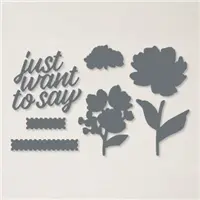
Today I have the final 2 different stamping techniques on how to color those multi-image stamps like the flower and leaves stamp from the Art Gallery stamp set. This has been a fun week in a new series I’m offering on my blog. You ask for it and I’ll show you!
This week’s question asked was, “How to color and stamp a multi-image stamp”? Thanks Paula for your question and I hope you enjoyed this week’s tips and techniques on how to color those multi-image stamps.
Email me with your stamping questions and I’ll featuring them on my blog with solutions examples and steps. If you email me with a stamping question; I will send you a package of Jewels in the mail. I will need you to also email me your snail mail address so I can mail you those jewels.
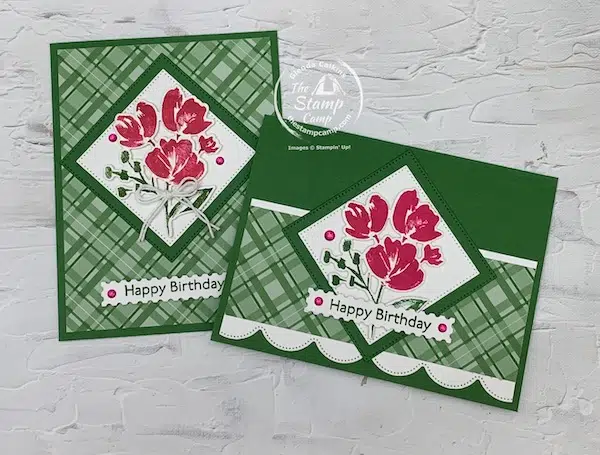
The cards I have shown above each have a different way of coloring those multi-image stamps. Let’s look at each card and the simple stamping techniques that I used.
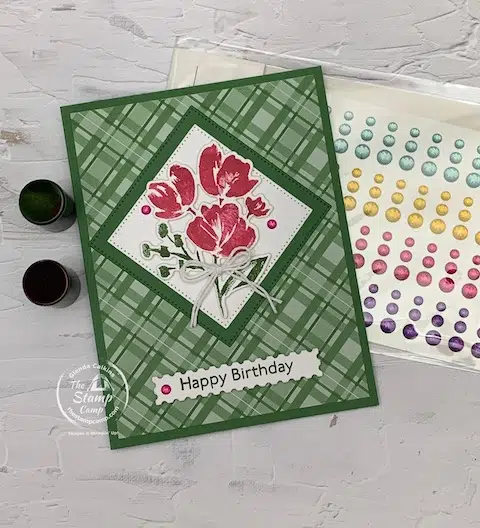
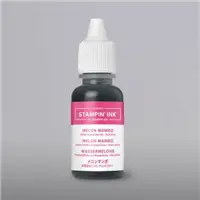
The technique I used on this card was the sponge dauber and ink pads. I used the Melon Mambo and Garden Green ink pads with the daubers. You just ink the daubers and dauber the ink color on your stamp where you want that color to go. This technique may look different each time you do it because of the amount of ink you add to your stamp and if you swirl the daubers on the stamp, you will get a swirled image when you stamp it. It is hard to see on this photo put the larger flower does have a bit of swirl on it.
The sentiment and the die cut I stamped it on are all part of the Stampin’ Up! Art Gallery stamp set & Floral Gallery dies which coordinate. I also die cut out the flower image after stamping it.
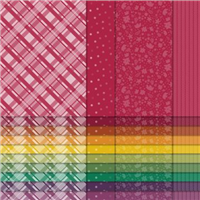
The Glossy Dots Assortment went well with these cards. The printed background paper is from the Regals 6 X 6 Designer Series Paper pack. I got both cards from just one sheet. On this card I used the 4″ X 5 1/4″ piece.
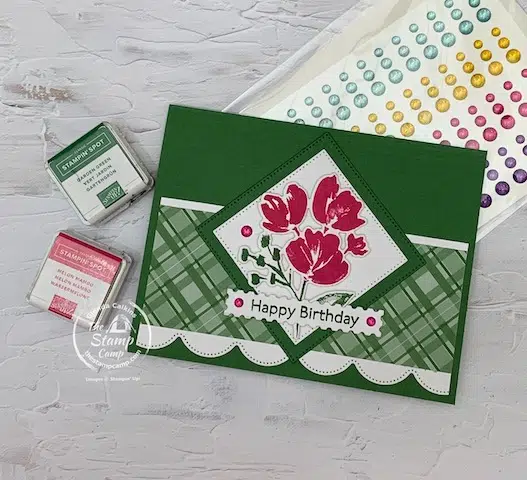
This was the second card that I created, and I used the Stampin’ Spots on the stamp. These spots are nice because they are tiny enough to ink up your multi-image stamps. Where did I get these spots? You will find uninked Stampin’ spots on page 129 of the annual catalog. You get 5 uninked spots in the set for $9.00 and then you ink them with the reinkers. We do sell a Classic Assortment of already inked spots and those are on page 129 of the annual catalog as well and you get 8 colors in the pack: Basic Gray, Coastal Cabana, Daffodil Delight, Flirty Flamingo, Gorgeous Grape, Granny Apple Green, Real Red, and Shaded Spruce.
BUT I got my spots from the Paper Pumpkin kits that I get every month delivered right to my mailbox. If you are a Paper Pumpkin subscriber, you will get an ink spot in your kit each month. I love these little spots for traveling, using on the Stamp-a-ra-tus and I gave some doubles I had to Sophia; much easier for her to use.
On this card I used the remaining 2″ X 5 1/4″ Garden Green Designer Series Paper and the 3/4″ X 6″ strip was used across the bottom of the Basic White piece that is on the inside of the card. The only waste I had on the whole 6 x 6 piece was a 3/4″ X 3/4″ cube.
Here is your shopping list for Today’s Simple Stamping Techniques Cards Using The Stampin’ Up! Art Gallery Stamp Set:


Click on any of the supplies you wish to purchase and add them to your shopping cart.
Remember to use the Host Code if you order is under $150.00! If your order is over $150.00 you are your own host and will receive the host benefits.
Host Code: NVV3MP7J
Join My Team in October!
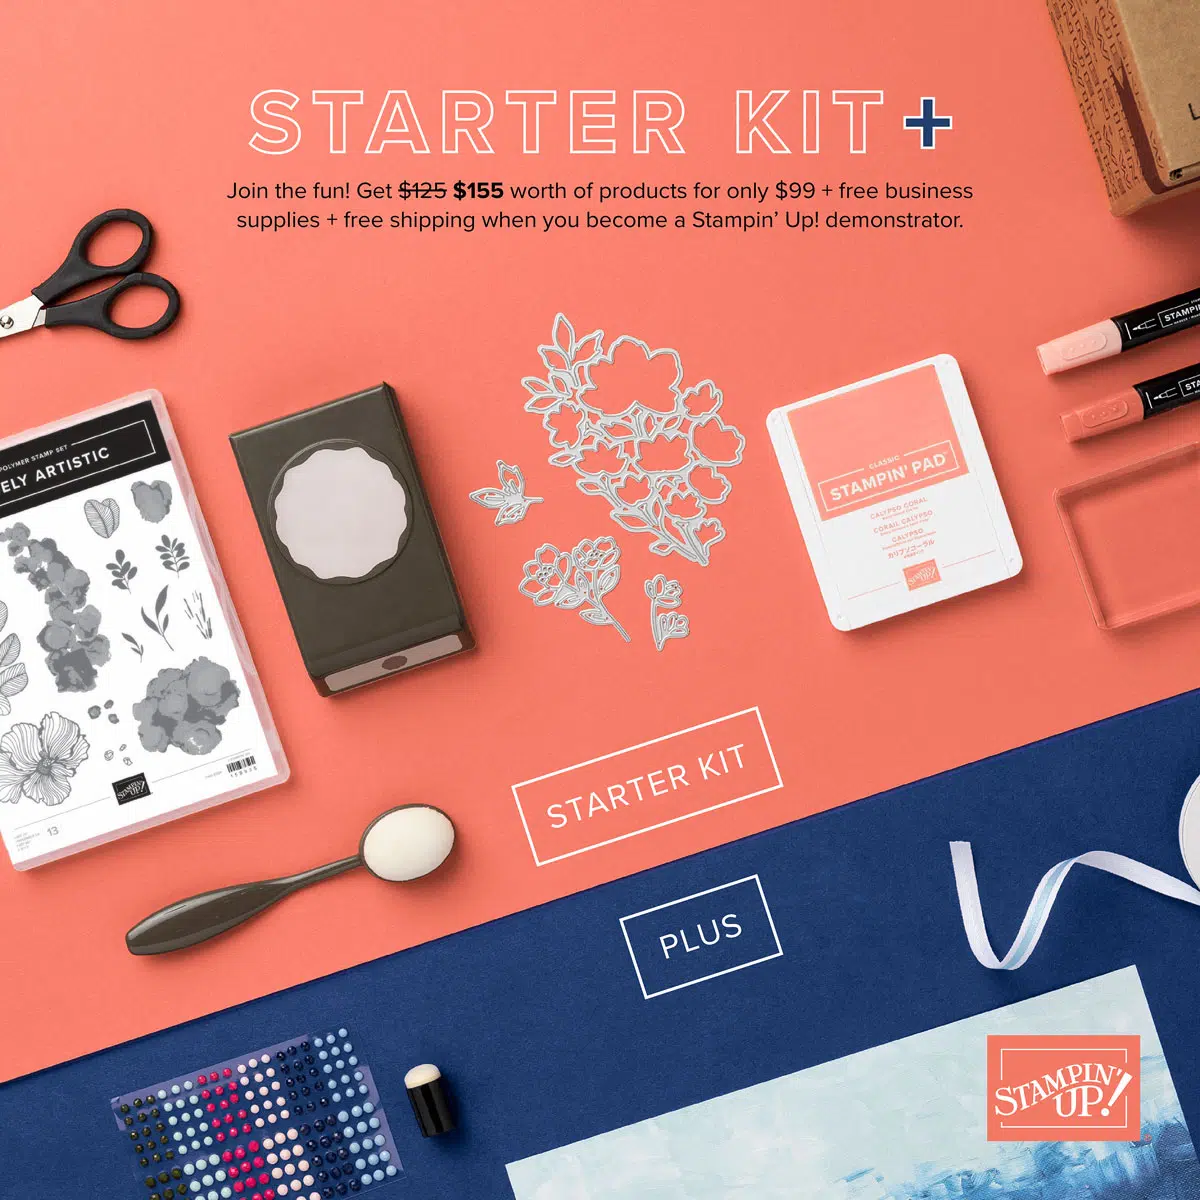
Join My Team October 4 – 31, 2022 for $99.00 and Choose $155.00 in Products of your choice PLUS Free Shipping!
- Choose $155.00 worth of products of your choice from any of the current catalogs
- FREE Shipping
- FREE Past Paper Pumpkin Kit
- Business resources like catalogs, brochures, order forms, and postcards
- When you become a Stampin’ Up! demonstrator you will get to be a part of our amazing community of crafters. Plus, you get to enjoy sharing simple and fun crafting experiences with others, early access to products, and exclusive access to training events.
- Enjoy 20% off all your crafting supplies and once you have reached sales of $1800 get 25% off all your crafting supplies.
Yes, ALL THAT FOR ONLY $99.00; no strings attached!
What I love about the Stampin’ Up! Starter Kit is YOU get to choose whatever you want in your kit! Whether you want all stamp sets, ink pads, card stock or dies the choice is yours!
Become a Stampin’ Up! demonstrator and Join my team and SAVE! Don’t let the term demonstrator scare you off. If you want to shop only for the discount you can think of yourself as a Costco or Sams Club shopper you are a member so you get a discount or consider yourself a discount shopper. You do not have to hold parties or workshops to be considered a demonstrator you can just be your own best customer.
It is super easy to join and there are no obligations to continue if you decide it isn’t right for you.
If you are a frequent buyer becoming a Stampin’ Up! Demonstrator will save you LOTS! You will get early access to catalog pre-orders, a discount on all your stamping supplies, your demonstrator discount on top of sale discounts, no parties necessary, enjoy your discount every day and on every order.
To get started To Become a Stampin’ Up! Demonstrator all you need to do is click on the Join Button below:

The next thing you need to decide is what you would like in your kit.
My Team Meetings are always the first Wednesday of the month at 7:30PM EST. What stamping techniques would you like to see?
Stamp Camp Customer Appreciation for October:
Check out this month’s Customer Appreciation PDF file! It is packed with awesome cards and projects. Did I say packed? I mean chocked full of awesome fun fold cards, like an Easel Side-Step card, a Triple Fold Card, Peek-a-boo Treat Bags, Slim-Line Card, an Easel Card with a Drawer for goodies, plus a gift card holder/card all in one! Plus, these projects have some of that gorgeous Designer Series Paper from Stampin’ Up! used on them. Mix and match what papers you have on hand; substitute where needed. It is just that simple. Now if this doesn’t get you excited for the PDF file maybe the photo below will! Just gorgeous and great Fall projects and cards!
This month’s customer appreciation PDF file was created by Susan Molloy a fellow team mate. Susan did a fabulous job creating these Colors of Autumn fun fold cards and 3D projects.
How do you get the PDF File? Place a min. $40.00 Online Order with me and you MUST use the Host Code: NVV3MP7J
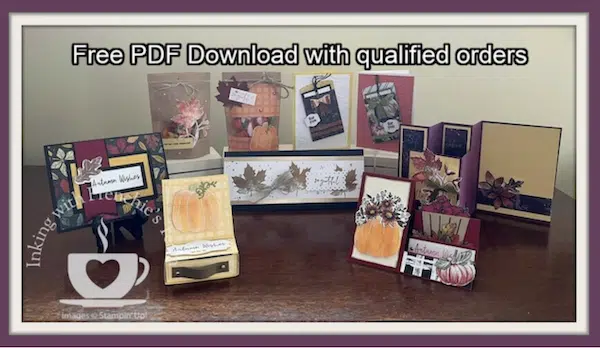
If you wish to see the list of supplies you will need for this month’s Customer Appreciation PDF file Click HERE.
Also, if you haven’t already make sure to check out my Buyers Rewards Program and print off your slip and start tracking your purchases for FREE stamp set(s).

2 thoughts on “Two Different Stamping Techniques With Art Gallery”
very lovely cards
Thanks Janis, super easy but really pretty.