
What Is a Card Sketch?
If you’ve ever looked at a pack of beautiful Designer Series Paper and wondered where to start, a card sketch might be exactly what you need.
For me, a card sketch is a creative starting point. It’s a simple design that helps spark ideas and gets the creative process moving. A sketch isn’t meant to limit your creativity—it’s meant to inspire it.
One of the questions I receive often is:
“Why doesn’t the free version of your card sketch include measurements?”
The answer is simple. I want you to look at the sketch the same way I do—as inspiration. I encourage you to experiment, change the sizes, swap out the papers, and make the design uniquely yours. There is no right or wrong way to use a card sketch. The goal is to help you get started and inspire your creativity.
Another question I receive is:
“Why do I need to place an order to receive the version with measurements and instructions?”
The free version of my card sketches is quick and easy for me to create and share. The detailed version, however, takes more time to prepare. It includes measurements, written instructions, and a printable PDF that many stampers enjoy using.
That’s why I offer the detailed version of my card sketches as a customer appreciation gift with ANY SIZE order placed in my online store. The additional support and resources take extra time to create, but I truly enjoy providing them to my customers.
If you’ve received one of my customer appreciation card sketch PDFs, I’d love to hear from you. Did you find the measurements and instructions helpful? Did they make creating your cards easier? Do you feel they were a valuable bonus for placing an order? Leave a comment and let me know!
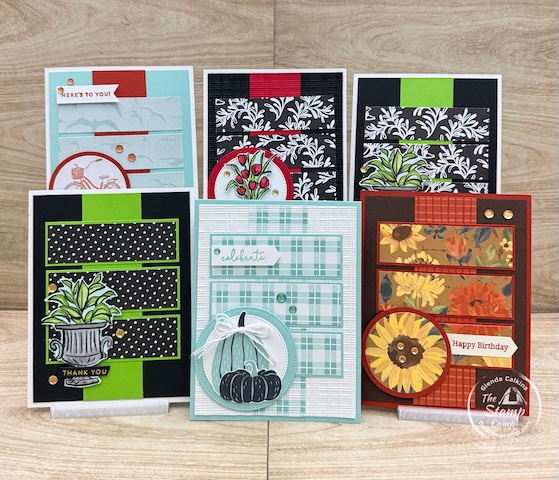
Card Sketch #69 – One Layout, Six Different Looks
Today’s card sketch is a perfect example of how versatile a simple layout can be. I created six different cards using a variety of Designer Series Paper packs to show how changing the paper can completely transform the look of a card while still using the exact same basic design.
Along the way, I’ll also point out a few ways I stepped away from the original sketch to show that sketches are meant to inspire—not restrict—your creativity.
Card #1 – Artisan Sketched Garden Designer Series Paper
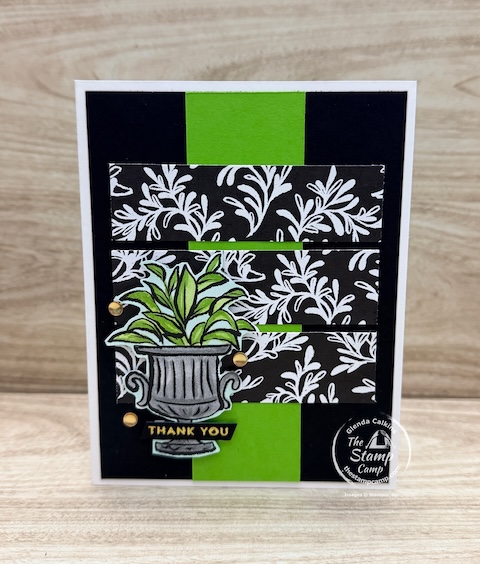
This card follows the sketch very closely.
I started with a Thick Basic White card base and layered a piece of Basic Black cardstock on top. A strip of Garden Green cardstock runs down the center of the card, creating a strong foundation for the design.
Next, I added three strips of Artisan Sketched Garden Designer Series Paper across the front.
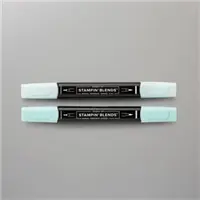
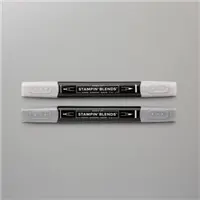
The biggest variation from the sketch is in the focal image. Instead of using the circle shown in the sketch, I hand-cut a potted plant from the Designer Series Paper. I colored the image using Smoky Slate, Granny Apple Green, and Pool Party Stampin’ Blends before attaching it with Stampin’ Dimensionals.
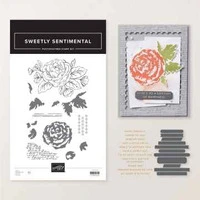
For the greeting, I used the Sweetly Sentimental Hot Foil Dies to create a beautiful foil-accented “Thank You” sentiment. A few gold embellishments around the potted plant completed the card.
This card demonstrates an important point about using simple card sketch templates: you don’t have to follow them exactly. They are simply a tool to help get your creativity flowing.
Card #2 – Adding Layers for Extra Interest
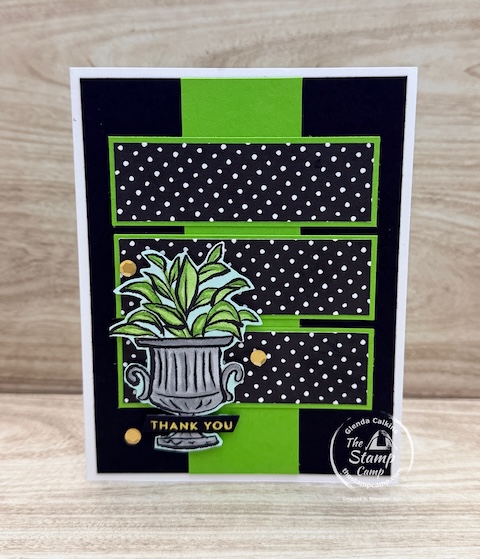
Card number two uses the same basic layout as card number one.
This time, I added Granny Apple Green mats behind each of the Designer Series Paper strips. The added layers create more contrast and help the patterned paper stand out.
I again used a hand-cut potted plant from the Artisan Sketched Garden Designer Series Paper and colored it with Stampin’ Blends. Instead of gold embellishments, I added gold sequins around the focal image.
Same sketch. Same layout. Different paper pattern and additional layering.
It’s amazing how a few small changes can completely alter the finished look.
Card #3 – Waterside Retreat Designer Series Paper
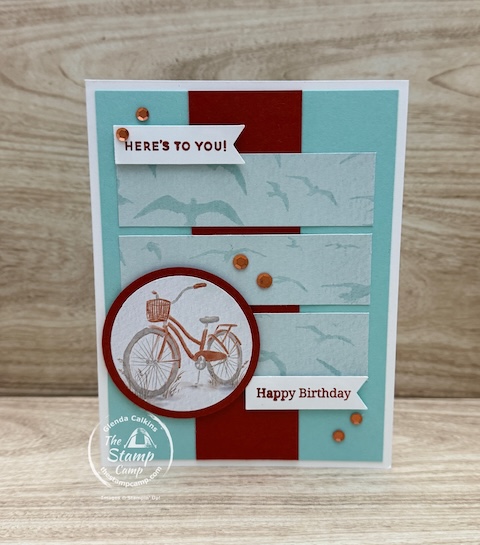
For card number three, I switched to the Waterside Retreat Designer Series Paper.
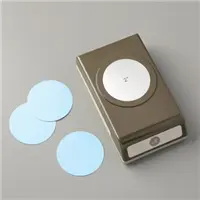
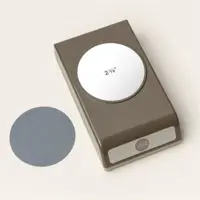
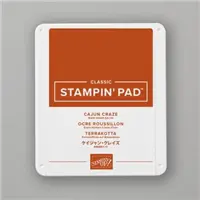
The three paper strips were cut from one side of the paper, while the bicycle image came from the reverse side. I punched the bicycle using a circle punch, layered it onto Cajun Craze cardstock, and placed it in the left corner exactly where the sketch indicates.
For the sentiment, I used the Banner Sayings Bundle, combining the stamp set and coordinating three-banner punch to create two sentiment banners.
I finished the card with a few sequins for sparkle.
Even though the overall design remains the same, the change in paper, colors, and sentiment treatment gives this card a completely different personality.
Card #4 – Texture Changes Everything
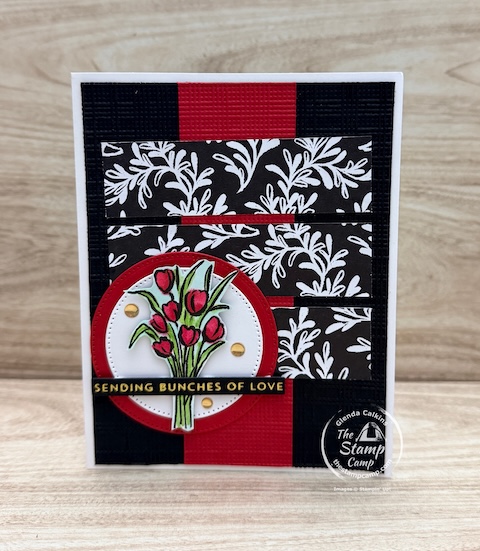
Card number four returns to the Artisan Sketched Garden Designer Series Paper, but this time I focused on adding texture.
I started with a Thick Basic White card base. A strip of Real Red cardstock was attached to Basic Black cardstock, and the entire panel was embossed using the Softly Woven Embossing Folder before being added to the card front.
I then layered the three Designer Series Paper strips over the embossed background.
For the focal point, I used the Stylish Shapes Circle Dies to create the circle element shown in the sketch. Inside the circle, I added a hand-cut bouquet of tulips from the Designer Series Paper.
The tulips were colored with Real Red and Granny Apple Green Stampin’ Blends, then lightly outlined with Pool Party Blends for added depth.
The greeting, “Sending Bunches of Love,” was created using the Sweetly Sentimental Hot Foil System, adding an elegant finishing touch.
This card shows how embossing can add texture and dimension while still staying true to the original sketch design.
Card #5 – Painted Patch Designer Series Paper
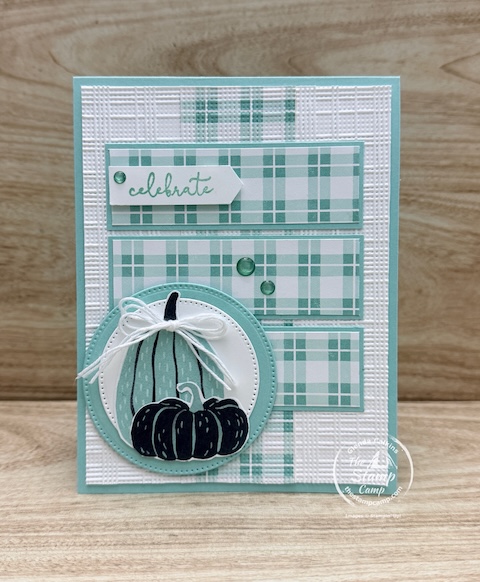
Card number five is similar to card number four, but with a few fun changes.
This time, my card base is Pool Party cardstock cut in the 4-1/4″ x 11″ direction. The mat layer is Basic White, and instead of using a coordinating cardstock strip down the center, I added a strip of Painted Patch Designer Series Paper.
After attaching the Designer Series Paper strip to the Basic White layer, I placed the entire panel inside the Softly Woven Embossing Folder and embossed it before attaching it to the card front. This added texture gives the background extra interest while still allowing the Designer Series Paper to remain the star of the design.
For the three focal strips, I used the same Painted Patch Designer Series Paper and matted each piece onto coordinating Pool Party cardstock before attaching them to the front of the card.
I used the Stylish Shapes Circle Dies to create the circle element in the lower left corner. The pumpkins were die cut directly from the Painted Patch Designer Series Paper using the coordinating dies from the Painted Pumpkins Bundle and popped up over the circle.
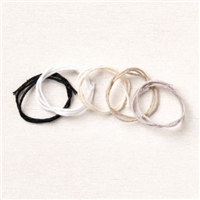
To finish the card, I added the “Celebrate” banner from the Banner Sayings Bundle, a few embellishments, and a bow tied with White Baker’s Twine.
While this card follows the same basic layout as the sketch, I changed it up by using Designer Series Paper down the center instead of plain cardstock, embossing the background panel, and adding the sentiment banner in the upper corner.
Card #6 – Sunflower Fields Designer Series Paper
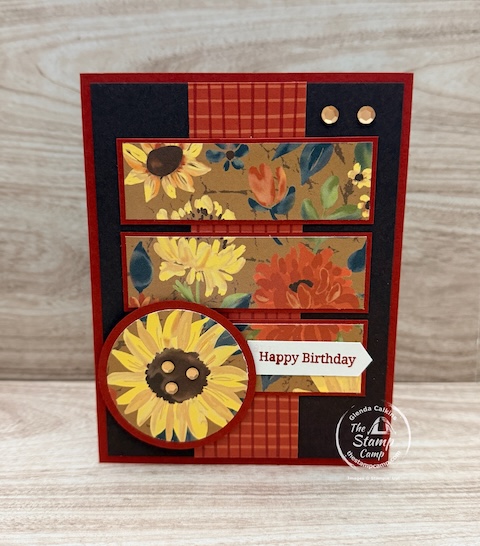
For my final card, I switched to the beautiful Sunflower Fields Designer Series Paper.
The card base is Cajun Craze cardstock with an Early Espresso mat layered on top. Running down the center is a strip of Sunflower Fields Designer Series Paper.
I then cut three additional strips from another pattern in the paper pack, matted them onto Cajun Craze cardstock, and attached them across the card front following the layout of today’s sketch.
For the focal point, I used circle punches to punch out a sunflower image from the Designer Series Paper. The sunflower was layered onto a Cajun Craze circle and popped up in the left-hand corner of the card.
The sentiment was created using the Banner Sayings Bundle, and I added a “Happy Birthday” banner to the front. A few gold sequins scattered around the sunflower and in the upper right corner completed the design.
This card has a completely different feel from the others, even though it uses the exact same card sketch as the foundation.
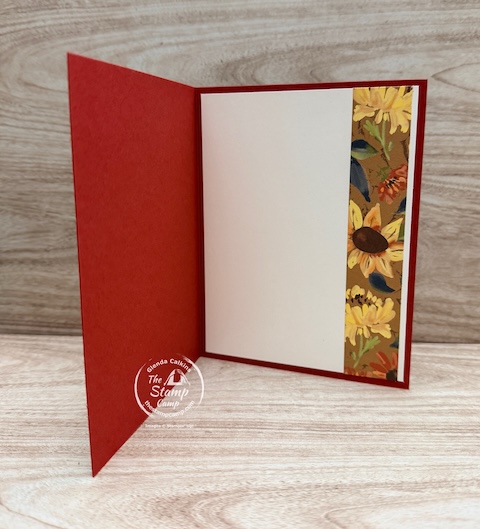
Inside all the cards, I added a coordinating strip of Designer Series Paper to tie everything together.
Why I Love Using Card Sketches
As you can see from today’s six examples, every card started with the same card sketch, yet each one looks completely different.
By changing the Designer Series Paper, adding embossing, layering cardstock mats, switching out embellishments, or replacing the focal image, you can create a wide variety of cards from a single layout. That’s why I believe a sketch without measurements can be so valuable—it encourages you to think outside the box and explore your own creative ideas.
A sketch isn’t about following exact dimensions. It’s about giving you a starting point when you’re not sure where to begin.
Sometimes the hardest part of card making is getting started. A simple sketch removes that obstacle and helps you turn your beautiful Designer Series Paper into finished cards.
Want the Version with Measurements and Instructions?
If you prefer having exact measurements and step-by-step instructions, I completely understand. That’s why I offer the detailed version of my card sketches as a customer appreciation gift.
Simply place any size order in my Stampin’ Up!® online store, and you’ll receive access to all of my September Card Sketch PDFs that include measurements, instructions, and printable project sheets.
Whether you use the free version as inspiration or enjoy having the detailed measurements, my goal is to help you get more use from your Designer Series Paper and make card making fun, easy, and creative.
Now I’d love to hear from you! Which of today’s six cards is your favorite? Do you enjoy using a card sketch as inspiration, or do you prefer having the measurements and instructions? Leave a comment below and share your thoughts!
Get More From Your Designer Series Paper with Today’s Simple Card Sketch Templates:















Thank you for choosing The Stamp Camp for your stamping inspiration and supplies. I appreciate your support and look forward to helping you create more beautiful cards all month long! Happy Stamping!
Download My Simple Card Sketch Templates Today!
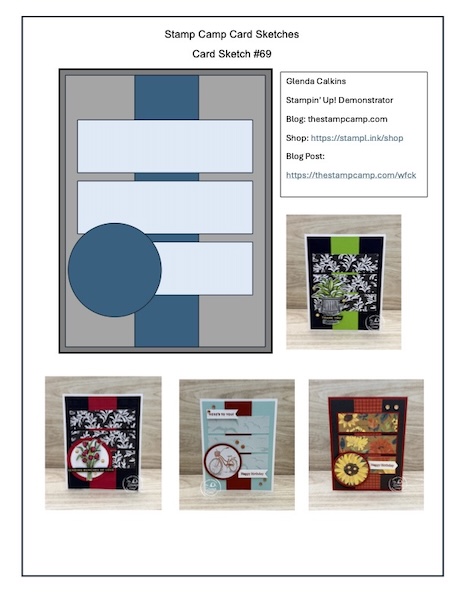
There are two ways to receive today’s free card sketch.
Option 1: Download the free sketch and start creating with the supplies you already have on hand. All the free card sketches to download are available in the Photo Gallery here on my blog. Click HERE to download today’s sketch.
Option 2: Want Measurements & Instructions – Place a ANY Size order through my Stampin’ Up! online store and receive the sketch with complete measurements and instructions.
These printable sketches are a fantastic resource to keep on hand whenever you need fresh cardmaking ideas, card sketch templates, or quick inspiration for your next crafting session. Join me every Wednesday for my Simple Card Sketch Templates.
September Customer Appreciation:
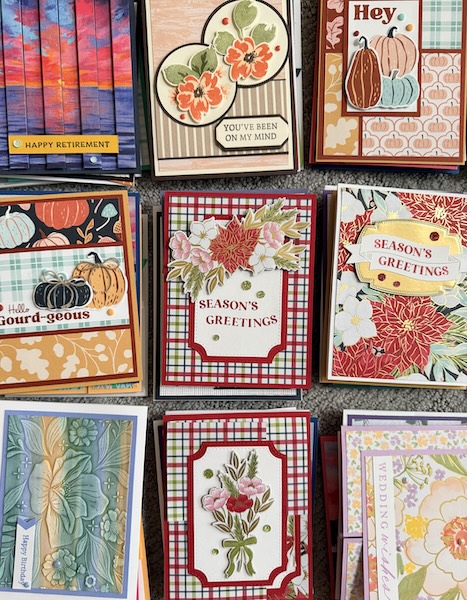
September Birthday Month Celebration
September is my birthday month, and I wanted to celebrate by offering a different Customer Appreciation Gift with Purchase throughout the month!
September 1–12, 2026
Place a $50.00 order (before shipping and tax and rewards) and receive 10 handmade all-occasion cards.
These cards are perfect to keep on hand for birthdays, thank-you notes, thinking-of-you cards, and more.
September 13–19, 2026
Place a $50.00 order (before shipping and tax and rewards) and receive a Christmas Card Kit.
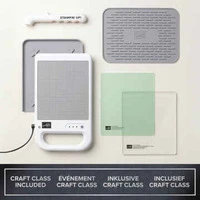
Your kit will include supplies and instructions to create five beautiful Christmas cards featuring hot foil products. No hot foil machine is required—I will provide everything you need except adhesive.
September 20–30, 2026
Place a minimum $100.00 order (before shipping and tax and rewards) and receive a Mystery Box!
Each mystery box will be packed with a variety of new and gently used retired Stampin’ Up! products. The value of the contents will be at least $100.00, making this a fantastic opportunity to add to your crafting collection.
You can shop anytime in my online store here: https://stampl.ink/shop
Have questions? I’m always happy to help—just send me a message!
6 thoughts on “Card Sketch #69: Simple Card Sketch Templates in Action”
Beautiful cards! I love the inspiration from them
Thanks Debbie, I’m glad you like card sketches and I appreciate your feedback. Check back on Friday to see who wins ALL 6 of the Card Sketch #69 cards! I will draw the winning name on Friday at 11:00AM EST. You have earned yourself an entry!
Beautiful cards
Thanks Jeanette, I appreciate you checking out the blog post and leaving me a comment. You have earned an entry into the drawing for ALL 6 of Card Sketch #69 Cards. I will post on Friday at 11:00AM EST the winner, Good luck!
Love this card sketch! Thank you for sharing this!
Hi Linda, Thanks for checking out today’s blog and card sketch. You are entered into the drawing, come back Friday 11AM EST to find out who the winner is.