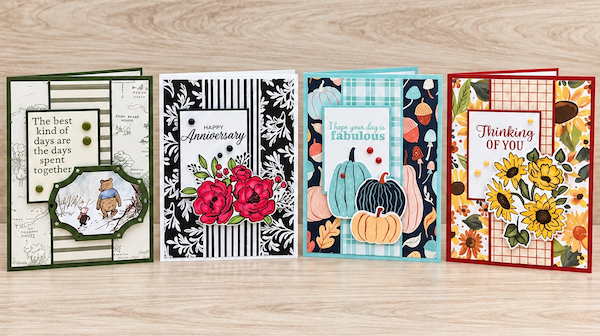
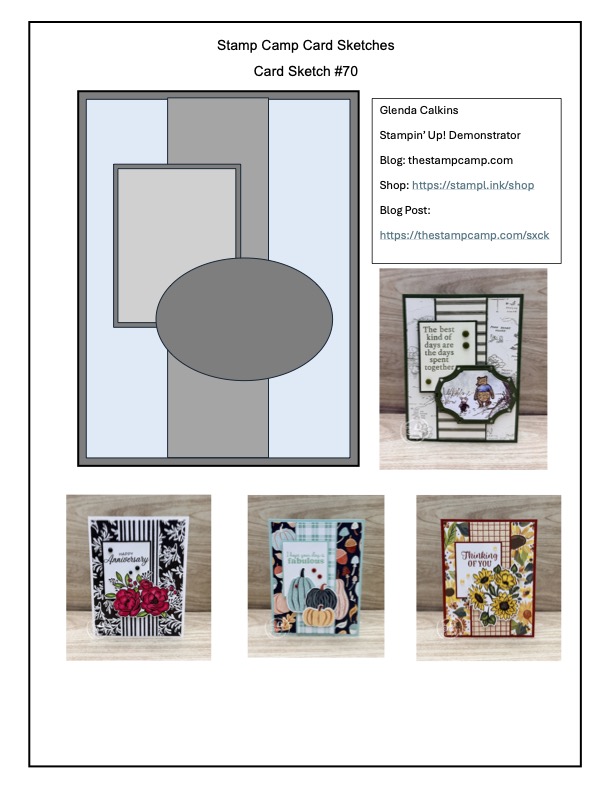
If you love making cards but sometimes find yourself staring at your supplies wondering where to begin, a card sketch can be the perfect starting point! Today I’m sharing Card Sketch #70, along with four completely different cards to show you just how versatile card sketches can be.
One of the reasons I create The Stamp Camp Card Sketches without measurements is because I want you to use them as inspiration rather than a set of rules. A sketch gives you the basic layout for your handmade card design, and from there, you can change the sizes, add layers, substitute images for shapes, and make the design completely your own.
That is exactly what I did with today’s four cards. Each one started with the same handmade card sketch designs, but I changed things up using different Designer Series Papers, bundles, die cuts, stamped images, and embellishments.
The result? Four cards that look completely different but all started with Card Sketch #70!
Card #1 – Silly Old Bear Designer Series Paper
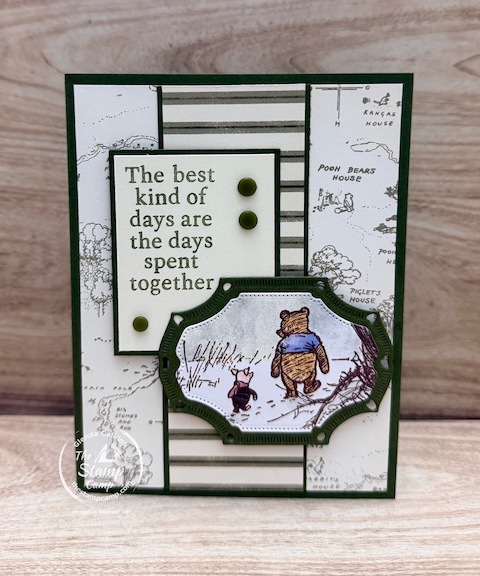
My first card follows Card Sketch #70 pretty closely, with one small change—I added an additional cardstock layer behind the Designer Series Paper strip.
The card base is Mossy Meadow, layered with a piece of the Silly Old Bear Designer Series Paper. Down the center, I added a second print from the same paper pack and layered it onto coordinating cardstock.
For the sentiment, I used the Sweet Words and Labels Bundle. Winnie the Pooh and Piglet were die cut directly from the Designer Series Paper using the coordinating dies. I also die cut the oval-style shape from coordinating Mossy Meadow cardstock and layered the image onto it.
After popping the focal point up on the card front, I finished the card with a few Mossy Meadow Natural Matte Dots.
This card stays fairly close to the original handmade card sketch designs, but that extra layer behind the center strip gives it just a little more dimension.
Card #2 – Artistic Sketch Garden Designer Series Paper
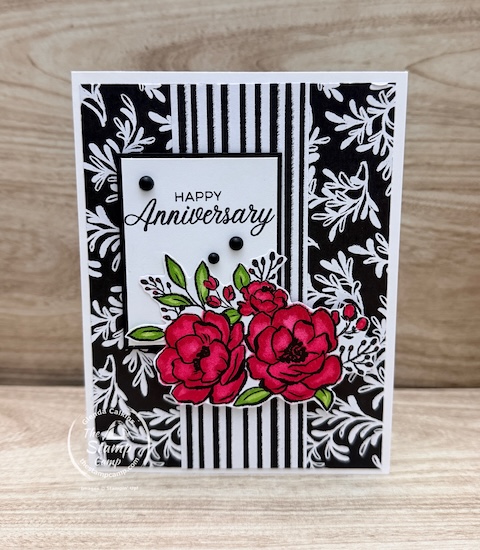
For my second card, I used three different prints from the Artistic Sketch Garden Designer Series Paper.
The card base is Thick Basic White with one print of Designer Series Paper layered over the front. I added another print down the center, but this time I didn’t mat the strip, so this portion of the card follows the sketch exactly.
The sentiment is from the Phrases and Frames Stamp Set.
Here is where I changed the sketch!
Instead of using the shape shown on Card Sketch #70, I hand cut one of the floral bouquets from the Designer Series Paper. I colored the flowers and leaves using Real Red and Granny Apple Green Stampin’ Blends and then popped the bouquet up on the card front.
This is a great example of why I don’t want you to feel locked into the shapes shown on my card sketches. Look through the Designer Series Paper you already have and see what you can use instead. A hand-cut image can easily become your focal point!
Card #3 – Painted Patch Designer Series Paper
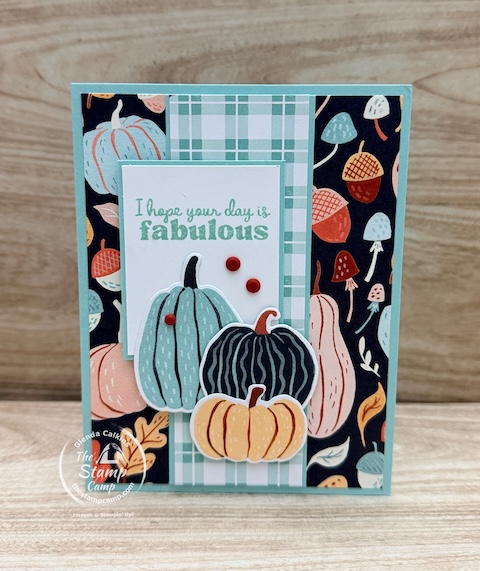
Card #3 features the Painted Patch Designer Series Paper, Painted Pumpkins Bundle, and coordinating Painted Patch Dots.
I started with a Pool Party card base and added one of the prints from the Painted Patch Designer Series Paper. For the strip down the center, I added a coordinating mat behind the Designer Series Paper, similar to what I did on Card #1.
The sentiment comes from the Painted Pumpkins Bundle.
Instead of using the shape shown on the original handmade card sketch designs, I used the coordinating dies to cut pumpkins directly from the Designer Series Paper. I arranged the pumpkins in the same general area where the shape appears on the sketch and popped them up to create the focal point.
A few Painted Patch Dots were the perfect finishing touch.
Again, we’re following the same basic layout, but changing the elements to make the sketch work with the products we’re using.
Card #4 – Sunflower Fields Designer Series Paper
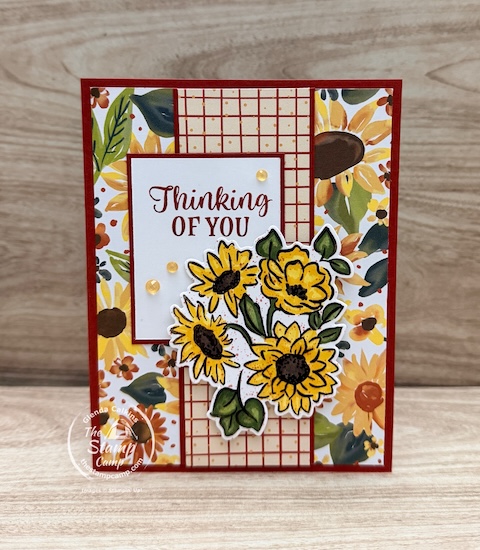
My final card features the Sunflower Fields Designer Series Paper, Radiant Sunflowers Bundle, and coordinating Radiant Gems.
The card base is Cajun Craze with a piece of Sunflower Fields Designer Series Paper layered onto the front. I added another print from the paper pack down the center and added a small mat behind it.
The sentiment is positioned on the rectangle piece similar to what you see on Card Sketch #70.
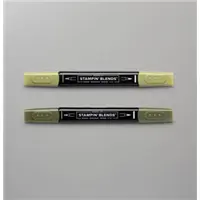
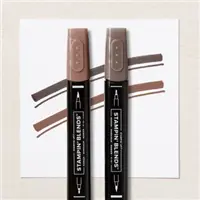
For my focal point, I decided to stamp and color the sunflower image. I used Dark Daffodil Delight, Darling Duckling, Mossy Meadow, and a brown Stampin’ Blend to bring the image to life.
I loved the dotted look in the Designer Series Paper, so I decided to carry that look over to my stamped image. I flicked my Cajun Craze Stampin’ Blend over the piece to create a coordinating speckled background.
After coloring the sunflower, I used the coordinating die from the Radiant Sunflowers Bundle to cut it out and popped it up on the card front in place of the shape shown on the sketch.
I finished everything off with a few Radiant Gems.
One Card Sketch – Four Different Handmade Card Designs
This is exactly why I love using card sketches!
All four cards started with Card Sketch #70, but each one took the layout in a slightly different direction.
Card #1 uses a die-cut focal point created from Designer Series Paper. Card #2 replaces the shape with a hand-cut and colored floral bouquet. Card #3 uses die-cut pumpkins from Designer Series Paper, while Card #4 replaces the shape with a stamped, colored, and die-cut sunflower.
Same card sketch. Four very different cards!
When you’re creating your next card, don’t worry about making your finished project look exactly like the sketch. Instead, use the sketch to answer that first big question: Where do I start?
Once you have your basic layout, look through the Designer Series Paper, stamps, dies, and embellishments you already have and make it your own.
That’s the fun of creating your own handmade card design!
Shop the Supplies for These Handmade Card Sketch Designs
Want to create your own version of Card Sketch #70?
Below you’ll find the supplies I used to create today’s four cards. Simply choose the products that inspire you, then use Card Sketch #70 as your starting point.
Remember, you don’t have to use the exact same Designer Series Paper, bundle, colors, or focal images that I used. Shop your favorites, pull out what you already have, and see where your creativity takes you.
Start with the sketch. Make it your own. And most importantly—have fun creating!





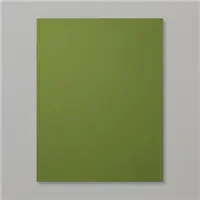


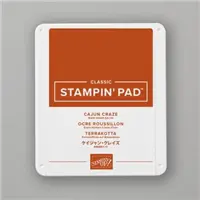





Thank you for choosing The Stamp Camp for your stamping inspiration and supplies. I appreciate your support and look forward to helping you create more beautiful cards all month long! Happy Stamping!
Looking for Free Card Sketches to Download?
If you’re looking for free card sketches to download, be sure to grab the free sample version of my card sketches and give one a try. Download the free sketch and start creating with the supplies you already have on hand. All the free sketches are available in the Photo Gallery Here on my blog.
Prefer having the measurements and instructions already figured out for you? Simply place any size order in my Stampin’ Up!® online store, and you’ll receive access to all of my September handmade card sketch designs PDFs that include measurements, instructions, and printable project sheets.
It’s a great option when you want the convenience of having everything laid out for you while still having plenty of room to add your own creative touches.
September Customer Appreciation:
September Birthday Month Celebration
September is my birthday month, and I wanted to celebrate by offering a different Customer Appreciation Gift with Purchase throughout the month!
September 13–19, 2026
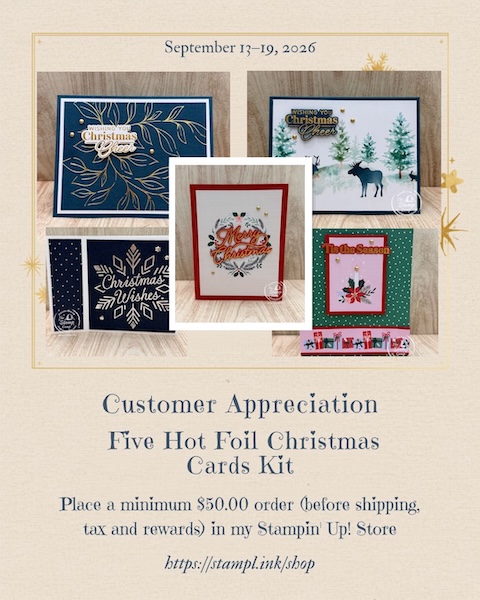
Place a $50.00 order (before shipping and tax and rewards) and receive a Christmas Card Kit.
Your kit will include supplies and instructions to create five beautiful Christmas cards featuring hot foil products. No hot foil machine is required—I will provide everything you need except adhesive.
September 20–30, 2026
Place a minimum $100.00 order (before shipping and tax and rewards) and receive a Mystery Box!
Each mystery box will be packed with a variety of new and gently used retired Stampin’ Up! products. The value of the contents will be at least $100.00, making this a fantastic opportunity to add to your crafting collection.
You can shop anytime in my online store here: https://stampl.ink/shop
Have questions? I’m always happy to help—just send me a message!
2 thoughts on “Card Sketch #70: Handmade Card Sketch Designs to Spark Your Creativity”
Okay, Artisan and Sunflowers are my fave, so THEY’RE gonna be my fave just because. Really great sketch. Thanks for another one.
Thanks Carla, I appreciate you checking out this week’s sketch and leaving me a comment. Happy Stamping!