
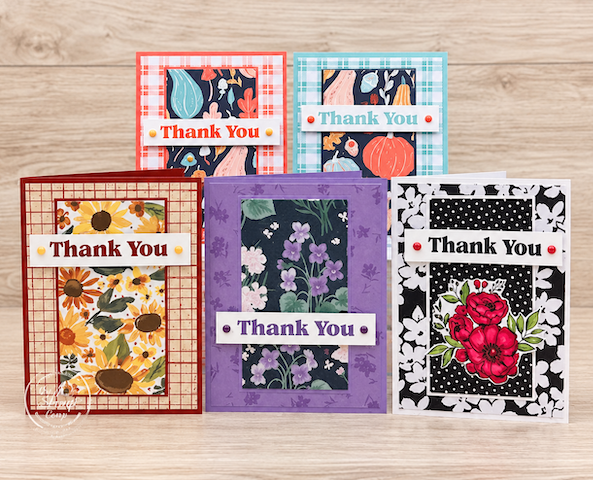
If you’re looking for card sketch templates for beginners, today’s Card Sketch #71 is a great place to start! This simple layout proves that you don’t need a complicated design or lots of supplies to create beautiful handmade cards. With a little Designer Series Paper, coordinating cardstock, and a sentiment, you can create a card in no time.
One of the things I love most about card sketches is that they give you a starting point without limiting your creativity. Think of the sketch as your roadmap. You can follow it exactly or move an element, change the focal point, add an embellishment, or introduce another layer to make the design your own.
For today’s creative card sketch, I created five cards using several different Designer Series Paper packs. I kept the basic layout the same on every card and used the same “Thank You” sentiment from the Painted Patch Stamp Set. By simply changing the papers, colors, and placement of a few elements, each card has a completely different look.
These are perfect beginner-friendly card sketch ideas, but they’re also wonderful when you need quick and easy cards and don’t want to spend a lot of time deciding on a layout.
My first card follows Card Sketch #71
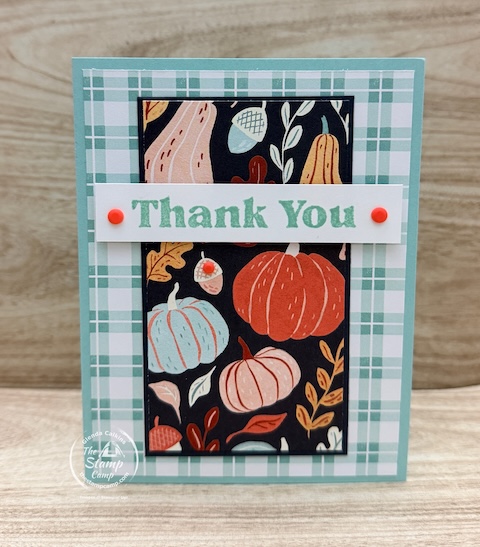
I started with a Pool Party card base and added a piece of Painted Patch Designer Series Paper to the front. For the center focal point, I cut another piece of Painted Patch Designer Series Paper and added a very narrow Secret Sage mat behind it.
The “Thank You” sentiment from the Painted Patch Stamp Set was added on a simple strip across the front, just as shown on the sketch. A few Painted Patch Dots finished off the card.
This is truly a quick and easy card that almost anyone can create. If you are a beginner stamper, this is a wonderful example of how cards using Designer Series Paper can look beautiful without requiring a complicated design.
Card #2 – Painted Patch in Calypso Coral
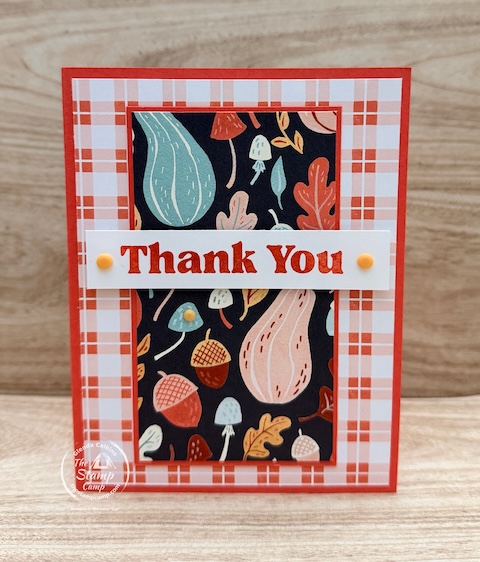
For Card #2, I used the Painted Patch Designer Series Paper again, but this time I changed my card base to Calypso Coral.
I added the Designer Series Paper to the card front and used the same print for my center focal point that I used on Card #1. This time, however, I matted it with Calypso Coral cardstock.
I also used Calypso Coral ink for the sentiment layer.
Here’s where I made the card sketch my own: I moved the sentiment slightly farther down on the card front. By doing this, I could show off more of the gourds in the Designer Series Paper instead of covering them.
It’s such a small change, but that is exactly what I mean when I say a sketch is only your starting point. Look at your paper and decide which parts you want to showcase, then adjust the sketch accordingly.
Card #3 – Sunflower Fields Designer Series Paper
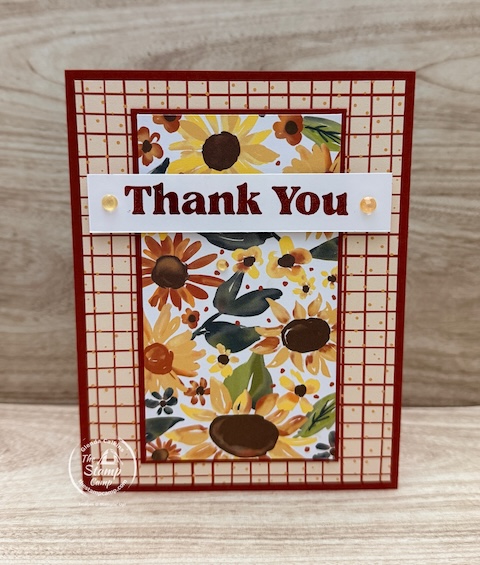
Card #3 shows just how different the same card sketch template can look when you change the Designer Series Paper.
I started with a Cajun Craze card base and added a piece of Sunflower Fields Designer Series Paper.
For the focal point, I chose another print from the Sunflower Fields paper pack and matted it with Cajun Craze cardstock.
The same “Thank You” sentiment from the Painted Patch Stamp Set was stamped in Cajun Craze and placed toward the top of the card, following the original Card Sketch #71 layout.
Cards #1 and #3 follow essentially the same design, yet they look completely different simply because I changed the colors and Designer Series Paper.
That’s one of my favorite things about card sketch templates for beginners. Once you find a layout you enjoy, you can use it over and over again with the papers you already have in your craft room.
Card #4 – Violet Dreams Designer Series Paper
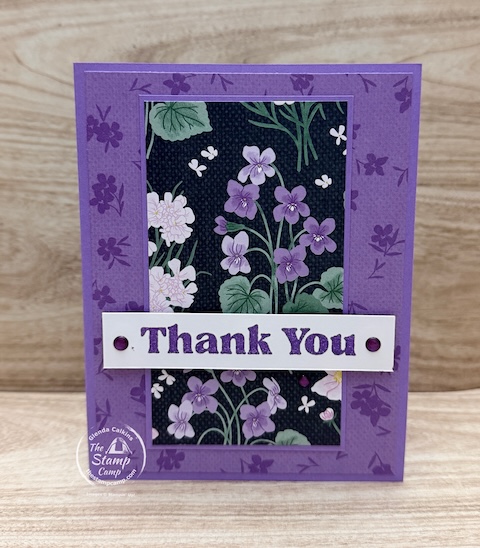
For Card #4, I brought in the beautiful Violet Dreams Designer Series Paper.
My card base is Highland Heather, topped with a piece of Violet Dreams Designer Series Paper. For the focal point, I chose another print from the pack featuring a more vibrant floral image and matted it with Highland Heather cardstock.
Again, I used the same “Thank You” sentiment from the Painted Patch Stamp Set and stamped it in Highland Heather.
But this time, I moved the sentiment toward the bottom of the card instead of placing it at the top as shown on the original sketch.
Why?
I wanted that pretty sprig of violets to remain visible!
Instead of covering an element of the Designer Series Paper that I loved, I simply moved my sentiment underneath it.
Same card sketch, same basic layout—just one little adjustment to make the most of the beautiful paper.
Card #5 – Artisan Sketch Garden Designer Series Paper
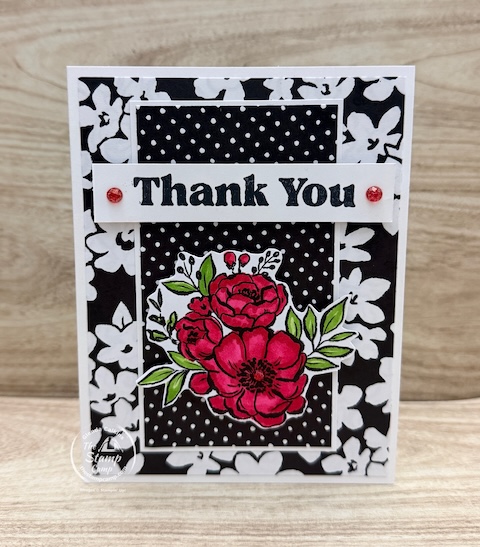
For my final card, I changed things up a little more while still keeping the foundation of Card Sketch #71.
I started with a Thick Basic White card base and added a piece of Artisan Sketch Garden Designer Series Paper.
For the center panel, I chose a subtle polka-dot print from the same paper pack, matted it with Basic White cardstock, and attached it to the card front.
Because my focal panel was fairly simple, I decided this card needed a little something extra.
I hand-cut a floral sprig from the Artisan Sketch Garden Designer Series Paper, colored it using Real Red and Granny Apple Green Stampin’ Blends, and popped it up on the card front.
The same “Thank You” sentiment was added toward the top, keeping the overall layout of the sketch intact.
For the finishing touch, I pulled out some retired glitter gems from my stash and colored them with the Real Red Stampin’ Blends. I added them to the sentiment area and the center of the largest flower, bringing another little pop of red to the card.
This card is a great example of how creative card sketches can grow with you. Start with the basic layout and then look at your supplies to see what else you might add. You don’t have to completely change the sketch to make the finished card your own.
One Card Sketch Templates for Beginners With So Many Possibilities!
There you have it—five different cards created from Card Sketch #71!
This week’s sketch is especially nice if you’re searching for beginner-friendly card ideas because the layout is simple, versatile, and easy to recreate. All you really need is some Designer Series Paper, coordinating cardstock, a sentiment, and a few embellishments if you wish.
The most important thing to remember is that a card sketch is there to get your creativity started.
Move the sentiment. Change the colors. Showcase a favorite section of your Designer Series Paper. Add a floral image. Leave something off. Add something extra.
Make the sketch work for your card!
That’s why I love sharing card sketches here at The Stamp Camp. One simple layout can give you dozens of possibilities depending on the papers and supplies you have on hand.
Want Card Sketch #71 With Measurements & Instructions?
If you prefer having the measurements and step-by-step instructions, I have those for you too!
Place an order of any size through my Stampin’ Up!® online store during September, and I will send you the unlock code for my September Customer Appreciation Album here on my blog.
Inside the album, you’ll find my card sketches from the month along with the measurements and instructions, making it even easier to recreate the designs.
If you prefer using card sketch templates for beginners as inspiration and choosing your own measurements, you can download the FREE Card Sketch #71 below and start creating right away.
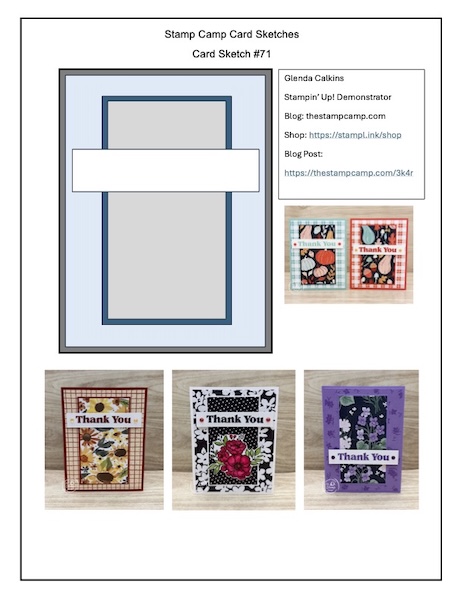
All the free sketches are available in the Photo Gallery Here on my blog.
Shop the Supplies for Card Sketch #71
Want to create your own version of today’s quick and easy cards?
Below you’ll find the supplies I used for my Card Sketch #71 samples, including products from the Painted Patch collection, Sunflower Fields, Violet Dreams, and Artisan Sketch Garden.


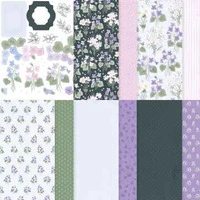



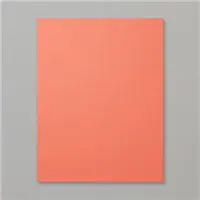
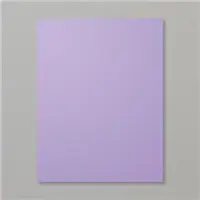

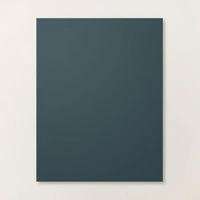

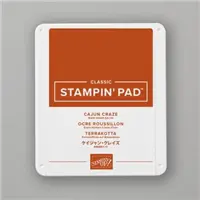
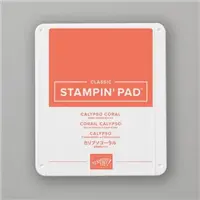



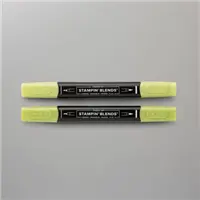


Simply choose the products you need, then use Card Sketch #71 as your starting point. Whether you copy one of my cards or create something completely different, I hope today’s creative card sketch inspires you to pull out your favorite Designer Series Paper and start creating!
Thanks so much for your order, it is greatly appreciated!
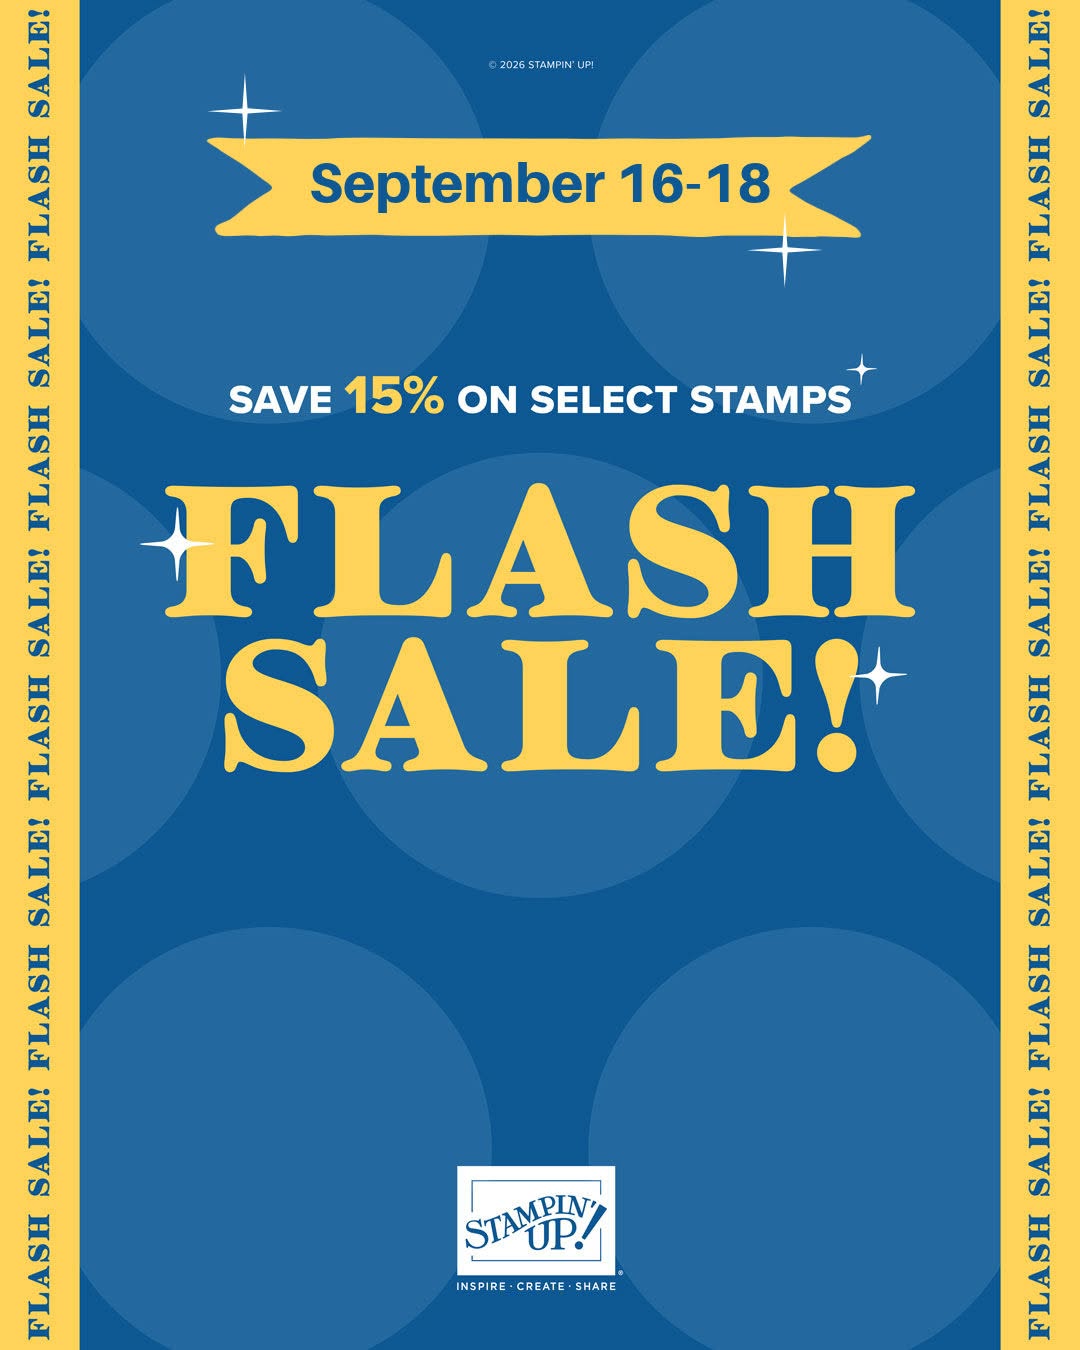
Shop The Flash Sale Today and Save 15% off Select Stamp Sets
See the Full List HERE.
September Customer Appreciation:
September Birthday Month Celebration
September is my birthday month, and I wanted to celebrate by offering a different Customer Appreciation Gift with Purchase throughout the month!
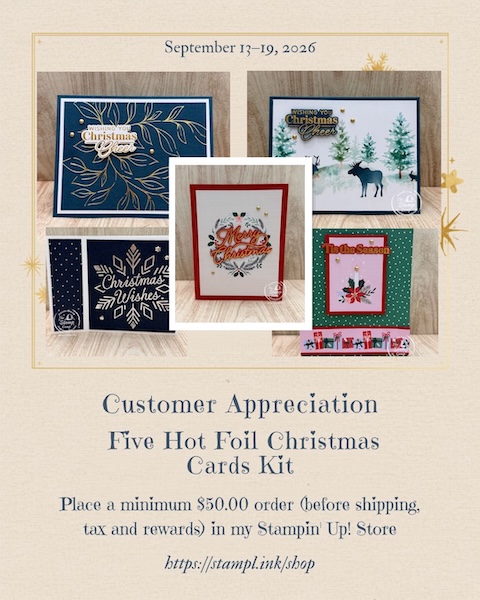
September 13–19, 2026
Place a $50.00 order (before shipping and tax and rewards) and receive a Christmas Card Kit.
Your kit will include supplies and instructions to create five beautiful Christmas cards featuring hot foil products. No hot foil machine is required—I will provide everything you need except adhesive.
September 20–30, 2026
Place a minimum $100.00 order (before shipping and tax and rewards) and receive a Mystery Box!
Each mystery box will be packed with a variety of new and gently used retired Stampin’ Up! products. The value of the contents will be at least $100.00, making this a fantastic opportunity to add to your crafting collection.
You can shop anytime in my online store here: https://stampl.ink/shop
Have questions? I’m always happy to help—just send me a message!
2 thoughts on “Card Sketch Templates for Beginners: 5 Quick and Easy Card Ideas”
You always have such beautiful cards
Thanks Janis, I appreciate that and thanks so much for being a loyal customer, much appreciated!