
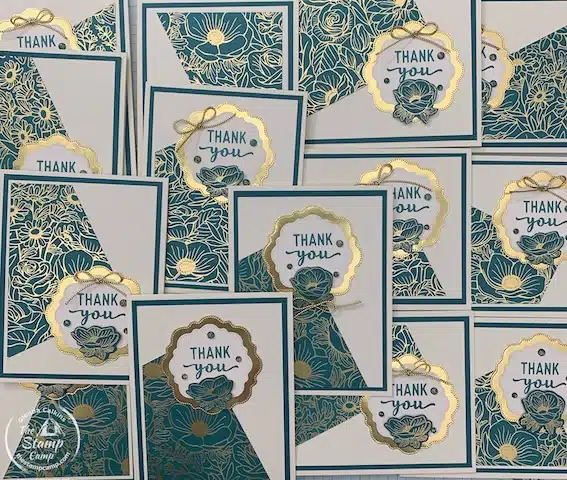
Let’s create 16 One Sheet Wonder Cards in a flash for any occasion. I created these cards in last night’s class on my YouTube Channel “The Stamp Camp”. If you missed the class don’t worry as I have the video posted below in this article.
This is the last series of cards I’ll be creating with the Forever Love Specialty Designer Series Paper? This month in my club I featured the Forever Love Specialty Designer Series Paper, the Gold Simply Elegant Trim and the Petal Pink & Pretty Peacock Foiled Gems, and club members received the contents to create 8 cards, 2 of 4 different designs. Club members also received the step-by-step video tutorial, the written PDF file as well as bonus PDF files and videos all month long. Every Thursday night the One Sheet Wonder cards featured the paper from the club, and they can download the Project Sheet and the pattern.
Today is the last day to subscribe to my club and receive this month’s kit. So, if you love this paper and want to create the cards in this month’s kit make sure to subscribe today! If you would like more information regarding my Stamp Camp at Home Card Club, see this post HERE.
Now let’s take a closer look at this week’s One Sheet WonderCards:
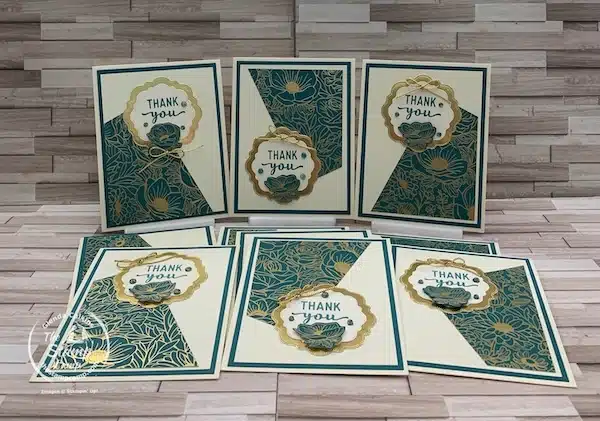
As I stated I created 16 cards from just one sheet of the Forever Love Specialty Designer Series Paper. I created 16 Thank You cards, but you could easily create these cards and not put the sentiment on until you were ready to use the card and then add the sentiment you need or create 4 cards as Birthday cards, 4 cards as Thank You cards, 4 cards as Anniversary cards, and 4 cards as Thinking of You cards. You get the idea; this would give you a pile of cards to have on hand when you need them.
I’ve done this One Sheet Wonder layout before, but it was with a 6 x 6 sheet of designer series paper. With one 6 x 6 sheet you will get 4 cards, so with the 12 x 12 sheet you get 16 cards. If you only have a 6 x 12 piece of designer series paper, you will get 8 cards. You get the idea.
My suggestion for the paper that you choose is to pick one that is non-directional. This will help as if you watched the video or last night’s class then you know I ran into an issue with the paper print being sideways; so, I fixed that problem by changing the direction of my card. So, I guess if you have a paper with a directional pattern, it is still doable.
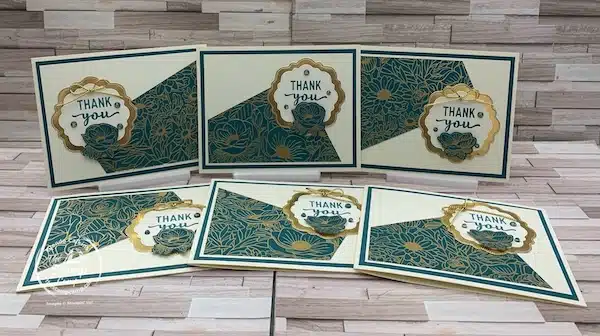
I ended up with 6 cards that I had to change the direction of the card base so that the print still stayed in the correct direction. So, I ended up with 10 vertical cards and 6 horizontal cards; all beautiful.
The thank you sentiment on all the cards is from the retiring Charming Sentiments stamp set. There are a lot of retiring products on these cards, so make sure to check the retiring list and get what supplies you need before they are gone for good. You will find the retired list below.
Here is a list of the retiring products I used on these cards:
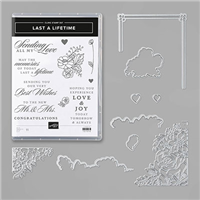
- Lifetime of Love Bundle
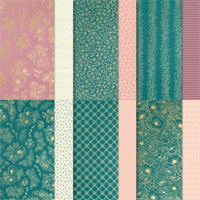
- Forever Love Specialty Designer Series Paper
- Thick Very Vanilla cardstock
- Very Vanilla Envelopes
- Charming Sentiments stamp set
- Gold Foil paper
- Simply Elegant Trim
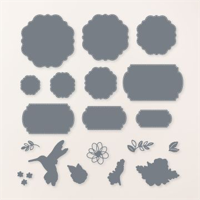
- Thoughtful Expressions Dies
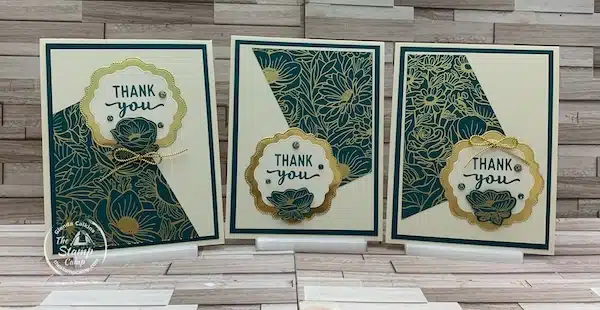
One of the discussions we had during the class was with ribbon or without ribbon. For mailing purposes sometimes, the ribbon can be a bother and require additional postage, but it does add a bit of elegance to the cards, so it was a toss-up as to add it or not. I think the majority was add it, you decide.
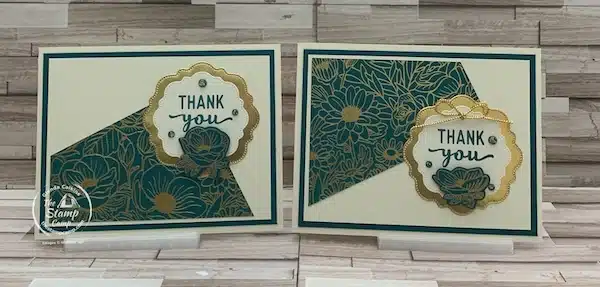
Can you also spot which of the small flowers on the sentiment piece were hand cut from the paper pack and which ones were stamped and embossed onto Pretty Peacock cardstock? I cannot tell the difference unless I flip them over and see the backside. This stamp is so true to size and stamps so much like the print that you can’t tell the difference.
Here is your Shopping List for These One Sheet Wonder Cards:


Remember you MUST use the Host Code unless your order is over $150.00, then do NOT use the host code and you will receive the host benefits, plus my rewards.
Retired Annual Catalog See List HERE
Retired Mini Catalog See List HERE
Here is the video from last night Class:
Join me every Thursday night at 8:00PM EST on my YouTube Channel for my One Sheet Wonder Cards class with Designer Series Paper.
My Customer Appreciation for March:
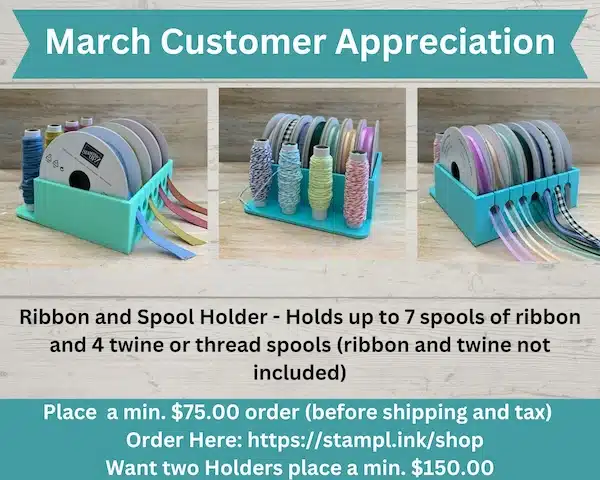
My 3D printer has been buzzing getting ready for this months customer appreciation special. Do you have a spot or a way of storing your ribbon and twine spools? If not check out this combo ribbon/twine storage system. My combo ribbon and twine holder will hold up to 7 spools of ribbon depending on the size of the spool and 4 spools of twine or thread. This is perfect to sit on your desk and keep your spools in order and upright or place on a shelf.
Do you have the White Open Storage Cube from Stampin’ Up! with the Topper Storage? If not you can check it out on page 124 of the annual catalog. This is a cube that you can store ink pads, ribbon, adhesives, small embellishments and more. I’ve taken my ribbon storage system and made them to fit inside the cube and with the topper storage you have the space on top to hold my ribbon storage system as well. (check out what I’m talking about in the photo below.). Yes the bottom ribbon storage system has the twine/thread spool holder inside; you will just need to slide it out of the cube to get at the spools when needed.
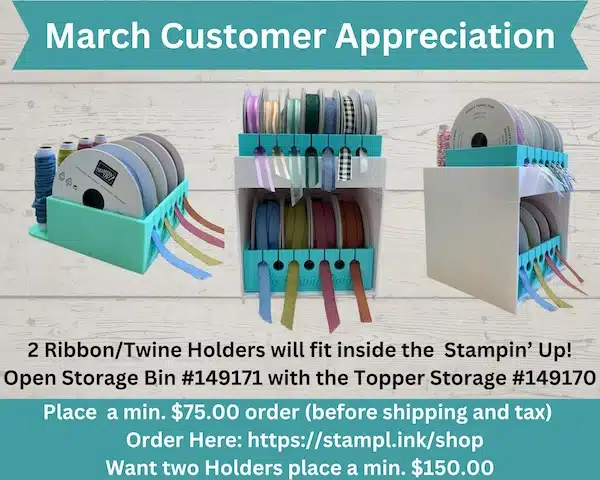
To get one of my Ribbon holders you will need to place a min. $75.00 online order with me and use the host code. If you would like two holders you will need to submit a min. $150.00 order and no need to use the host code. I will send you the ribbon holder(s) free of charge. I will however need you to email me with your color choice; baby blue, mint green, or purple. If I don’t hear from you or if you do not respond to my email regarding your ribbon holder, I will assume you do not want the holder.
Place your orders Here: https://stampl.ink/shop
Click HERE to view How To Use A Host Code