
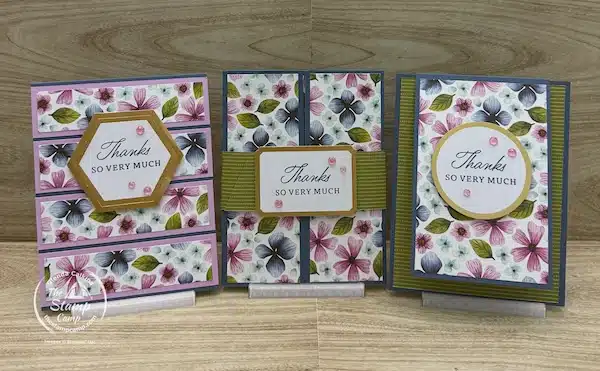
During last night’s One Sheet Wonder class, I featured the beautiful Floral Impressions Designer Series Paper and shared some creative one sheet card ideas that you can make with just one 12″ x 12″ sheet. It’s always amazing to see how far a single piece of patterned paper can go—especially when paired with a few fun fold card designs and easy-to-follow layouts.
With just one 12″ x 12″ sheet of the Floral Impressions Designer Series Paper, I was able to create two fun fold cards along with an additional card using the leftover strips.
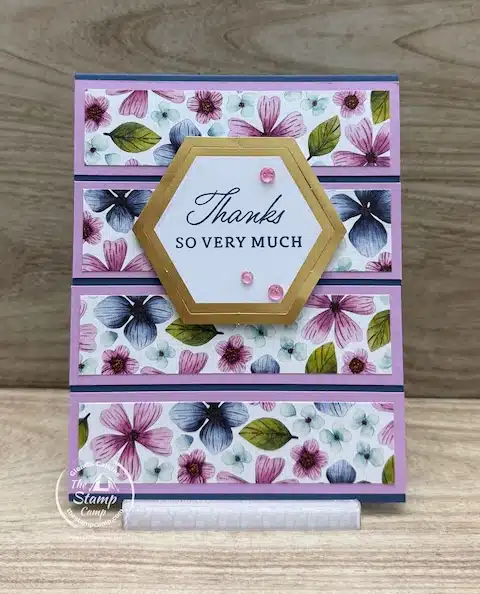
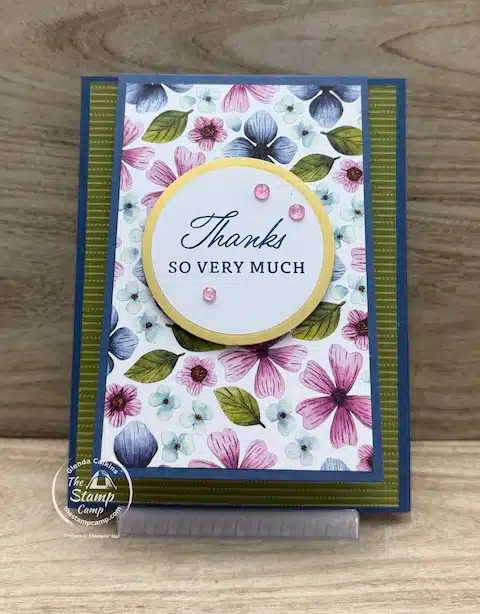
Card #1 – Creating the Illusion of a Full Strip
For the first card, I showcased those leftover strips from my one sheet wonder cutting template. This is one of my favorite tricks for stretching your paper: take a small piece, layer it onto your cardstock, and then cleverly cover the gap. By placing the sentiment piece directly over the section that doesn’t have patterned paper, it gives the illusion that the strip continues seamlessly across the card—even though it doesn’t!
This simple technique is perfect for one sheet wonder cards, because it allows you to use up every bit of your Floral Impressions Designer Series Paper without sacrificing style. The end result looks polished and intentional, and no one will ever know you pieced it together from scraps.
The sentiment pieces on all three cards came from the Foiled Frames & Labels Ephemera Pack, which is included in the Floral Impressions Suite Collection. I love how the foiled accents instantly elevate each design and tie everything together beautifully. To finish them off, I used coordinating sentiments from the Impressions Abloom Bundle—the perfect match for this suite and a great way to bring consistency across all of the one sheet wonder cards.
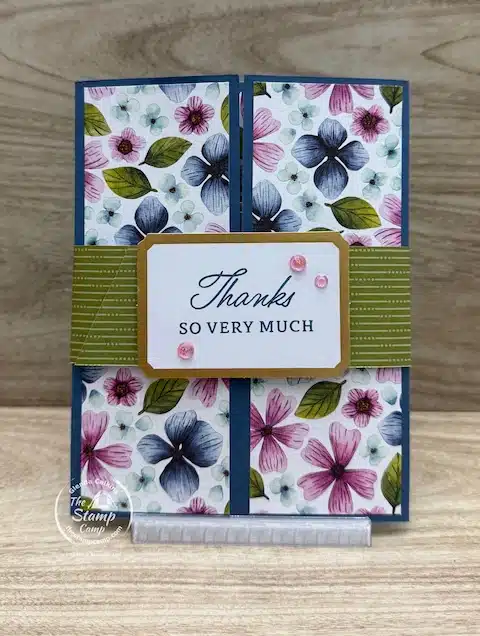
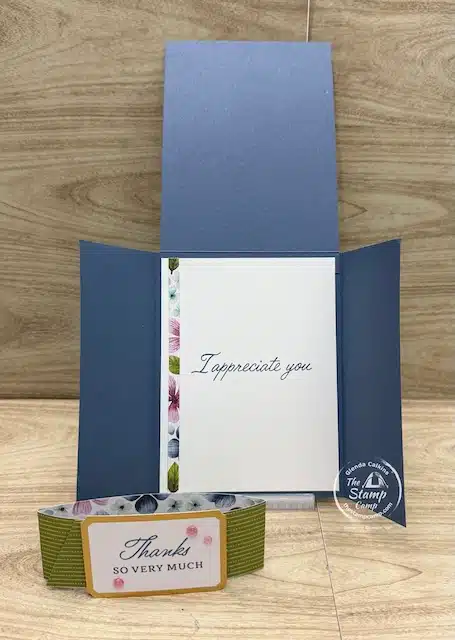
Card #2 – Gatefold Fun Fold with Belly Band
For the second design, I created a gatefold card with a belly band—a favorite fun fold that always makes a big impression! The belly band is decorated with one of the Foiled Frames & Labels Ephemera Pack pieces, stamped with a sentiment from the Impressions Abloom Bundle. To add a touch of sparkle, I accented the sentiment with the Strawberry Slush & Pretty in Pink Gems from the Floral Impressions Suite Collection.
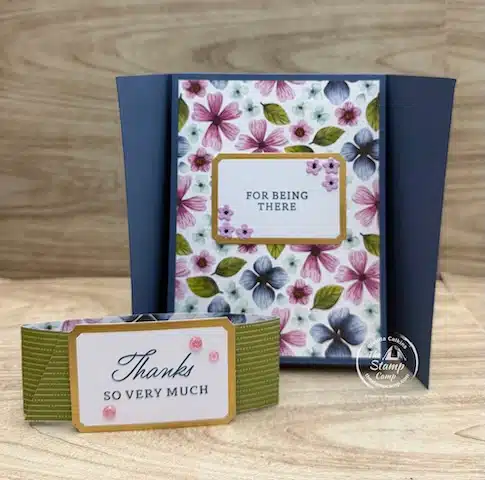
Once you slide off the belly band and open the gatefold doors, you’ll find an additional sentiment panel inside. To dress this up, I stepped it up a bit by adding some sweet little flowers die-cut from Fresh Freesia cardstock using the coordinating dies from the Impressions Abloom Bundle. To make the flowers pop even more, I colored the centers with the Misty Moonlight Stampin’ Write Marker.
? Quick Tip: The Stampin’ Write Markers are being discontinued and are currently only available while supplies last. If you love this look, you may want to grab the Misty Moonlight Marker (found in the Neutrals Stampin’ Write Marker Pack) before it’s gone for good!
This extra detail really pulls the card together and makes the inside just as beautiful as the outside, turning a simple one sheet wonder card idea into a stepped-up fun fold card.
After you’ve flipped up the inside panel, you’ll reveal the full inside of the card. Here I stamped one more coordinating sentiment and added a small strip of the Floral Impressions Designer Series Paper that I had cut from the original sheet. It’s a simple touch, but it ties the whole design together and makes the inside feel just as polished as the outside.
This gatefold fun fold card is a perfect example of how creative one sheet card ideas can turn a single 12″ x 12″ sheet into multiple layers of interest, with every last piece of paper put to good use.
Card #3 – Flip-Up Fun Fold with Layered Designer Paper
The third design is another flip-up fun fold card, but with a slightly different twist. This time, instead of a gatefold base, the card starts with a standard 5 1/2″ x 8 1/2″ card base. I added an extra flip-up flap to the front, adhered on the inside, to create that interactive element.
For the patterned layers, I paired the gorgeous floral print from the Floral Impressions Designer Series Paper on the front flip-up flap with the coordinating green striped print on the card base behind it. The two designs together create such a beautiful contrast and really showcase the versatility of the paper.
To finish it off, I used a gold foiled frame and sentiment from the Foiled Frames & Labels Ephemera Pack, accented with a few coordinating gems. This combination is simple yet elegant and makes the flip-up feature feel extra special.
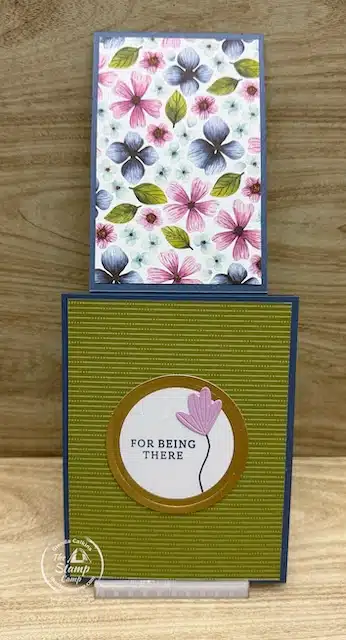
When you lift the front flap, it reveals an additional sentiment inside. To decorate this sentiment piece, I added another small floral die-cut from the Impressions Abloom Bundle and drew a delicate stem using my Misty Moonlight Stampin’ Write Marker.
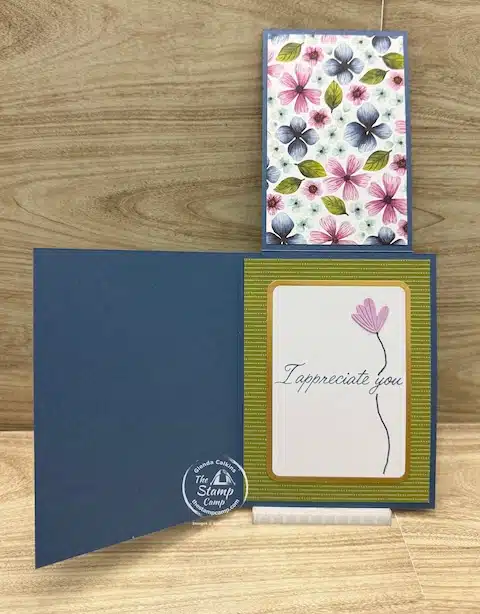
After you flip up the front flap and open the card fully, you reach the final inside reveal. Here, I added a larger Foiled Frames & Labels Ephemera piece, giving plenty of space to write or stamp a personal message. To tie it together with the rest of the card, I added another floral die-cut and drew a long, graceful stem using the Misty Moonlight Stampin’ Write Marker.
This finishing touch makes the inside feel just as thoughtfully designed as the front, showing how even one sheet wonder card tutorials can include layered interest, interactive elements, and cohesive embellishments—all from a single 12″ x 12″ sheet of Floral Impressions Designer Series Paper.
Do you love creative one sheet card ideas?
If so, you’re going to want to gather these supplies to get started! Everything you need to recreate these three beautiful cards from my class is listed below:


Click on any of the supplies you wish to purchase and add them to your shopping cart. I appreciate and and all order you can send my way.
Here is the Video So You Can Create – Creative One Sheet Card Ideas Too!
September Customer Appreciation – Huge PDF file Featuring the Regals Color Family
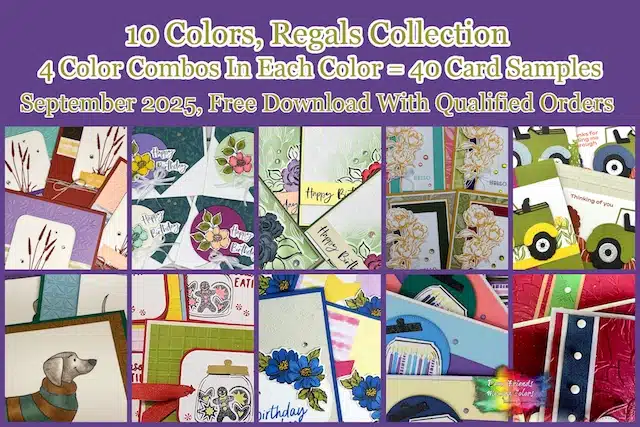 Orders of $50.00 or more (before tax and shipping) placed on my online store will qualify for this month’s download.
This month’s PDF download includes the Regals Color Combination: Forty Color Combinations and Forty Cards in the download.
Plus, a Bonus PDF file featuring the Cajun Craze color.
My customer appreciation (PDF Download) is unavailable for purchase and only available with qualified orders. It is a token of appreciation to all who place orders with me.
This Week’s Birthday Customer Appreciation:
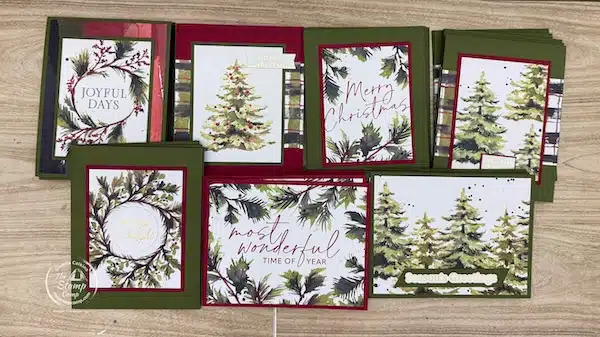
Get Started on Your Quick & Easy Christmas Cards Today!
This week’s PDF file is all about quick and easy DIY Christmas cards made with the Joyful Days Memories & More Card Pack and the Greetings for You Mix & Match Ephemera Pack. With this step-by-step guide, you’ll be able to create 42 Christmas cards in no time—the perfect way to get a jump start on your holiday crafting this year.
How to Qualify for This Week’s Birthday Customer Appreciation PDF File:
It’s simple! Place a minimum $35.00 order (before shipping and tax) in my online Stampin’ Up! store, and I’ll email you this week’s exclusive Birthday Customer Appreciation PDF file as a free gift.
To View ALL the Details See The Blog Post HERE.
Place your orders Here: https://stampl.ink/shop