
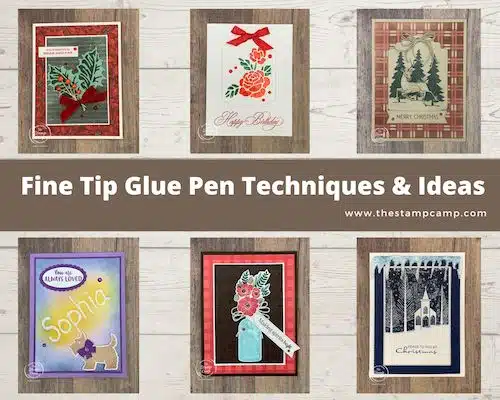
This week’s question is, “How to use the Stampin’ Up! fine tip glue pen”. I will share with you the ins and outs of techniques and ideas that you can do with the glue pens and how to keep your fine tip glue pens working.
After taking a vote and family obligations I will go LIVE on Wednesday, November 23 at 8:00PM EST on my YouTube Channel instead of Thursday night. Click HERE for the link to the live event. You won’t want to miss it! I have lots of tips and techniques to show you! Who would have guessed you can do so much with this glue pen?
I have 6 different cards to show you each featuring a technique that you can do with the fine tip glue pen. I bet you thought it was just for gluing intricate images, but that is NOT the case. I’ll also give you suggestions on how to unclog your glue pen and keep it working. I’ve had my glue pens for about 5 years now and they still work great.
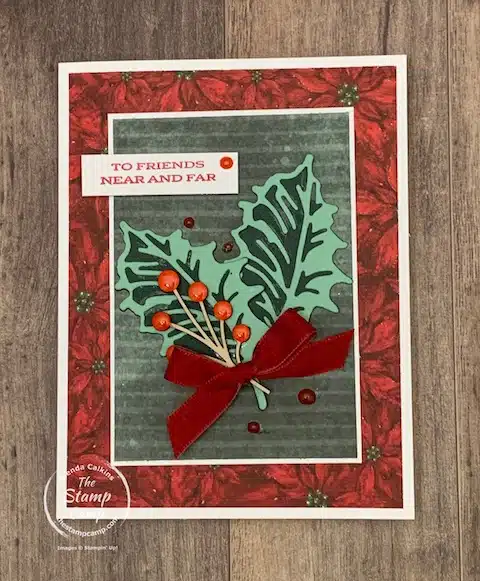
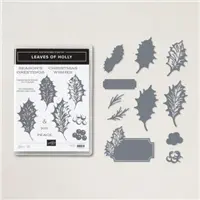
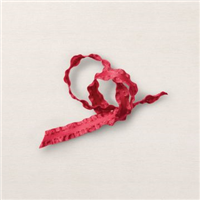
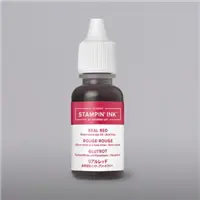
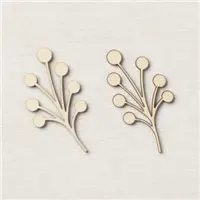
This is the first card I will demonstrate for you. What are the techniques on this card? This card actually has 3 different techniques and ideas for you using the fine tip glue pen. Of course the first technique is to show how it will adhere fine line dies or words with ease. The holly leaves were glued together with the fine tip glue. The berries on the wooden element were colored with the glue pen mixed with real red ink refill. This gives dimension and shine to your cards and projects. The third technique is the little red dots; these are actually the glue mixed with real red ink refill. So you can create your own colored dots with the fine tip glue and ink refills.
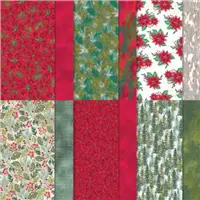
This card uses the products from the Boughs of Holly suite of products from the mini catalog.
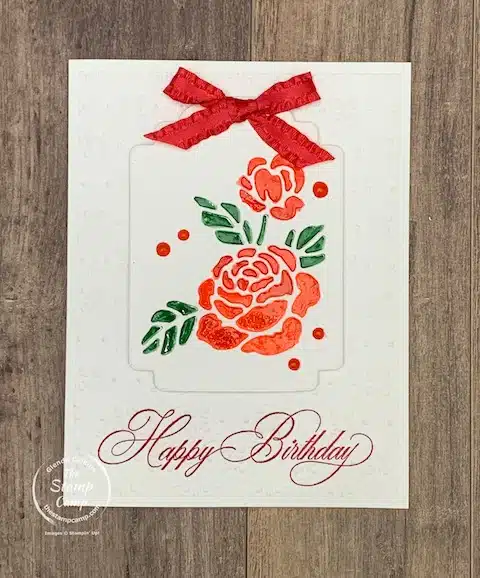
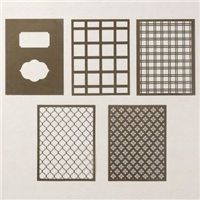
This card is really pretty in person the photo doesn’t bring out the embossed white background on my card front. The background was embossed with the Quatrefoil Tile Embossing folder.
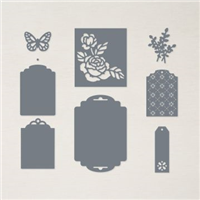
I call this a faux Stained Glass technique. I will show you how to create a color palette with the fine tip glue pen and the ink refills. The die that I used to get that beautiful tag image from is in the Designer Tags dies. I will show you how to create some dimension so you can fill it in with the glue. I also used the glue to create my handmade dots on my card front.
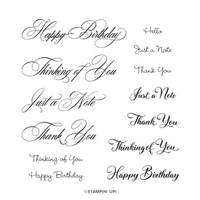
The sentiment is from the Go-To Greetings stamp set which has the most used sentiment in different scripts and sizes. This is a must have stamp set in your stamp room in my opinion.
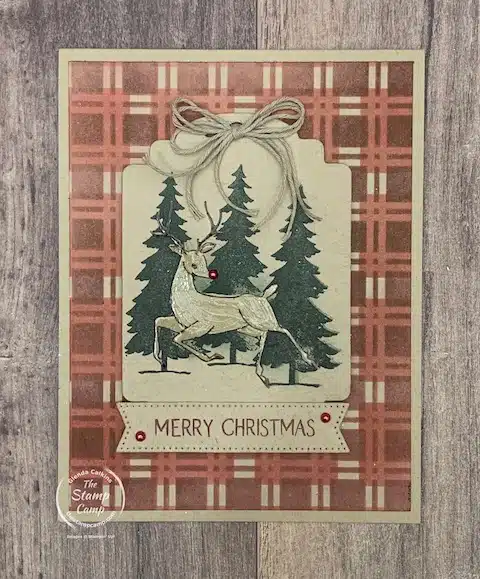
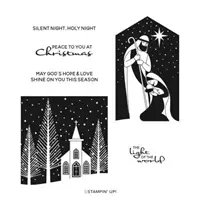
On this card I created an embossed resist technique by painting the deer with the fine tip glue pen and then stamping the trees over the top. The ink resist the deer because it was painted with the glue pen before stamping the trees. Each one of the techniques and ideas I’m showing you here needs drying time; so make sure to keep that in mind when you do these techniques.
The plaid background was created with the Artistic Mix Decorative Masks and the blending brushes. The tag I used to stamp the deer on is from the Designer Tags dies. The deer and trees are from the Peaceful Deer stamp set.
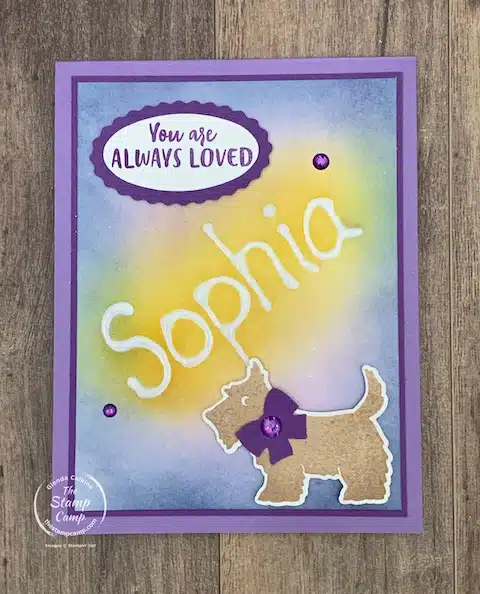
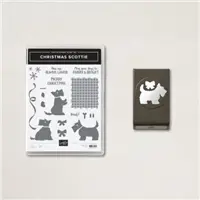
This card was created using the fine tip glue pen for writing and doing the resist technique. I will show you how you can use the glue pen to write anything you like and then do the resist technique with it. I created this card for Sophia and I know she will love it because it has purple on it and a little golden doggie. Sophia has a yellow lab so she will think this card is the best.
What a cool technique; right?
I used the Christmas Scottie Bundle for the sentiment and punched the dog after stamping it. This is not a set strictly for Christmas at least I don’t think it is.
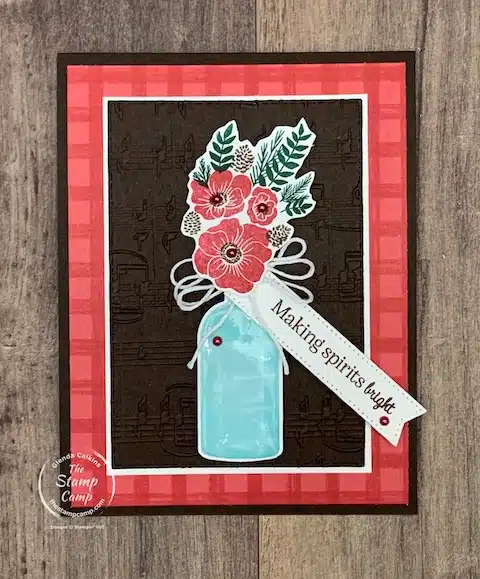
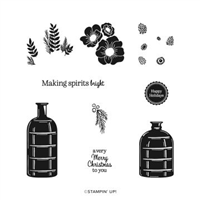
On this card I used the fine tip glue pen to paint the bottle giving it a glassy look and some dimension. This is from the Vintage Christmas stamp set and it has a coordinating vintage bottle punch which is in the annual catalog. It is hard to see in the photo, but the Early Espresso background piece was embossed with the Merry Melody 3D Embossing Folder. I thought it went perfect with the sentiment Making Spirits bright.
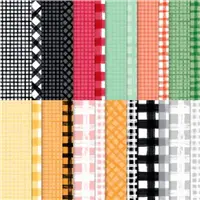
The Gingham real red background is from the Gingham Cottage designer series paper pack.
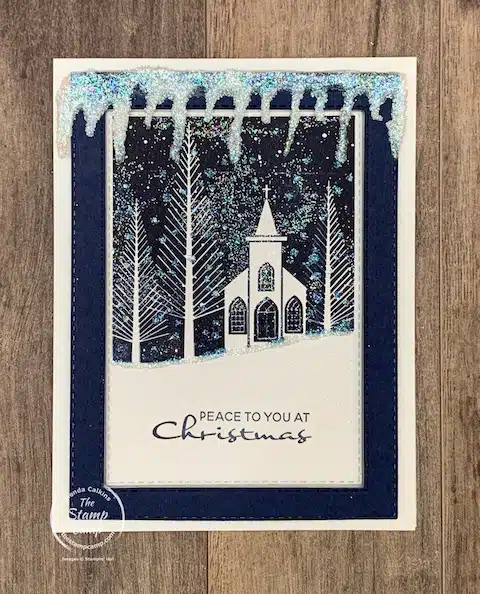
This final card uses a retired product which is the Dazzling Diamonds glitter. I created the icicles using the glue pen and then added the Dazzling Diamonds glitter. I also used the glue on the trees and slope and then added the glitter. There is lots of glitter on this card, so pretty!
This beautiful stamp set is the Peace to You stamp set from the mini catalog.
I created a window look using the stitched rectangles dies and attached the “icicles” to the top of the window frame.
Here is the shopping list for these fine tip glue pen card techniques and ideas:


Click on any of the supplies you wish to purchase and add them to your shopping cart. I appreciate your orders; very very much!
Don’t forget to use the Host Code: JVEHCPAK
Click HERE to view How To Use A Host Code
Download the Project Sheets HERE
Missed The Live Class Watch it Here:
PIN IT
Customer Appreciation for November:
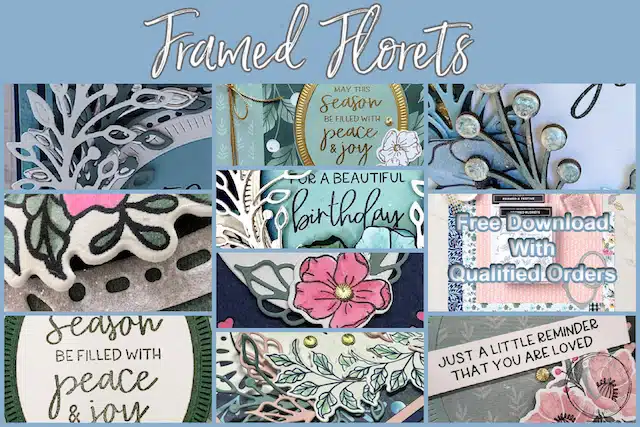
The Customer Appreciation PDF file for November features the Fitting Florets Suite Sneak Peek of products. You are going to love this PDF file this month as it has a compilation of cards from quick and easy to fun fold cards for every occasion you may have coming up. It features both the Florets Bundle and the Framed & Festive stamp set. The Fitting Florets Designer Series paper is just gorgeous and I just can’t get enough of this paper. Maybe that is why I chose it for this month’s Stamp Camp At Home Card Club cards as well. Club members who order the bundle and or stamp set from me save on shipping and tax but will also receive this PDF file. If you are a club member and would like to get the bundle and/or the Framed & Festive stamp set; email me.
How do you get this months Customer Appreciation PDF file?
Well I’m glad you asked; with the purchase of the Fitting Florets Suite or the Framed Florets Bundle you will receive the PDF file for these 9 gorgeous card. The PDF File is a download that you can save and print. To see the list of the supplies you will need to create all 9 cards; click HERE. The next thing you would need to do is click on any of the supplies listed that you would like to purchase; yes it is just that easy. Once your order comes through I’ll send you the link to the 9 Fitting Florets PDF File.
Please use the following Host Code when placing your order: JVEHCPAK
To order or see these exclusive products click HERE
Also, if you haven’t already make sure to check out my Buyers Rewards Program and print off your slip and start tracking your purchases for FREE stamp set(s).

tec