
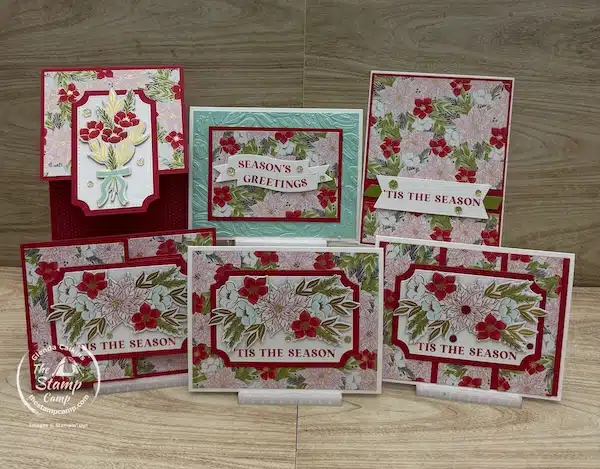
If you tuned in to last night’s One Sheet Wonder Class, then you saw me create six beautiful cards using just one 12″ x 12″ sheet of the Traditions of Christmas Specialty Designer Series Paper. You can watch the video replay below to see my step by step One Sheet Cards in action.
The Traditions of Christmas Specialty Designer Series Paper is also featured in my Stamp Camp at Home Card Club Kit for November! If you’d like to learn more about my Card Club, check out this blog post here.
Club members receive an exclusive download project sheet that includes:
-
All the card measurements
-
The One Sheet Wonder cutting pattern
-
A complete list of supplies used
-
Video Link
- Blog post Link
There are three ways to receive my One Sheet Wonder download project sheets:
-
Join my Stamp Camp at Home Card Club — Members get access to all my Thursday night One Sheet Wonder card download project sheets in the Photo Gallery on my blog.
-
Join my One Sheet Wonder Club — For $24.95/month, you’ll receive access to the exclusive album in my Photo Gallery with all the photos, download project sheets, and video tutorials from my Thursday night classes. (This is a PayPal subscription.)
- Click HERE to Subscribe to the One Sheet Wonder Club for $24.95 a month
-
Purchase the November 13th Download Only — Fill out my Contact Me Form HERE with your name, email address, and include the message: “I would like a PayPal invoice for $9.95 for the November 13th Traditions of Christmas One Sheet Wonder Cards.”
Now Let’s Take a Closer Look At Last Night’s Step by Step One Sheet Cards:
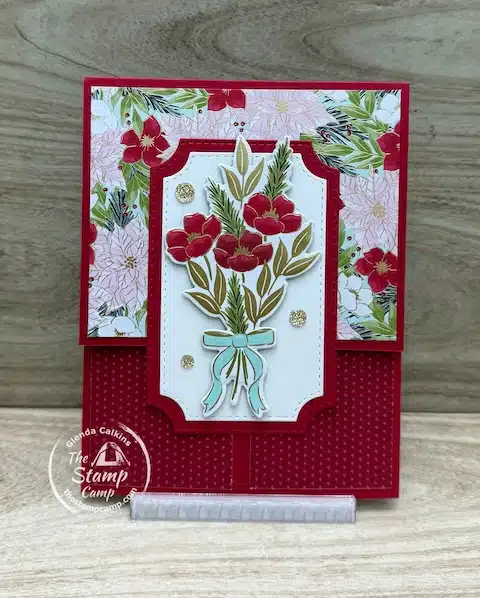
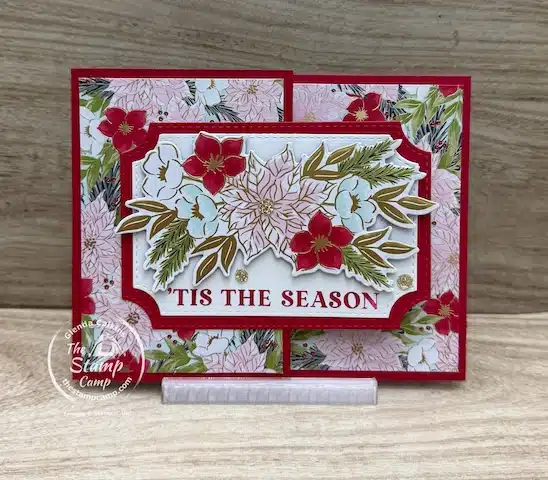
Card #1 is a beautiful fun fold design — perfect for any winter occasion you have coming up! The gorgeous floral bouquets in this paper pack make stunning focal points for your card fronts. You can easily turn this design into a Christmas card, or use it for a winter wedding, birthday, or anniversary — it’s truly a versatile and elegant option for the season.
This fun fold card features a flip-up top portion and a bottom section that opens with Dutch doors — a unique twist that adds even more charm to this beautiful design. For the bottom doors, I used the reverse side of the Traditions of Christmas Specialty Designer Series Paper, while the top flip-up panel showcases the lovely floral side of the same print. To complete the look, I used the Branching Out Dies to create two layered mats for the card front and die-cut one of the gorgeous bouquets from the Traditions of Christmas paper for the focal point.
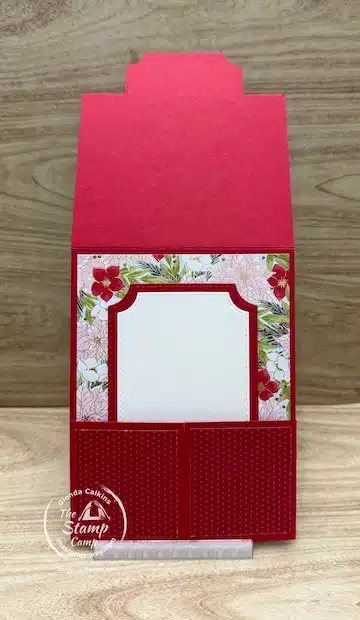
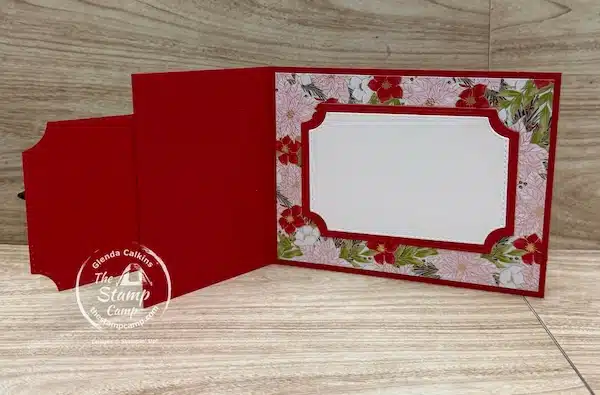
To carry the design from the front to the inside of the card, I added a coordinating piece of the Traditions of Christmas Specialty Designer Series Paper. I also included a couple of larger, matted Branching Out Dies on the inside, giving you plenty of space to stamp or write your heartfelt message.
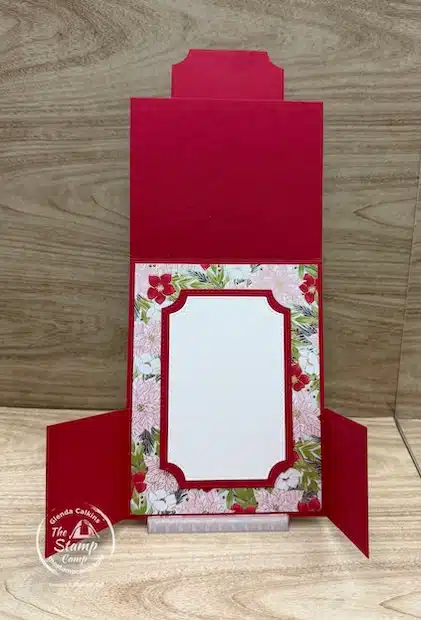
When your card is fully opened, you can truly appreciate the beauty of the paper — both inside and out. It’s such a pretty design, and I’m sure it will be a hit with whoever receives it!
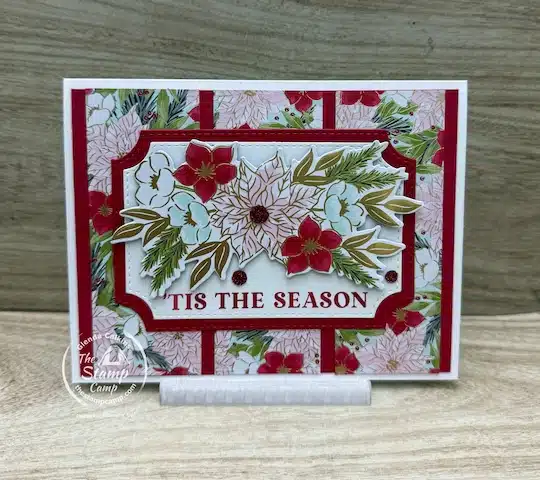
Card #2 is another delightful fun fold design that beautifully highlights the printed papers on both the outside and inside of the card. I once again used the Branching Out Dies to create two coordinating mats for the card front, and I die-cut the floral swag bouquet from another print in the Traditions of Christmas paper pack. The focal point extends across the front panel, giving you a peek at the backside of the design when the card is opened. To finish things off, I added a few of the Traditional Sparkling Sequins for just the right touch of festive shine.
For the inside of the card, I added the same sized Branching Out die-cut mats, giving you plenty of space to stamp or write your message. A helpful trick for getting them perfectly aligned behind the mats on the card front is to place the inside mats directly on top of the front mats, add your adhesive, and then simply close your card. This will position the inside mats exactly where they need to be—perfectly hidden behind the front layers when the card is closed.
Card #3 comes together using the leftover paper scraps from the first two fun fold cards, and they combine beautifully on the card front to create a surprisingly elegant design. After finishing the earlier cards, I wasn’t quite sure what to do with the remaining pieces of the Designer Series Paper—but I love how this layout turned out, and I’ll definitely be using it again in the future!
For the inside of the card, you can easily add a bouquet die-cut from one of the other prints in the paper pack to coordinate with the front. Or, if you have the Christmas Greenery stamp set, you could stamp one of the floral images on the inside for a simple but lovely finishing touch.
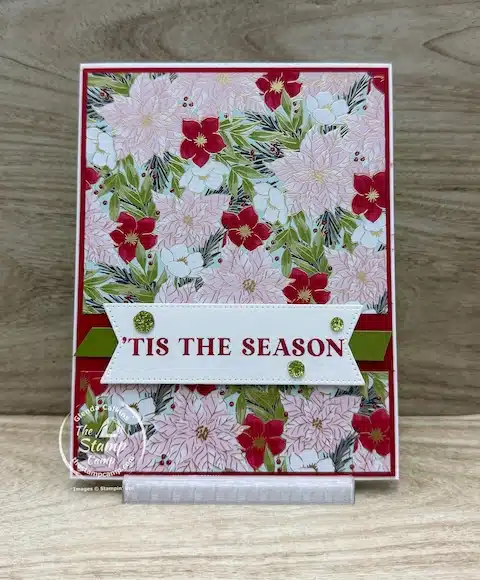
Card #4 is the perfect layout when you have three paper strips cut to the same size and a beautiful floral swag die-cut ready to shine. This quick and easy design can be mass-produced with any Designer Series Paper you have on hand, making it a great go-to layout for using up strips. It’s truly a staple card design—simply add a sentiment to the top, or, as I did here, layer a couple of those lovely Branching Out die-cut mats behind a gorgeous floral swag. The ’Tis the Season sentiment fit perfectly along the bottom edge of the die-cut, with the floral swag popped up just above it for added dimension.
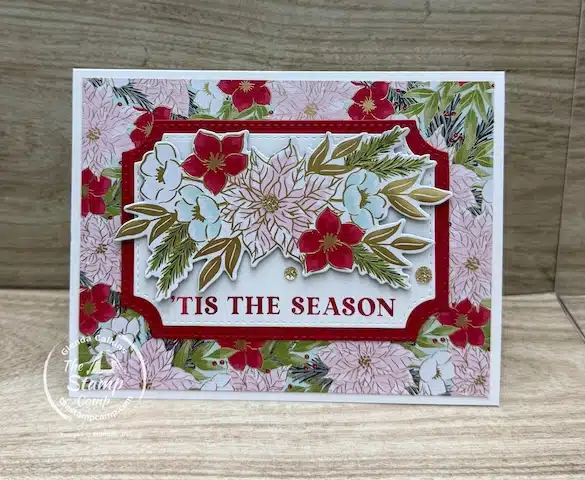
Card #5 has a similar look to Card #4, but instead of using paper strips, it features a solid piece of the Traditions of Christmas Specialty Designer Series Paper. The overall design feels familiar because I used the Branching Out mats again along with the same sentiment and floral swag bouquet. With this layout, you can easily create six cards from a single 12″ x 12″ sheet of Designer Series Paper—perfect for quick, beautiful cardmaking.
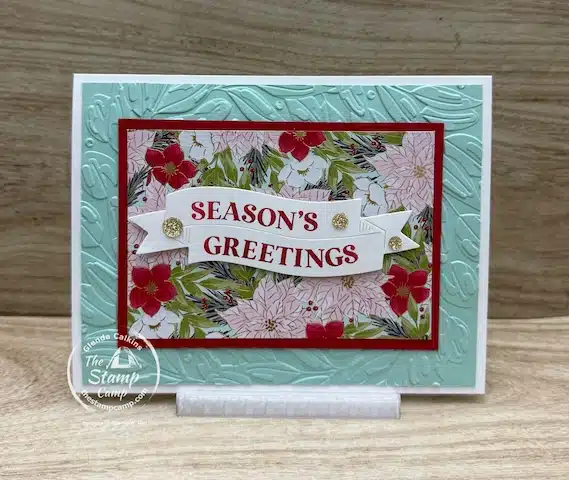
Card #6 brings in the coordinating Traditional Wreath 3D Embossing Folder, and for this design I pulled the Pool Party cardstock color straight from the Traditions of Christmas Specialty Designer Series Paper. I embossed the Pool Party cardstock, then added a panel of the Traditions of Christmas paper to the center, matted on a piece of Real Red cardstock for a bold pop of contrast. To finish the card, I added a simple sentiment stamped on a banner die-cut from the Traditional Labels bundle and sprinkled on a few Traditional Sparkling Sequins for just the right amount of festive shimmer.
Here is your shopping list for these Step by Step One Sheet Cards:


Click on any of the supplies you wish to purchase and add them to your shopping cart, Thank You! Thank You! For Your order!
Join me every Friday on my blog for more step by step one sheet cards.
Here is the video if you missed it:
November Customer Appreciation Gift!
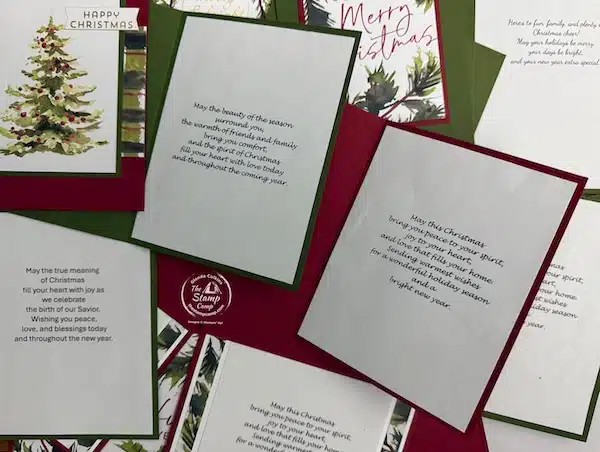
Do you ever struggle with what to write inside your Christmas cards—or maybe you don’t have the perfect inside sentiment stamp? Well, I’ve got you covered!
When you place a minimum $30 (before shipping and tax) online Stampin’ Up! order with me this month, you’ll receive an exclusive PDF file featuring 6 different Christmas card sentiment inserts.
Each sentiment is provided in both horizontal and vertical formats, with 4 of the same sentiment per sheet—ready to print, cut, and use!
How to Use:
-
Print the sentiment of your choice.
-
Cut the sheet in half in both directions.
-
Adhere the insert to the inside of your card.
I typically cut my inserts to 4″ x 5-1/4″, but if you’d like to mat your sentiment on another color of cardstock, trim your sentiment insert to 3-3/4″ x 5″ instead.
Make your Christmas cards extra special this year with beautiful, heartfelt sentiments—ready to go and easy to use!
Place your orders Here: https://stampl.ink/shop