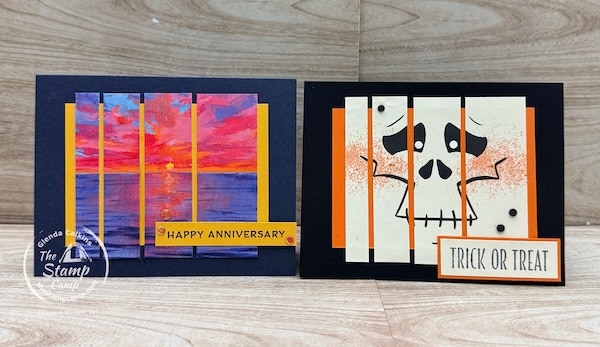
If you’re looking for beginner-friendly card sketches that help you make the most of your scenic printed papers, then today’s sketch is one you’ll want to save. Card Sketch #63 is a simple layout that works beautifully with all kinds of Designer Series Paper, especially those larger scenic prints that can sometimes feel difficult to cut into.
One of the things I love most about creating with card design sketches is seeing how the exact same layout can create completely different cards simply by changing the paper. For today’s projects, I used two very different paper collections from Stampin’ Up!®—the Scenic Coast 6″ x 6″ Designer Series Paper and the Spooktacular 6″ x 6″ Designer Series Paper. While one is perfect for summer and nature-inspired cards and the other is designed for Halloween projects, both work beautifully with this beginner-friendly card design sketch.
This week’s sketch is a great example of how a single layout can inspire endless sketch ideas for cards, scrapbook pages, and paper crafting projects.
Card #1 – Scenic Coast Designer Series Paper
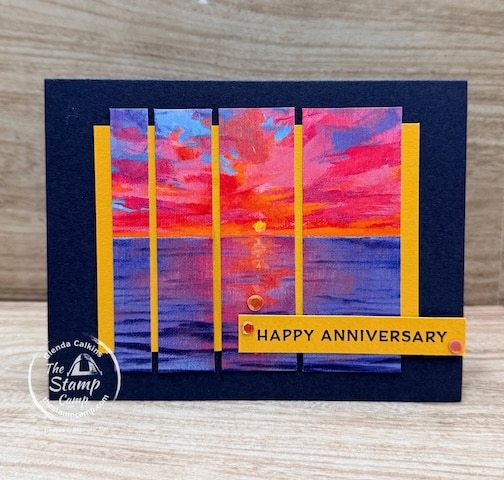
For my first card, I used the gorgeous Scenic Coast Designer Series Paper. This paper pack is filled with vibrant water scenes featuring colorful sunsets, sunrises, and beautiful coastal landscapes. It’s the perfect paper for showcasing creative uses for scenic printed papers.
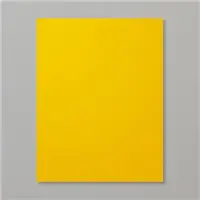
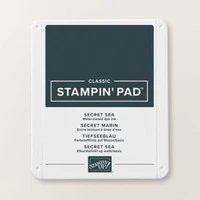
The card base is Secret Sea, with a layer of Crushed Curry underneath the Designer Series Paper strips. Instead of using the scenic print as one large panel, I cut the image into sections and arranged the strips across the card front. This technique keeps the beauty of the original scene intact while giving the card more visual interest.
The sentiment comes from the coordinating Sunset Coast Stamp Set, making it easy to create a cohesive project. For my sample, I created a Happy Anniversary card, but this layout would work equally well for birthdays, thinking-of-you cards, retirement cards, or masculine cards.
This is one of my favorite creative uses for scenic printed papers because it allows the artwork to remain the focal point while adding a fresh and unique design element.
Card #2 – Spooktacular Designer Series Paper
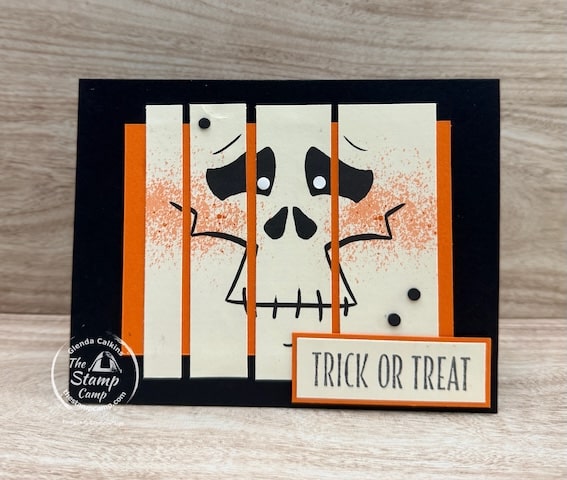
For the second card, I used the exact same sketch but completely changed the look by switching to the Spooktacular 6″ x 6″ Designer Series Paper.
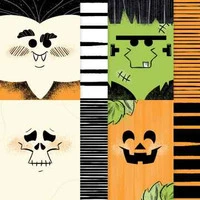
I chose the print featuring the skeleton character—or “bone guy” as my son Dean likes to call him! The image was cut into sections and arranged across the card front using the same layout as the Scenic Coast card.
The card base is Basic Black, with a Pumpkin Pie mat underneath the Designer Series Paper pieces. The Pumpkin Pie layer helps pull out the orange splatter details found on the skeleton’s cheekbones and adds the perfect pop of Halloween color.
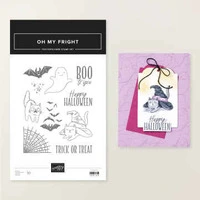
The sentiment is from the Oh My Fright Stamp Set, which is part of the Frightfully Fun Suite, and the embellishments are also from the coordinating suite.
Even though both cards use the identical sketch, they look completely different because of the Designer Series Paper choices. One becomes a beautiful anniversary card while the other transforms into a fun Halloween greeting.
Download the Free Card Sketch
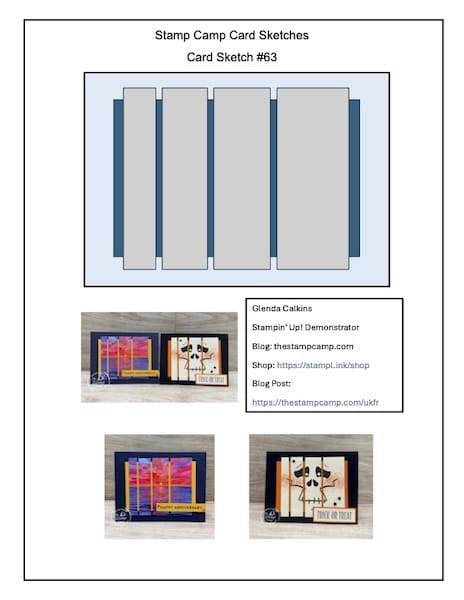
There are two ways to receive today’s card sketch.
Option 1: Download the free sketch and start creating with the supplies you already have on hand. All the free sketches are available in the
Photo Gallery here on my blog.
Option 2: Place a minimum order through my Stampin’ Up! online store and receive the sketch with complete measurements and instructions.
When you place a qualifying order, you’ll receive:
- Card Sketch #63 with measurements and instructions
- All 5 Card Sketches for July (60-64)
- Bonus PDF tutorials featuring the Frightfully Fun Designer Series Paper
- Bonus PDF tutorials featuring the Spooktacular Designer Series Paper
- Bonus PDF tutorials featuring the Scenic Coast Designer Series Paper
These bonus projects will give you even more ideas for using your Designer Series Paper and creating beautiful handmade cards.
These printable sketches are a fantastic resource to keep on hand whenever you need fresh cardmaking ideas, card sketch templates, or quick inspiration for your next crafting session.
Ready to Start Creating With Your Scenic Printed Papers – Grab the Supplies You Need Below:






Check out ALL the New Online Exclusives HERE.
Place your orders Here: https://stampl.ink/shop
Click HERE for Specials
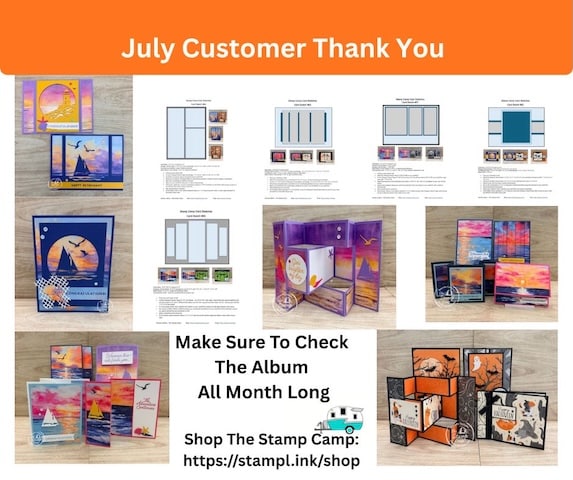
Shop with me in July and receive:
- Frightfully Fun Suite 4 cards with step-by-step instructions
- Scenic Coast Suite 12 cards with instructions and video tutorials (each week one will be showcased on my YouTube Channel)
- 5 Card Sketches with Measurements & Instructions
I’m changing things up a bit, you will still receive ALL the Suite of the Month Projects just like last month only I will post them in the Photo Gallery on my blog week by week instead of all at once. Life happens and I just didn’t have the time to post everything at the beginning of the month so I’m spreading it out throughout the month. Visit the photo gallery every week to see what has been added.
This month I’ve focused on the Frightfully Fun Suite and the Scenic Coast Suite – Enjoy!
If you are a demonstrator you can purchase the entire month’s worth of downloads for $46.00, let me know and I’ll send you a PayPal invoice.
You can shop anytime in my online store here: https://stampl.ink/shop
Have questions? I’m always happy to help—just send me a message!
Thank you so much for stopping by, and for your continued support of my small business. It truly means so much to me.
2 thoughts on “Beginner-Friendly Card Sketches #63 Creative Uses for Scenic Printed Papers”
Hi Glenda,
Have been thinking about you. I have made all the Scenic Coast cards. They are beautiful! Thank you for the ideas. I do hope you are doing OK. I do know a fracture takes time to heal. Will pray that you heal well and quickly.
Thanks Teresa, I appreciate the shout out regarding my Scenic Coast cards and I also appreciate your king thoughts. The CT scan on Friday will hopefully answer all the questions and we can move forward on treatment. Thanks again! Glenda