
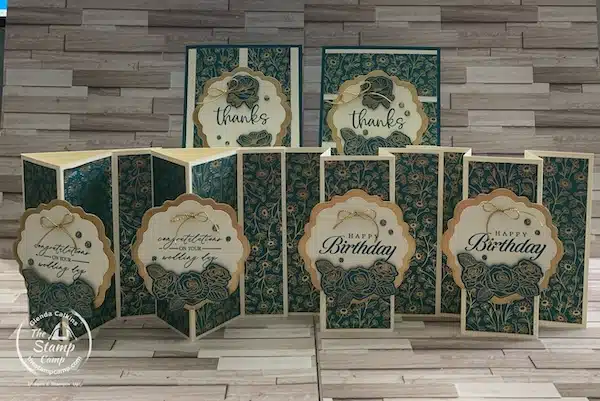
Are you ready for another fabulous set of One Sheet Wonder cards featuring the Forever Love Specialty Designer Series Paper? Check out today’s cards, so pretty and perfect for so many different occasions. The recipient of one of these cards is sure to be wowed by how pretty the card is and they will think you are an exceptional card maker. Little do they know how simple and quick these cards came together.
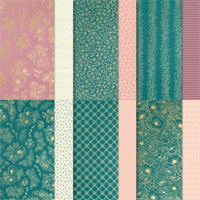
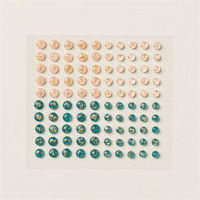
This month in my club I’m featuring the Forever Love Specialty Designer Series Paper, the Gold Simply Elegant Trim and the Petal Pink & Pretty Peacock Foiled Gems, and club members will get the contents to create 8 cards, 2 of 4 different designs. Club members also get the step-by-step video tutorial, the written PDF file as well as bonus PDF files and videos all month long. Every Thursday night the One Sheet Wonder cards will feature the paper from the club, and they will be able to download the Project Sheet and the pattern.
If you would like more information regarding my Stamp Camp at Home Card Club see this post HERE.
Now let’s take a closer look at this week’s Fun Fold Cards:
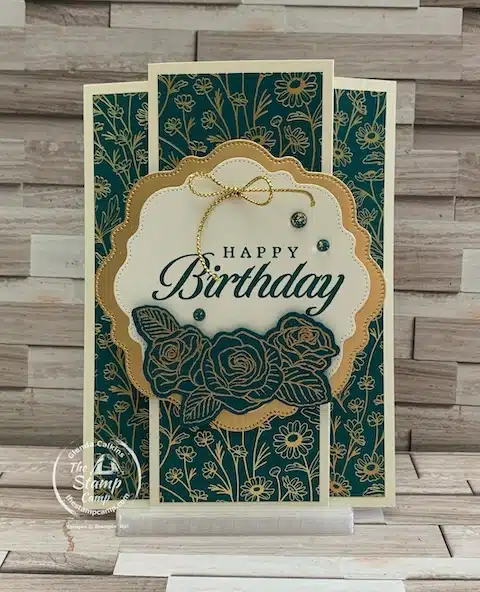
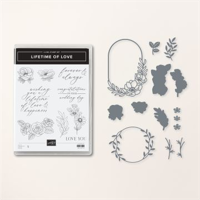
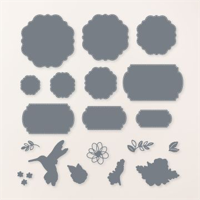
After I cut up the 12 X 12 Sheet of the Forever Love Specialty Designer Series Paper I created two fun fold birthday cards with my first set of printed papers. The photo shown is how it will look when placed inside the envelope so you can see it fits inside a regular A2 envelope for mailing. Keep in mind because of the thickness of the fold you might need additional postage. The sentiment on this card is from the coordinating Bold Bouquet stamp set and the die cut pieces are from the Thoughtful Expressions dies. I thought these dies paired well with the paper prints in this pack and they are so pretty and elegant just like all the specialty prints in the pack.
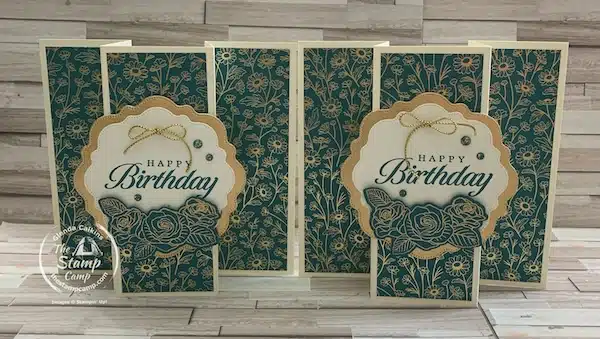
Here are the two cards when they are open. You have plenty of room on the backside of the card to stamp or write your sentiment. All the cards were accented with the Gold Simply Elegant Trim and the Pretty Peacock Foil Gems from the Mini Catalog.
The next two fun fold cards I created with my paper strips was a bit different. It looks like a regular fun fold card of some type but when it is opened up it is sort of like a reverse bay window card or an easel card on its side.
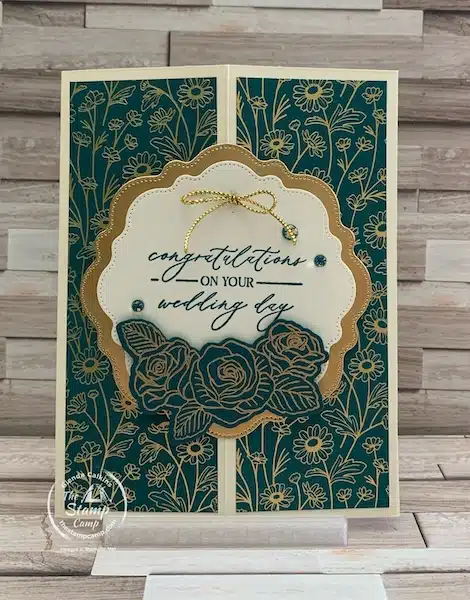
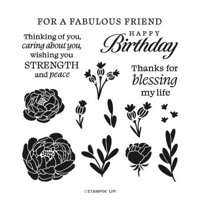
The bouquets and single flowers on all the cards were all stamped onto Pretty Peacock cardstock using Versamark ink and then heat embossed with Gold embossing powder and then die cut out with the coordinating dies. You can also hand cut bouquets and single flowers for another printed paper from the pack or if you do not enjoy hand cutting you can use the coordinating dies. I will say the Pretty Peacock paper and ink is not available to order at this time; there is a supplier issue and I’m not sure when it will be back in stock.
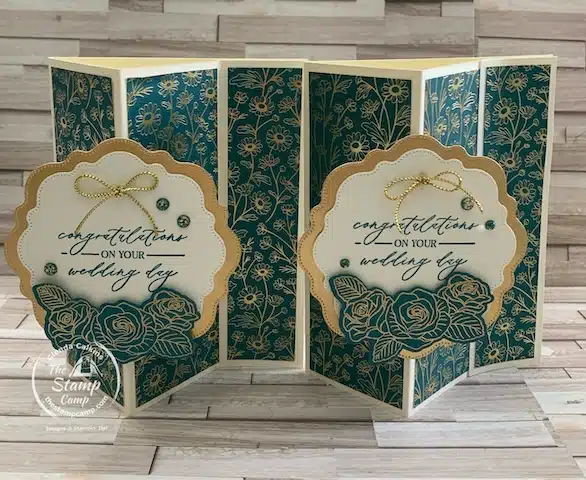
See how when you open these cards the center die cut piece floats on the spine of the card front. Also, because of the way I attached the inside piece using the dimensionals. the front edge will hold in place creating this reverse bay window or you can say side easel card.
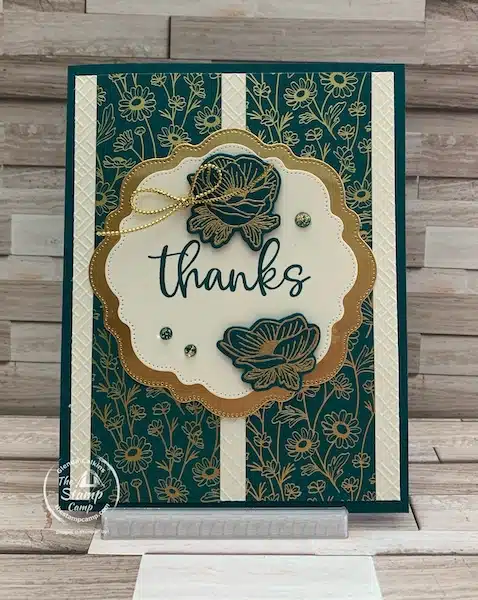
After cutting up my 12 X 12 sheet for my 4 fun fold cards I had some paper strips left-over. What do you do with those left-over strips? I like to use my left-over strips on my card fronts to accent the front and provide detail and interest. Sometimes I like to emboss the background piece as well to give some texture and interest behind the strips, which is what I did on this card. I used the Basics 3D Embossing Folder, specifically the crosshatch folder to do just that. This folder is part of a 3 pack of embossing folders only sold ONLINE. It is part of the online exclusive products. You will find the link in the shopping list.
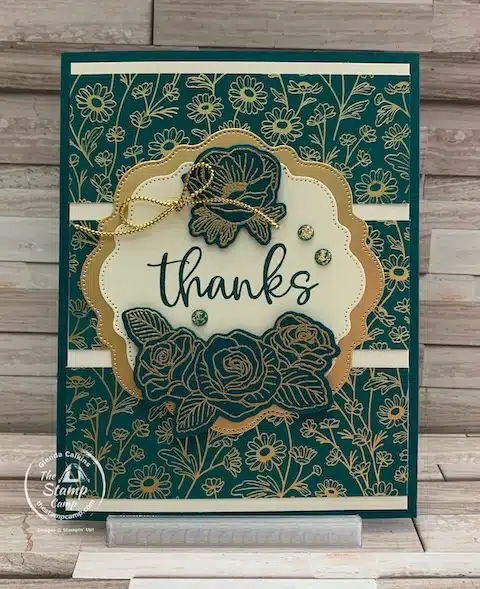
The final 3 left-over strips were placed onto a piece of Very Vanilla cardstock and then attached to the Pretty Peacock card base. The tip for perfect placement of the strips is to lay them out onto the cardstock before gluing them in place. Once you are happy with the placement then glue them down picking up each strip as you attach them.
The sentiment stamp set that I used on these last two cards was from the Biggest Wish stamp set. I do use a lot of Thank You cards so these will be perfect.
Are you ready for the shopping list, so you can create your own set of these gorgeous cards?
Here is your Shopping List for These Fun Fold One Sheet Wonder Cards:


Remember you MUST use the Host Code unless your order is over $150.00, then do NOT use the host code and you will receive the host benefits, plus my rewards.
Here is the video from last night featuring these stunning One Sheet Wonder Cards:
My Customer Appreciation for March:
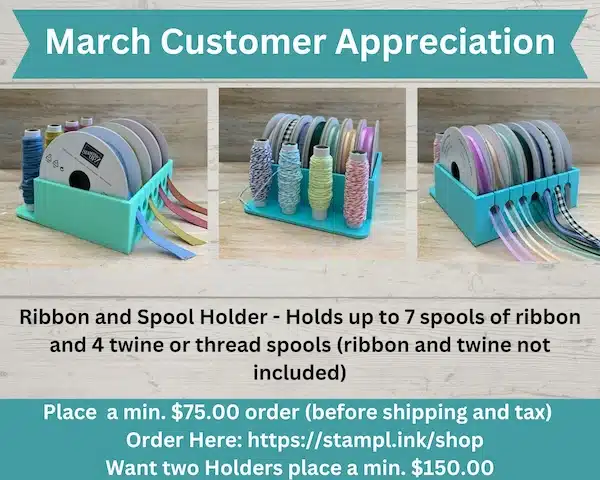
My 3D printer has been buzzing getting ready for this months customer appreciation special. Do you have a spot or a way of storing your ribbon and twine spools? If not check out this combo ribbon/twine storage system. My combo ribbon and twine holder will hold up to 7 spools of ribbon depending on the size of the spool and 4 spools of twine or thread. This is perfect to sit on your desk and keep your spools in order and upright or place on a shelf.
Do you have the White Open Storage Cube from Stampin’ Up! with the Topper Storage? If not you can check it out on page 124 of the annual catalog. This is a cube that you can store ink pads, ribbon, adhesives, small embellishments and more. I’ve taken my ribbon storage system and made them to fit inside the cube and with the topper storage you have the space on top to hold my ribbon storage system as well. (check out what I’m talking about in the photo below.). Yes the bottom ribbon storage system has the twine/thread spool holder inside; you will just need to slide it out of the cube to get at the spools when needed.
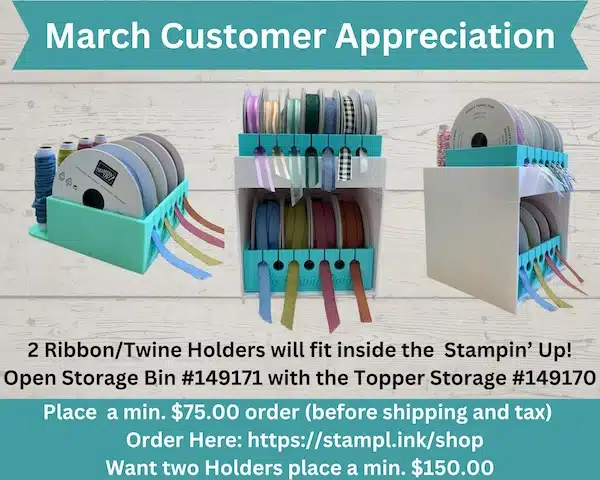
To get one of my Ribbon holders you will need to place a min. $75.00 online order with me and use the host code. If you would like two holders you will need to submit a min. $150.00 order and no need to use the host code. I will send you the ribbon holder(s) free of charge. I will however need you to email me with your color choice; baby blue, mint green, or purple. If I don’t hear from you or if you do not respond to my email regarding your ribbon holder, I will assume you do not want the holder.
Place your orders Here: https://stampl.ink/shop
Click HERE to view How To Use A Host Code