
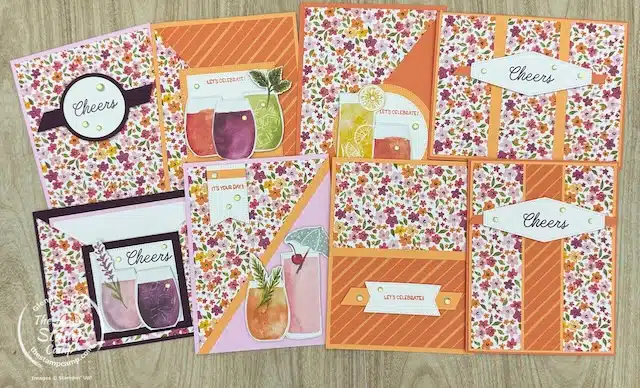
Last night during my One Sheet Wonder class, I shared simple one sheet card designs using the Celebratory Sips Designer Series Paper. I showed how to create 8 beautiful cards from just one 12″ x 12″ sheet. This One Sheet Wonder is all about maximizing your paper and minimizing waste!
The best part? I showed how to take seven 4″ x 5 1/4″ pieces of the designer paper and turn each one into a unique card design. Then, for card number 8, we put those leftover scraps to good use—nothing gets tossed!
It’s always fun to take a piece of Designer Series Paper and explore just how many ways you can use it on a card front. By simply cutting it into different shapes, turning it horizontally or vertically, the creative possibilities really open up!
After the class, I actually thought of a few more ways to use a 4″ x 5 1/4″ piece of designer paper—guess I’ll have to save those ideas for another day!
Let’s take a look at each of the cards created and how they were made using the 4″ x 5 1/4″ piece of Celebratory Sips Designer Series Paper.
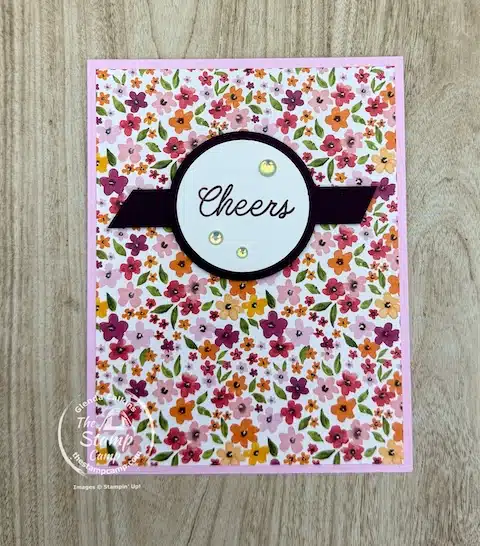
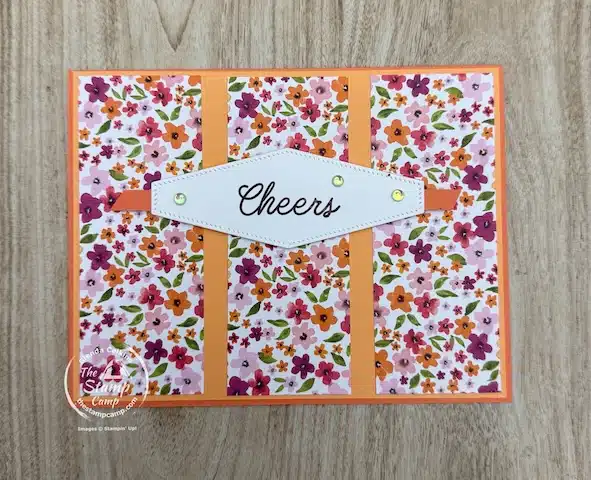
Card 1 is as simple as it gets—you just take the full 4″ x 5 1/4″ piece and attach it to the card front. From there, you have a few creative options:
-
Make your card horizontal or vertical
-
Flip the paper over and use the reverse print
For my version, I chose a vertical layout and added a clean, simple sentiment using a couple of punches and a coordinating strip of cardstock.
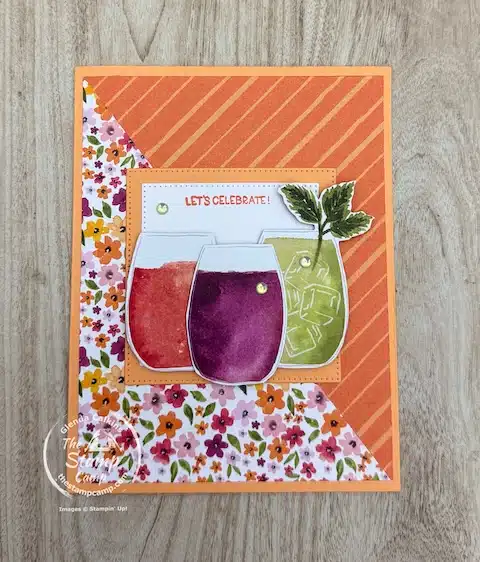
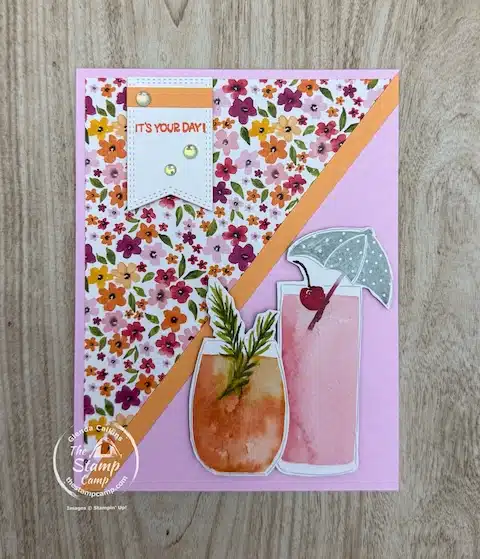
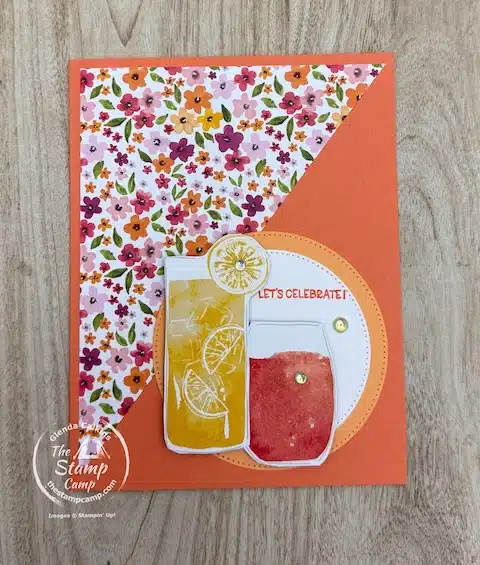
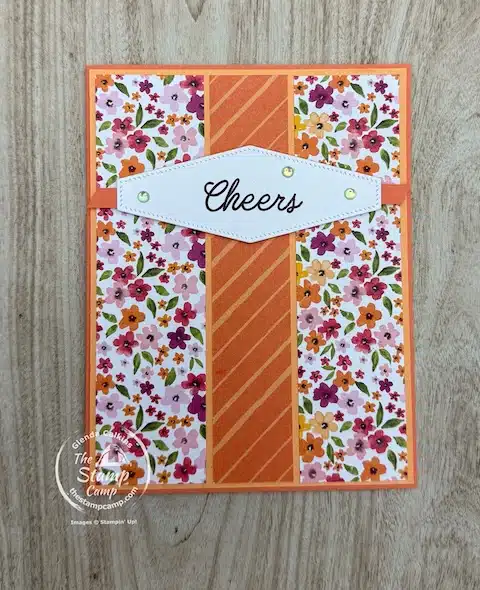
Card 2 starts with a bit more of a dramatic look! I took the 4″ x 5 1/4″ piece of Celebratory Sips Designer Series Paper and cut it diagonally from the top right corner to the bottom left corner.
To complete the look and use both sides of the designer paper, I cut a second 4″ x 5 1/4″ piece—this time from the top left corner to the bottom right corner. When you pair the two diagonal halves together, you get a striking two-pattern design that fits perfectly onto your card front.
To finish it off, I added a sentiment using the Stylish Shapes Square Dies, hand-cut a few of the drink glasses from the paper for a fun focal point, and added a little sparkle with Holographic Resin Dots.
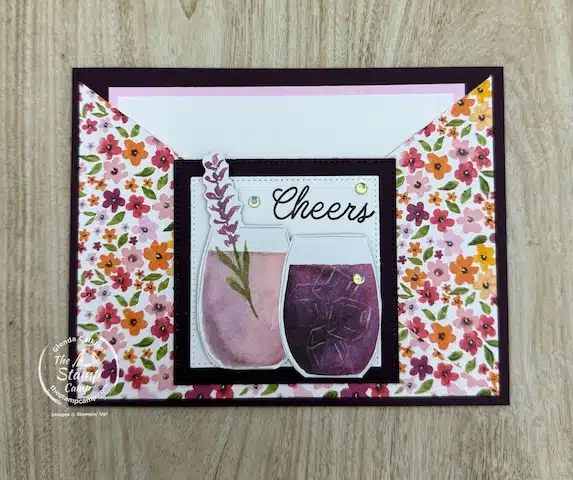
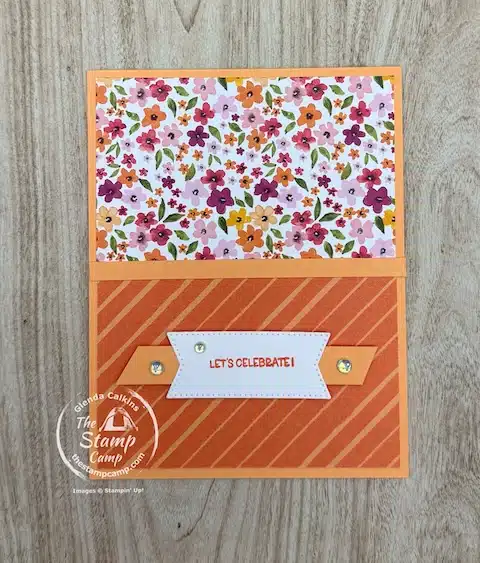
Card 3 uses a couple more diagonal cut pieces and turns them into something functional—a gift card pocket! I used two diagonal pieces of the Celebratory Sips Designer Series Paper and crossed them over the bottom portion of the card front, forming a stylish pocket that’s perfect for a gift card, check, or even a bit of cash.
When adhering the diagonal pieces, be sure to only apply adhesive along the bottom edge and the side edge of each piece. This keeps the pocket open at the top and secure on the card. It’s a great way to make your card both beautiful and practical!
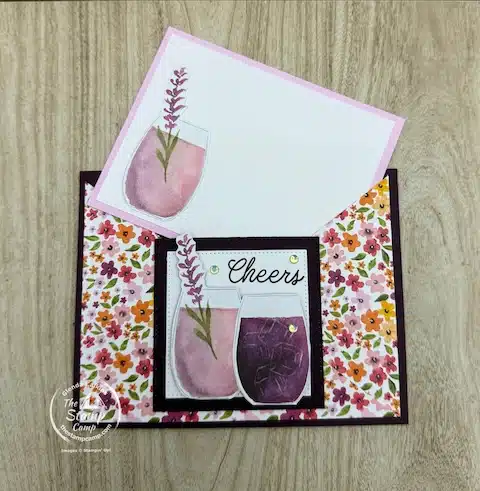
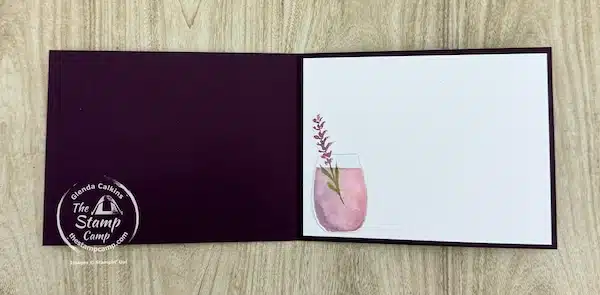
To finish it off, I tucked a small notecard inside the pocket—perfect for adding a personal message to go along with your gift. It’s a thoughtful, fun, and functional design!


Don’t miss out on this chance to stock up on your favorites while saving on FREE shipping. Let’s get crafting!

Here is the video:
Do you enjoy simple one sheet card designs? Let me know.
July Customer Appreciation – Huge PDF file
 Orders of $50.00 or more (before tax and shipping) placed on my online store will qualify for this month’s download.
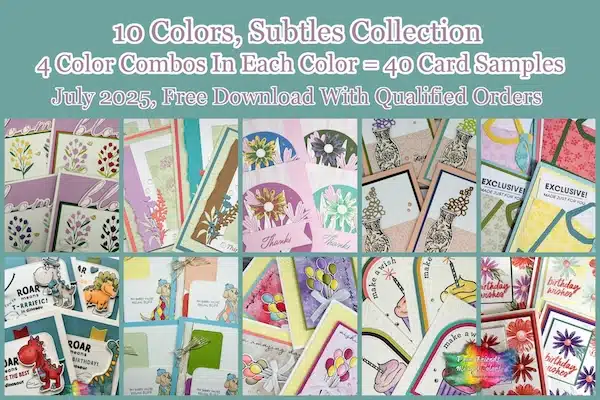
This month’s PDF download includes the Subtles Collection Color Combination: Forty Color Combinations and Forty Cards in the download.
Plus, a Bonus PDF file featuring the Bubble Bath color.
To receive all the details click HERE.
My customer appreciation (PDF Download) is unavailable for purchase and only available with qualified orders. It is a token of appreciation to all who place orders with me.
Are you a fan of simple one sheet card designs?
Place your orders Here: https://stampl.ink/shop