
Let’s Talk Simple Stamping Designs—And How to Step Them Up
If you joined me last Thursday night for my One Sheet Wonder class, then you saw me create eight beautiful cards using the Celebratory Sips Designer Series Paper. The cards came together sweetly—quick, easy, and perfect for beginners or when you’re short on time.
But have you ever finished a card, felt good about it in the moment, and then come back later thinking:
“Hmm… I could have done better,”
or
“If I just tweaked this one thing or added a couple more elements, I’d love this card so much more”?
Yep—me too!
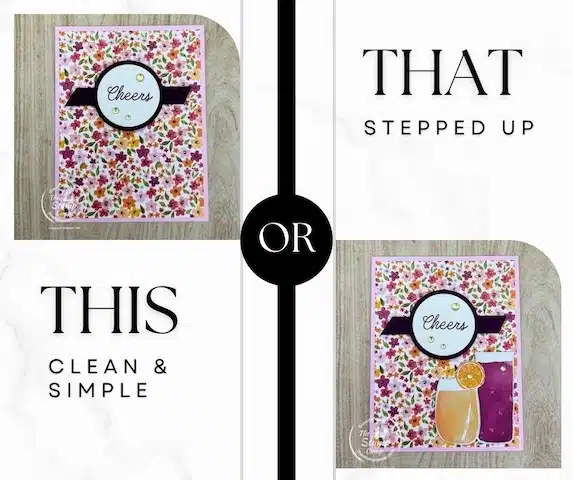
That’s what today’s conversation is all about: taking those simple stamping designs and stepping them up just a little to make them extra special. Maybe it’s adding a layer of texture, a pop of dimension, or a touch of bling—small changes can have a big impact.
Card 1 – From Simple to Stepped-Up
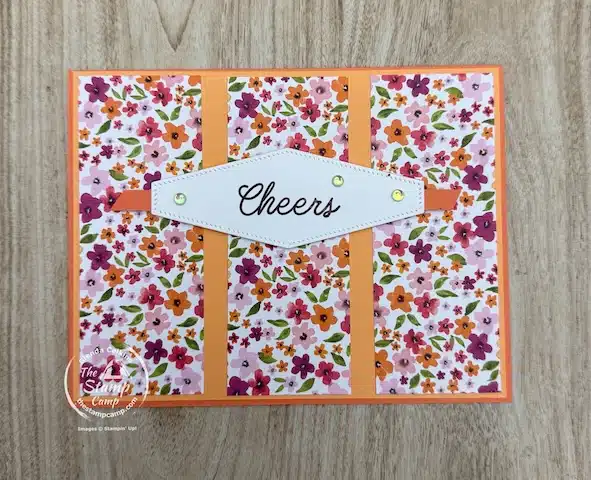
Let’s take a look at the very first card I created Thursday night during my One Sheet Wonder class. It’s a beautiful, quick, and easy design that anyone would be delighted to receive. The bright floral print from the Celebratory Sips Designer Series Paper really steals the show—so fresh, cheerful, and eye-catching.
But here’s the fun part: what if we took that same card and stepped it up just a bit?
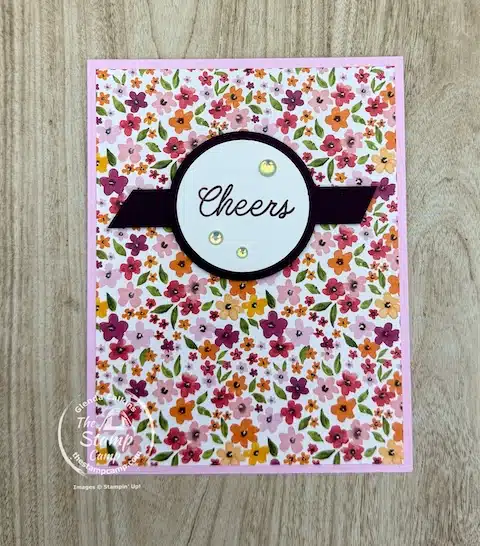
The Simple Version:
-
Bright floral DSP as the main focus
-
Clean layers and a simple sentiment strip
-
Flat design—easy to mail and great for mass-producing
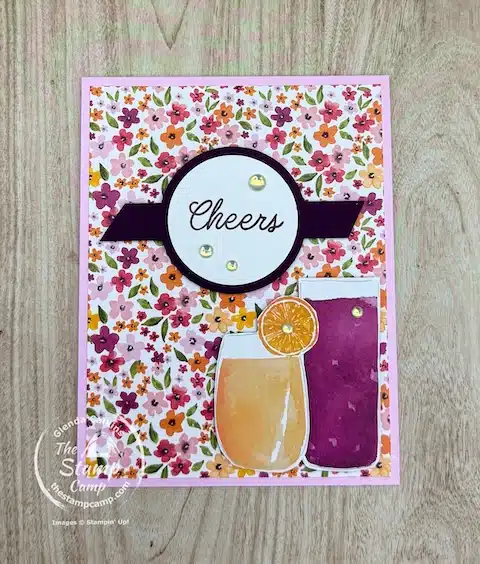
The Stepped-Up Version:
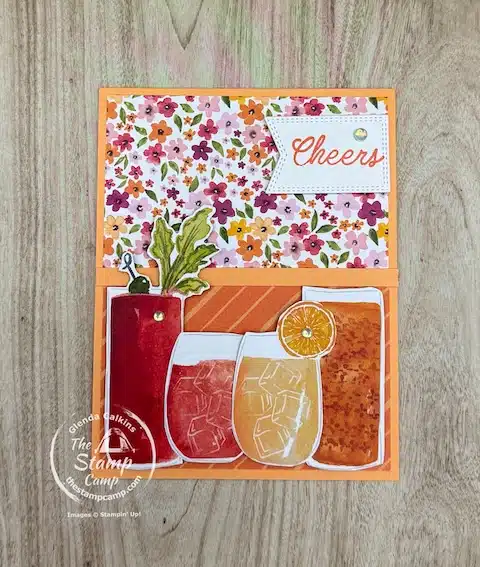
Remember how I mentioned during class that a few of the prints in the Celebratory Sips paper pack showcase an assortment of drinks—from lemonade and limes to fruity cocktails with tiny umbrellas? These prints come in both small and slightly larger sizes, giving you such a fun variety to work with.
For this first card, I decided to step it up by fussy-cutting a couple of those bright, fruity drinks and popping them up on the card front with dimensionals. I added just a touch of bling to each glass—a gem here, a sparkle there—and that was it!
That simple change gave the card a whole new feel. It’s the exact same card that I created Thursday night, but those added elements make it feel more lively, playful, and finished. Sometimes that’s all it takes—just a few extra touches to turn “nice” into “wow!”
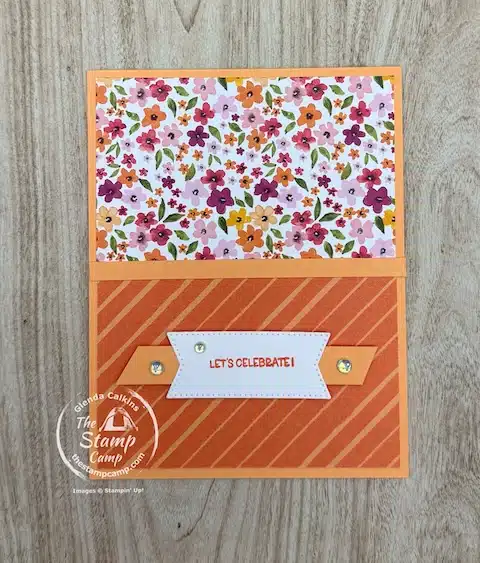
Card 2 – Simple Flip, Stylish Upgrade
The second card I decided to spruce up was the one where I cut the Celebratory Sips Designer Series Paper in half and flipped the bottom section to the reverse side. This technique is such a great way to showcase both sides of your beautiful DSP! To cleanly separate the two patterns, I added a narrow strip of Peach Pie cardstock across the center—simple, clean, and effective.
But when I went back to look at the card again, I thought:
“I can do better.”
So, I did a little creative editing! I think this card had the most transformation, but still keeping with the simple stamping designs from the one sheet wonder class.
I carefully removed the original sentiment strip and reimagined the card layout just slightly:
-
I fussy-cut a row of the adorable drink glasses and lined them up right across the bottom half of my card front using dimensionals.
-
I swapped out the original sentiment strip for a different die cut shape—something with a little more presence—and moved it slightly to balance the visual weight of the drinks.
-
A few sparkly embellishments finished it off.
Now? The card feels more intentional and polished, without losing the playful charm of the original design. Same paper, same layout, but a few thoughtful changes turned it into something extra special.
Card 3 – A Finishing Touch with Leftovers
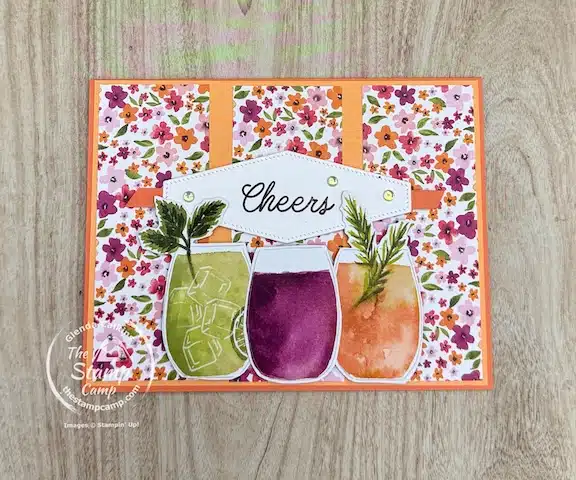
The final card I decided to tweak was the horizontal layout featuring the three leftover panel pieces from my original One Sheet Wonder cutting guide. Honestly, this card already had a balanced, clean look—and I didn’t think it needed much at all.
But since I had a few more of those fruity drinks already hand-cut and ready to go, I thought, why not use them up?
So I popped a couple of them onto the card front, tucking two of them slightly behind the center drink glass letting it overlap the edges just a bit. That small, playful detail added a bit of extra personality without changing the layout at all.
It’s such a good reminder:
Don’t let your fussy-cut pieces go to waste—let them become the little detail that makes your card stand out.


Here is the One Sheet Wonder Video In Case You Missed it:
July Customer Appreciation – Huge PDF file
 Orders of $50.00 or more (before tax and shipping) placed on my online store will qualify for this month’s download.
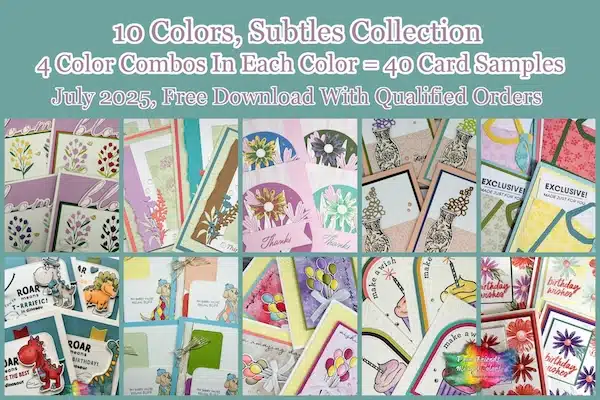
This month’s PDF download includes the Subtles Collection Color Combination: Forty Color Combinations and Forty Cards in the download.
Plus, a Bonus PDF file featuring the Bubble Bath color.
To receive all the details click HERE.
My customer appreciation (PDF Download) is unavailable for purchase and only available with qualified orders. It is a token of appreciation to all who place orders with me.
Place your orders Here: https://stampl.ink/shop
2 thoughts on “Simple Stamping Designs – Step It Up with Just a Few Tweaks”
I like your changes. They make the cards even more festive.
Hi Celia, Thanks and thanks for commenting.